
Or, “How I made an orchestral sample library in my free time for under $10,000”

Sampling is the process of converting an analog instrument into a digital emulation using recorded “one-shots” of the real instrument in action. Guerrilla sampling is doing all that with minimum costs and maximum efficiency by using existing infrastructure and extreme mobility.
In this post, I will discuss the principles of creating samples, the economics involved, and general tips and tricks to yield the best results when working with time, space, or financial restrictions.
Conceptualization
The first step is to locate and conceive of a library that has value in the market. A bit of basic market research will reveal what sorts of libraries over-saturate the market (e.g. high-powered orchestral libraries, straight-ahead grand piano libraries, acoustic guitar libraries, etc.). Saturation is the approximate ratio of how well the current offerings of that specific product meet consumer demand/expectations. Thus, a fully saturated market has enough if not excess supply of options and features compared to end-user demand.
Another way to tell if a market is over-saturated is to examine the degree of marketing hype on products (i.e. how desperate the company is to sell the products) and to examine the qualities of “industry-leading” product options compared to industry-wide expectations.
For example, if the industry leading Grand Piano library has 32 velocity layers (VL’s), 16 round robins (RR’s), and 8 mixable mic positions, compared to an average professionally sampled instrument which might have 3-5 velocity layers, 2-4 RR (or 8 on staccato), and 4 mixable mic positions, then the piano market is over-saturated.
This becomes harder to measure when the entire industry is over-saturated (as it is rapidly becoming now), as companies try desperately to out-compete in the numbers game (I have seen “indie” developers with 8 mic positions and 16 RR on instruments, for example).
At this time, pretty much everything has some degree of over-saturation- only rare (ophicleide, oboe d’amore, etc.), irrationally expensive (subcontra upright bass, wheelharp, glass armonica), historical (crumhorns, sackbuts, etc.), or otherwise useless instruments remain with light levels of saturation- but also tend to have very low tolerances to saturation (meaning two competing crumhorn libraries would massively cannibalize each other’s sales).
However, that doesn’t mean a type of library which is over-saturated cannot be created and effectively commercialized. The primary method of working in this environment is product differentiation, by which one can present a unique product that covers ground that no other library on the market covers. Product differentiation is the key to creating a unique and effective product in the current sample library market.
Product Differentiation Methods
There are several key directions one can push their library to differentiate it from competitors. I have given these unofficial working names in order to distinguish each strategy-
- “The Numbers Game” – make the product bigger, bulkier, and more complete than any other solution. This approach is rarely the best, as it tends to result in mistakes in the processing of samples due to the sheer size and difficulty of managing all those samples.
- “The Technology Game” – make the product more intricate, powerful, and hard to understand than any other solution. Modulate every property with dozens of CC’s and complex scripts. This approach is very common in the high-end market, but is very expensive to create due to the immense amount of custom scripting required. Not to mention, this can also lead to confused users who can’t figure out how the library works and end up dissatisfied despite its power.
- “The Plug ‘n Play Game” – make the product as easy and fool-proof as possible. This approach is shockingly uncommon, and can be highly effective (a good example is the “single button”-type effects and instruments {embertone sexy sax, for example}, which are virtually foolproof). The downside? These instruments tend to have a limited range or application which makes them more of a one-trick pony.
- “The Sketchpad Game” – make the product as lightweight and resource-savvy as possible. In this approach, the product is light on the processor, but via intricate scripts can still be quite decent… sometimes. Other times, it can just be a rough thing designed for composers to toss down ideas on a laptop. Examples: most factory libraries and freeware.
- “The Emulator Game” – make the product function similarly to a much more expensive product but use cost-saving measures to create an “intermediate” solution that appeals to those who are missed due to that product’s expense (i.e. “the middle ground” approach). This is the approach I advocate personally for all “indie” developers because it is cost-effective and potentially has a large customer base. It can, however, result in a limited product like a plug ‘n play or sketchpad type.
Which strategy is the most powerful? Unfortunately the question is not always the simplest to answer. Different users have different desires and therefore different solutions fit different situations. In current times, the predominant method is the blunt-force Numbers Game, in which, due to the inability of the end-user to distinguish between feature sets as easily as say, different brands of eggs at the super market, the price and statistics become a stand-in for a measure of quality. With this mindset, a product marked at $500 USD but marked 50% off would likely sell much more than an identical product marked at $250 but also 50% off- it has twice the value.
There are few proponents of a strictly Technological approach, such as Sample Modelling, but these products have trouble attracting an audience widely wowed by the number of RR’s and mic positions. However, a large number of traditionally Numbers-based companies are now turning to adding (sometimes useless or pointless) technological features to increase the “wow” factor.
I should also take a moment to note two relatively unfortunate methods of differentiation that one should be deeply aware of while working-
- Good Looks – Some plugins rely on just looking good visually. Animated bows, tape decks and fingerings, 3D knobs, something that looks like a video game HUD, 3D rendering of the instrument in immaculate detail. Unfortunately many customers care a lot about how good their instruments look (despite there obviously being no sonic benefit), so take care to at least make your instrument’s UI and marketing material visually attractive and well composed. Consult with or hire a professional designer if necessary.
- Marketing BS – Some companies rely heavily on gratuitous product descriptions (“copy”) to sell their products (Spitfire is just as guilty as Garritan at this). Customers are generally gullible; when they hear the instrument is sampled at 192/24 at some fancy studio on a tape deck- despite the painfully obvious flaws with that signal flow to anyone who has preliminary understanding of digital/analog audio and its conversion, will go utterly crazy for it.
Try to be as honest as possible about your product and avoid hyperbole. Don’t brag, describe and let the audience make up their own minds. Intelligent customers will like you all the more for it!
Product Differentiation at Work
Let’s say we have chosen our desired product, but found the market is heavily saturated. It us our task to determine how to best execute the sampling, scripting, and marketing in order to differentiate the product as much as possible from competitors.
Let’s take for example a piano library. Here are a few permutations that would likely be successful-
- Release a very affordable, lightweight, simple, but very good sounding piano for composers to use in sketching- even possibly offering it for free or as donationware. This is using a combination of the “Sketchpad” and “Plug ‘n Play” approaches.
- Release a medium-priced but tech-savvy piano featuring alternative tunings and temperaments at the press of a button, some unusual preparations, great built-in effects, and a generally very good overall tone. This is using a combination of the “Technology” and “Emulation” approaches.
- Release an expensive but extensively sampled rare/valuable instrument with 8 mixable mic positions, 16 dynamic layers, and 8 RR’s, chromatically sampled with both damper on and off. This is a “Numbers” approach.
Currently there already is a piano library that is pretty much complete over-kill for brute force (Vienna Imperial, which took a month or two to sample), so a purely Numbers game is not likely to win out without some fantastic tone behind it. Rather, some degree of technology or straightforward user-friendliness is likely to work best. This measure of effectiveness of each approach differs per instrument and the current market of the specific instrument desired should be studied first before any planning is done.
Also keep in mind that recording quality and recording space should not be ignored when considering differentiation. A sample library recorded in a studio will sound drastically different from one recorded in a concert hall, as would one recorded with Neumanns vs. Rodes.
Planning
There are a few considerations that must be attended to before one can step foot in the recording studio, concert hall, or apartment with mics in hand: a relatively detailed plan of exactly what will be sampled, at what level of detail, and with what end goal must be prepared and committed to memory.
What to Sample
The first consideration is the what of the sampling process. Despite seeming outwardly painfully obvious (It’s a “Piano”/”Oboe”/”Snare Drum”, duuuh!), one must take into account the specific instrument desired-
- Brand/Make/Model
- Age, Condition
- Performer, Performer Ability/Level
- Location and Portability
For example, one might desire a Yamaha upright, between 10 to 30 years old, played by a pre-professional (college student) performer, located at a local university or friend’s living room that can be recorded without having to be moved.
That’s pretty darn specific- in most cases you will probably just want an oboe or a snare drum and know you want a competent player- that is, if you aren’t playing it yourself. Often times, the make and model of the instrument is determined strictly by budget and availability. If you get a clarinetist with a professional Buffet Bb clarinet and a second one with a student plastic instrument from China, that’s what you’re sampling (I can’t imagine the former would be too thrilled to play on an unfamiliar student plastic model, or let the latter borrow their expensive instrument and reeds “for consistency!”). Age and condition are often difficult to control unless working with a collector who has several instruments to choose from.
Working with Performers
If you aren’t playing the instrument yourself, you’ll need to hunt down a local player or bring in outside talent. If transportation of the item and/or player to you (or you to the item and/or player) is not possible, then consider a remote recording session, where the player is given instructions regarding the sampling process and left to handle the recording process.
Different players of course have different abilities and levels. Ironically, sometimes it is not the most professional players who make the best samples. A little bit of flaw in the tone can go a long way to creating realism, and the best players are often very busy and/or very expensive- hire at risk to your wallet. Keep in mind also that 4-6 hours with a pre-professional performer will allow you to sample much more material than 1-2 hours with a top player. Some companies outsource their recording to foreign countries, where musicians are comparatively much cheaper than the US and UK.
Obviously it goes without saying- pay your musicians a fair and competent wage at all times and, if they are part of a union, obey all union requirements. The average payment for a musician in the United States of America according to the census bureau is $40/hour, but professionals and union members will be several times that, in the area of $80-$200/hour depending on region, instrument, and level.
If you are working with a section or group of musicians, it is typically best for both sonic and financial reasons to stick around 3-5 instrumentalists in a section. If a bigger sound is desired, a second set can be made by either recording a second time and repositioning the players in post, or physically moving the players and layering- time permitting. If no compromise is permitted and a large section is needed (e.g. strings), then use a large section, but consider multiple close mic arrays and/or recording a separate smaller divisi section to reduce the “101 strings effect” that so many orchestral libraries in untrained hands are guilty of.
There may be times or instruments at which it is, by economic urges or skill, more prudent to perform upon the instruments yourself alone. This kind of sampling is slightly tricky to anyone not used to recording alone and can result in either an almost zen-like catharsis, or dreadful rage and frustration as one battles through the 7th hour of isolation with nothing but overtones as companions (results may vary). See more on this in the section labeled “solo sampling” in the final section of this work.
How to Find Musicians
If you are at or near a university, even one that doesn’t have a prominent music program, then you will likely have few issues finding musicians. Faculty at high schools and colleges are typically excellent performers for this kind of work, as are professionals in your area. In addition, students themselves are often quite good for sampling projects, particularly if you are near a prominent music college. International schools provide a range of unique instrumentalists on instruments you’ve probably never heard of.
The first step to getting musicians is to locate and attend any local musical functions at which the sorts of musicians you want to sample might be found. For example, a concert of world music at a local university when you want to sample a Guzeng is an excellent start- even if there isn’t a guzeng player there, you might find a dan tranh player or a saz player and want to go in that direction instead.
It’s always a good idea to get a circle of “contacts on the inside” who know lots of musicians. Band leaders, touring musicians, regular session players, and agents are great for getting recommendations. Plus, if you can get a prominent and respected player to work with you, you can always write “Hi, so-and-so said you might be interested in working with me on this sampling project,” essentially lending their legitimacy to your project. These contacts are invaluable and essential to getting large numbers of musicians onboard with your project for things like sectionals.
Gigs are Opportunities
If you’re a gigging musician yourself, your first contacts might be the people you play with a lot and are on friendly terms with. Your goal should be to make the sampling process fun and appealing to these people- if they like it and think others will like it (or just really like working with you), they will recommend other people to work with you. Pro tip: if someone continually can’t help you due to “conflicts”, there’s a good chance they either just don’t like you enough or don’t have a very high opinion of your sampling project.
Most professional musicians are very busy, but if they really like working with you, they are typically happy to throw down a thing here or there in order to help you reach your goal. These are the sorts of people you should try to surround yourself with- as they help you locate players, you can help them back by giving them paying gigs and recommendations in return. The cycle continues, bringing everyone closer to prosperity.
I work off and on with a fantastic player, and over the years he’s helped me put together some fantastic sections for sampling. When he asked if I could play in a group of his where he desperately needed an instrument I can play, I didn’t bother to ask what the price or details were- it was the right thing to do after all the help he has given me, and in the future I could imagine if I need more sections put together in the future, he would probably be more than happy to help. That’s the sort of attitude necessary to build and maintain these connections.
Local Resources: Schools, Collectors, and Shops
Write to any local faculty via e-mail and ask to make an appointment to discuss the sampling process. If the local high school or college is interested, they might even allow you to use their facilities and property as well as performers, and probably for a lot less than hiring a big studio for weeks on end. Being on good terms with local private lesson teachers, faculty, and professionals is very useful.
If there are any instrument collectors in the area as well, make a concerted effort (no pun intended) to meet them and get on good terms. Collections can make fantastic libraries and come with a pre-existing value from the value and unifying factor of the collector and his or her collection.
Music instrument shops are also sometimes willing to work with sample library developers, either through the cross-promotional use of equipment or through the space itself. Virtuosity Drums for example was developed at Virtuosity Musical Instruments using their house drum kit.
How to Persuade Musicians
Through all of this searching, you will likely find a number of musicians, particularly older ones, who are uncertain of or in some cases paranoid about the sampling process. A lot of hard working musicians feel their jobs might be taken away from them by sampling, which definitely sounds threatening enough!
Luckily, there’s both a reputation to and an intangible quality to live performance, and in some cases- particularly with uncommon instruments- sampling provides a way to revive the instrument and improve gigging opportunities for the player. You can also always say that your library (hopefully) will force players to write more idiomatically, reducing the amount of bad, boring, or just plain impossible parts players have to read. We all hope that is true, at least.
You should have a 1-2 sentence pitch on exactly what your library is ready to go at all times if someone asks. Consider what your ‘differentiating factor’ is (i.e., what sets your library apart from what already exists?), and consider the connections between your choices of instrument, details, location, and direction.
Where to Sample
Some of the locations we’ve sampled in: band rooms, auditoriums, world-class studios, even music stores!
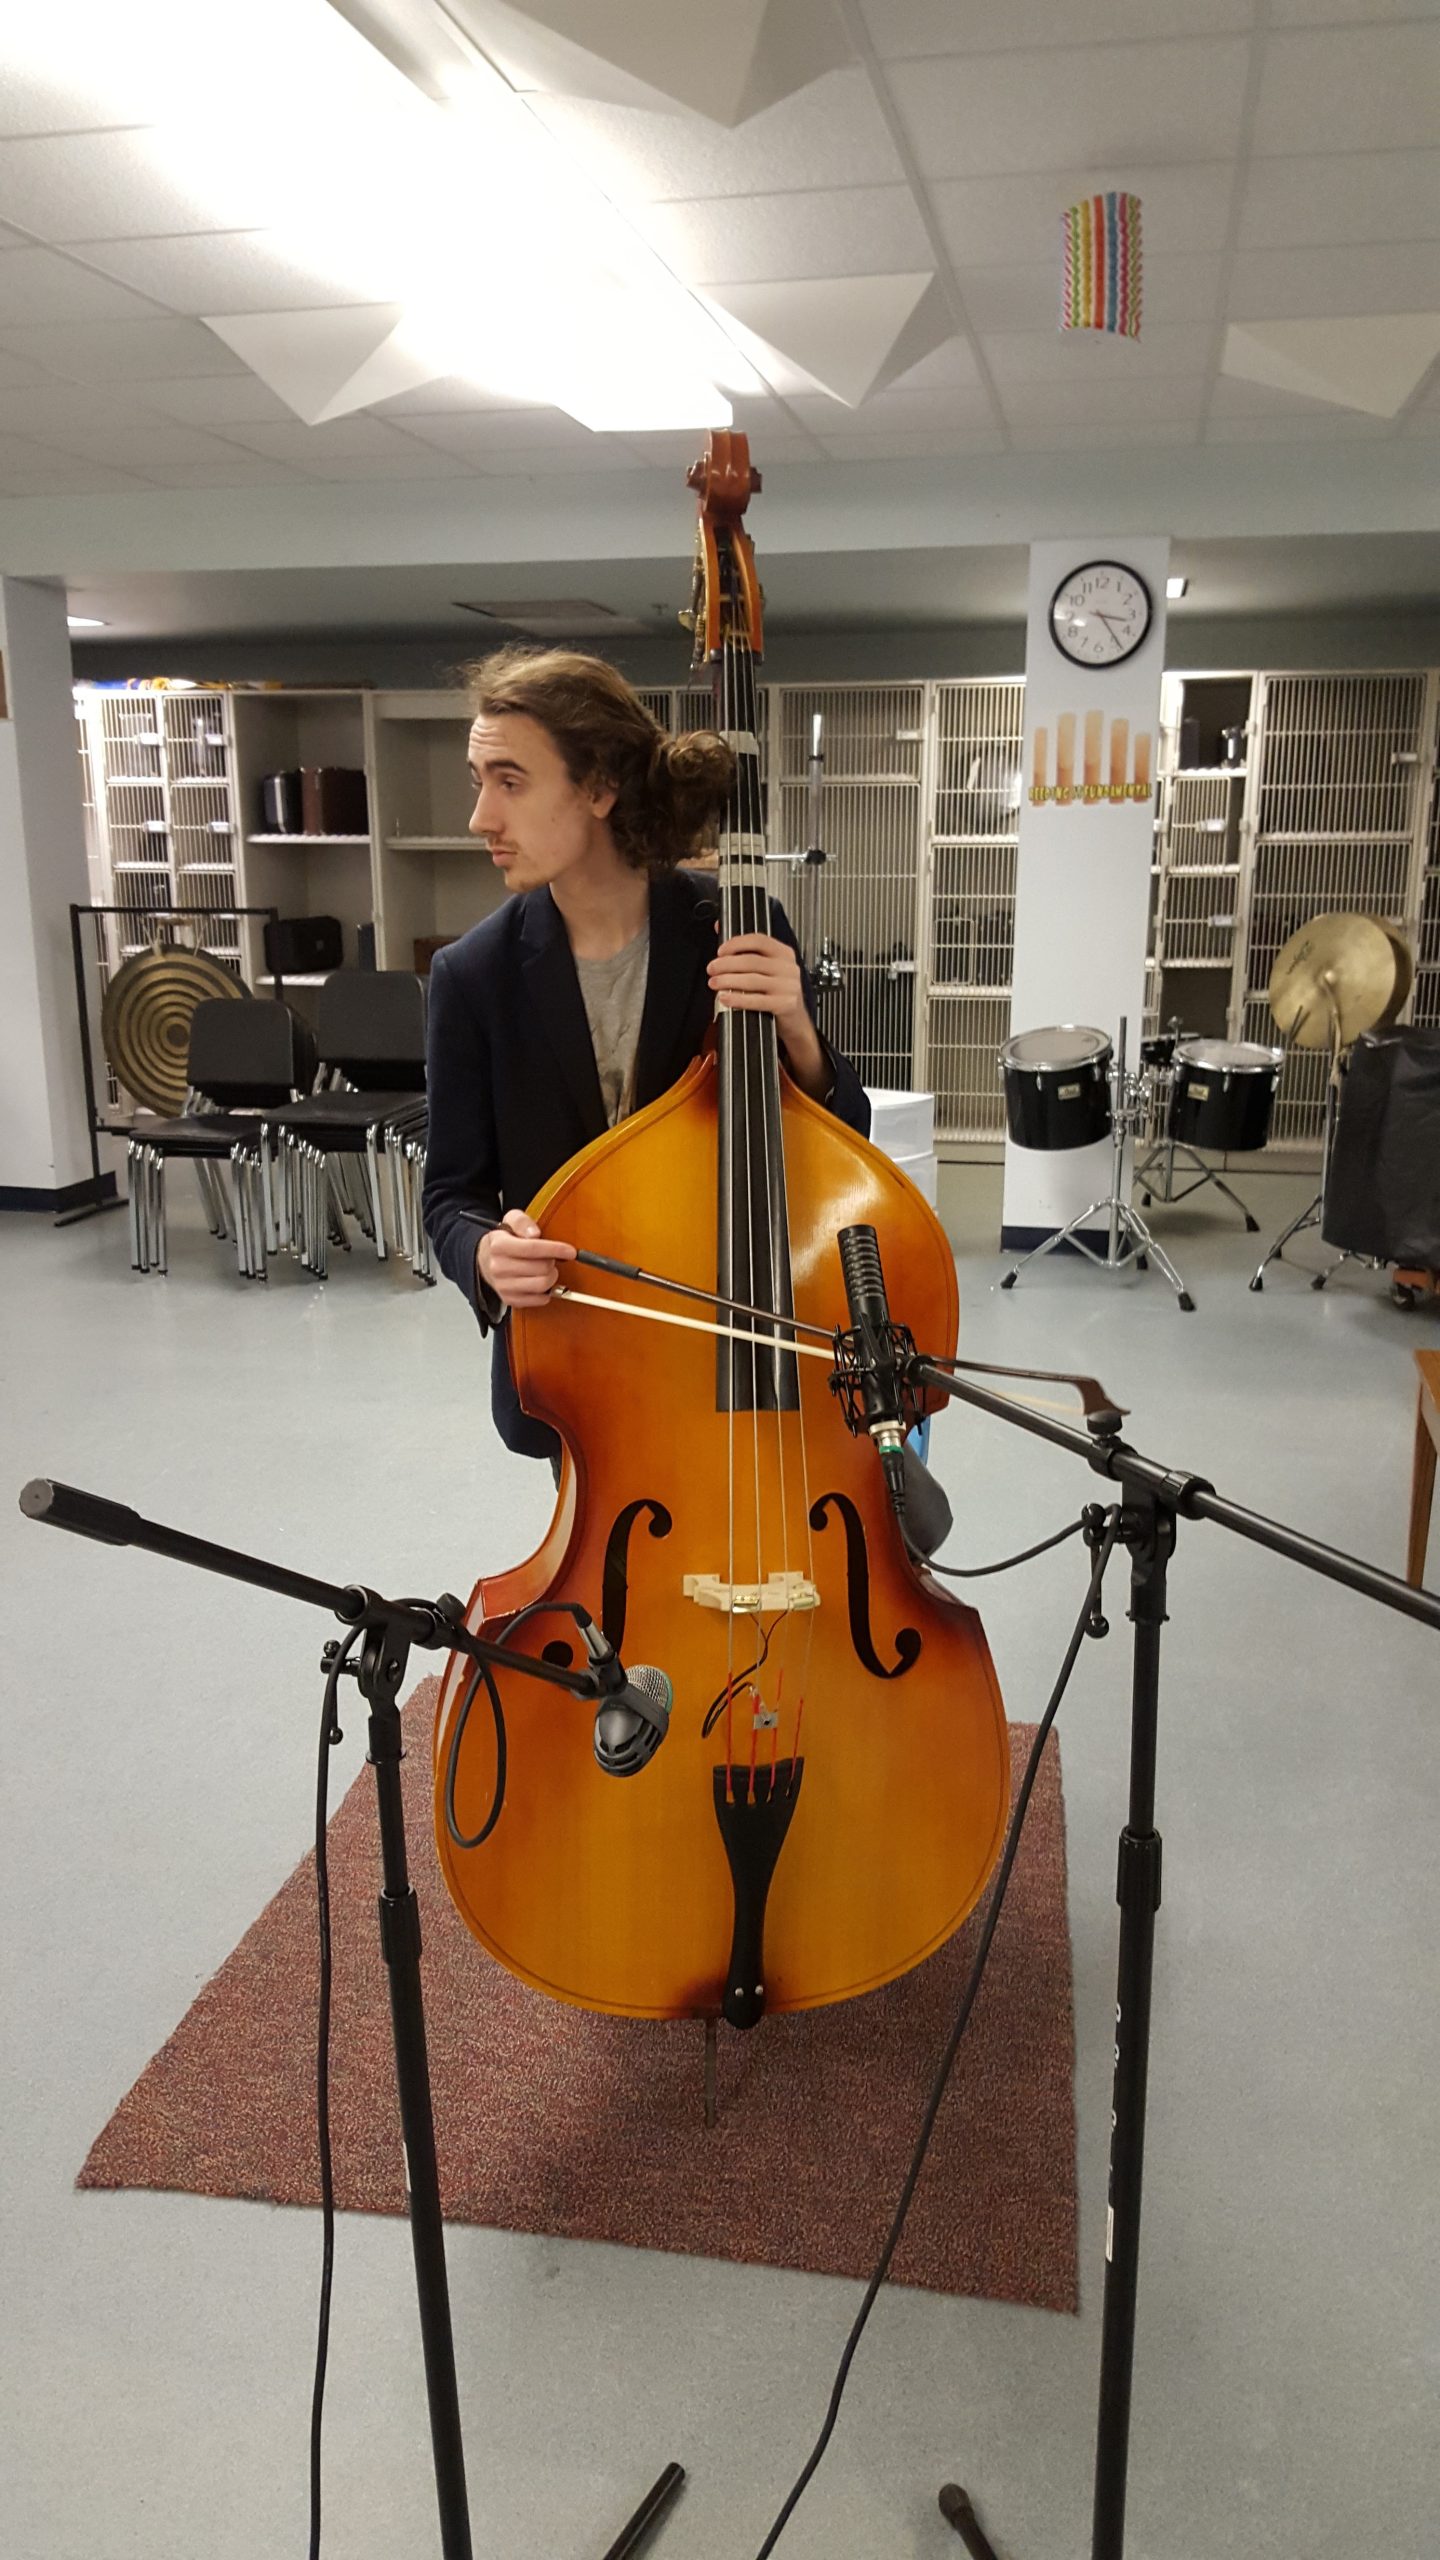
Solo Contrabass II (Jii)
Band Room; Durham, CT
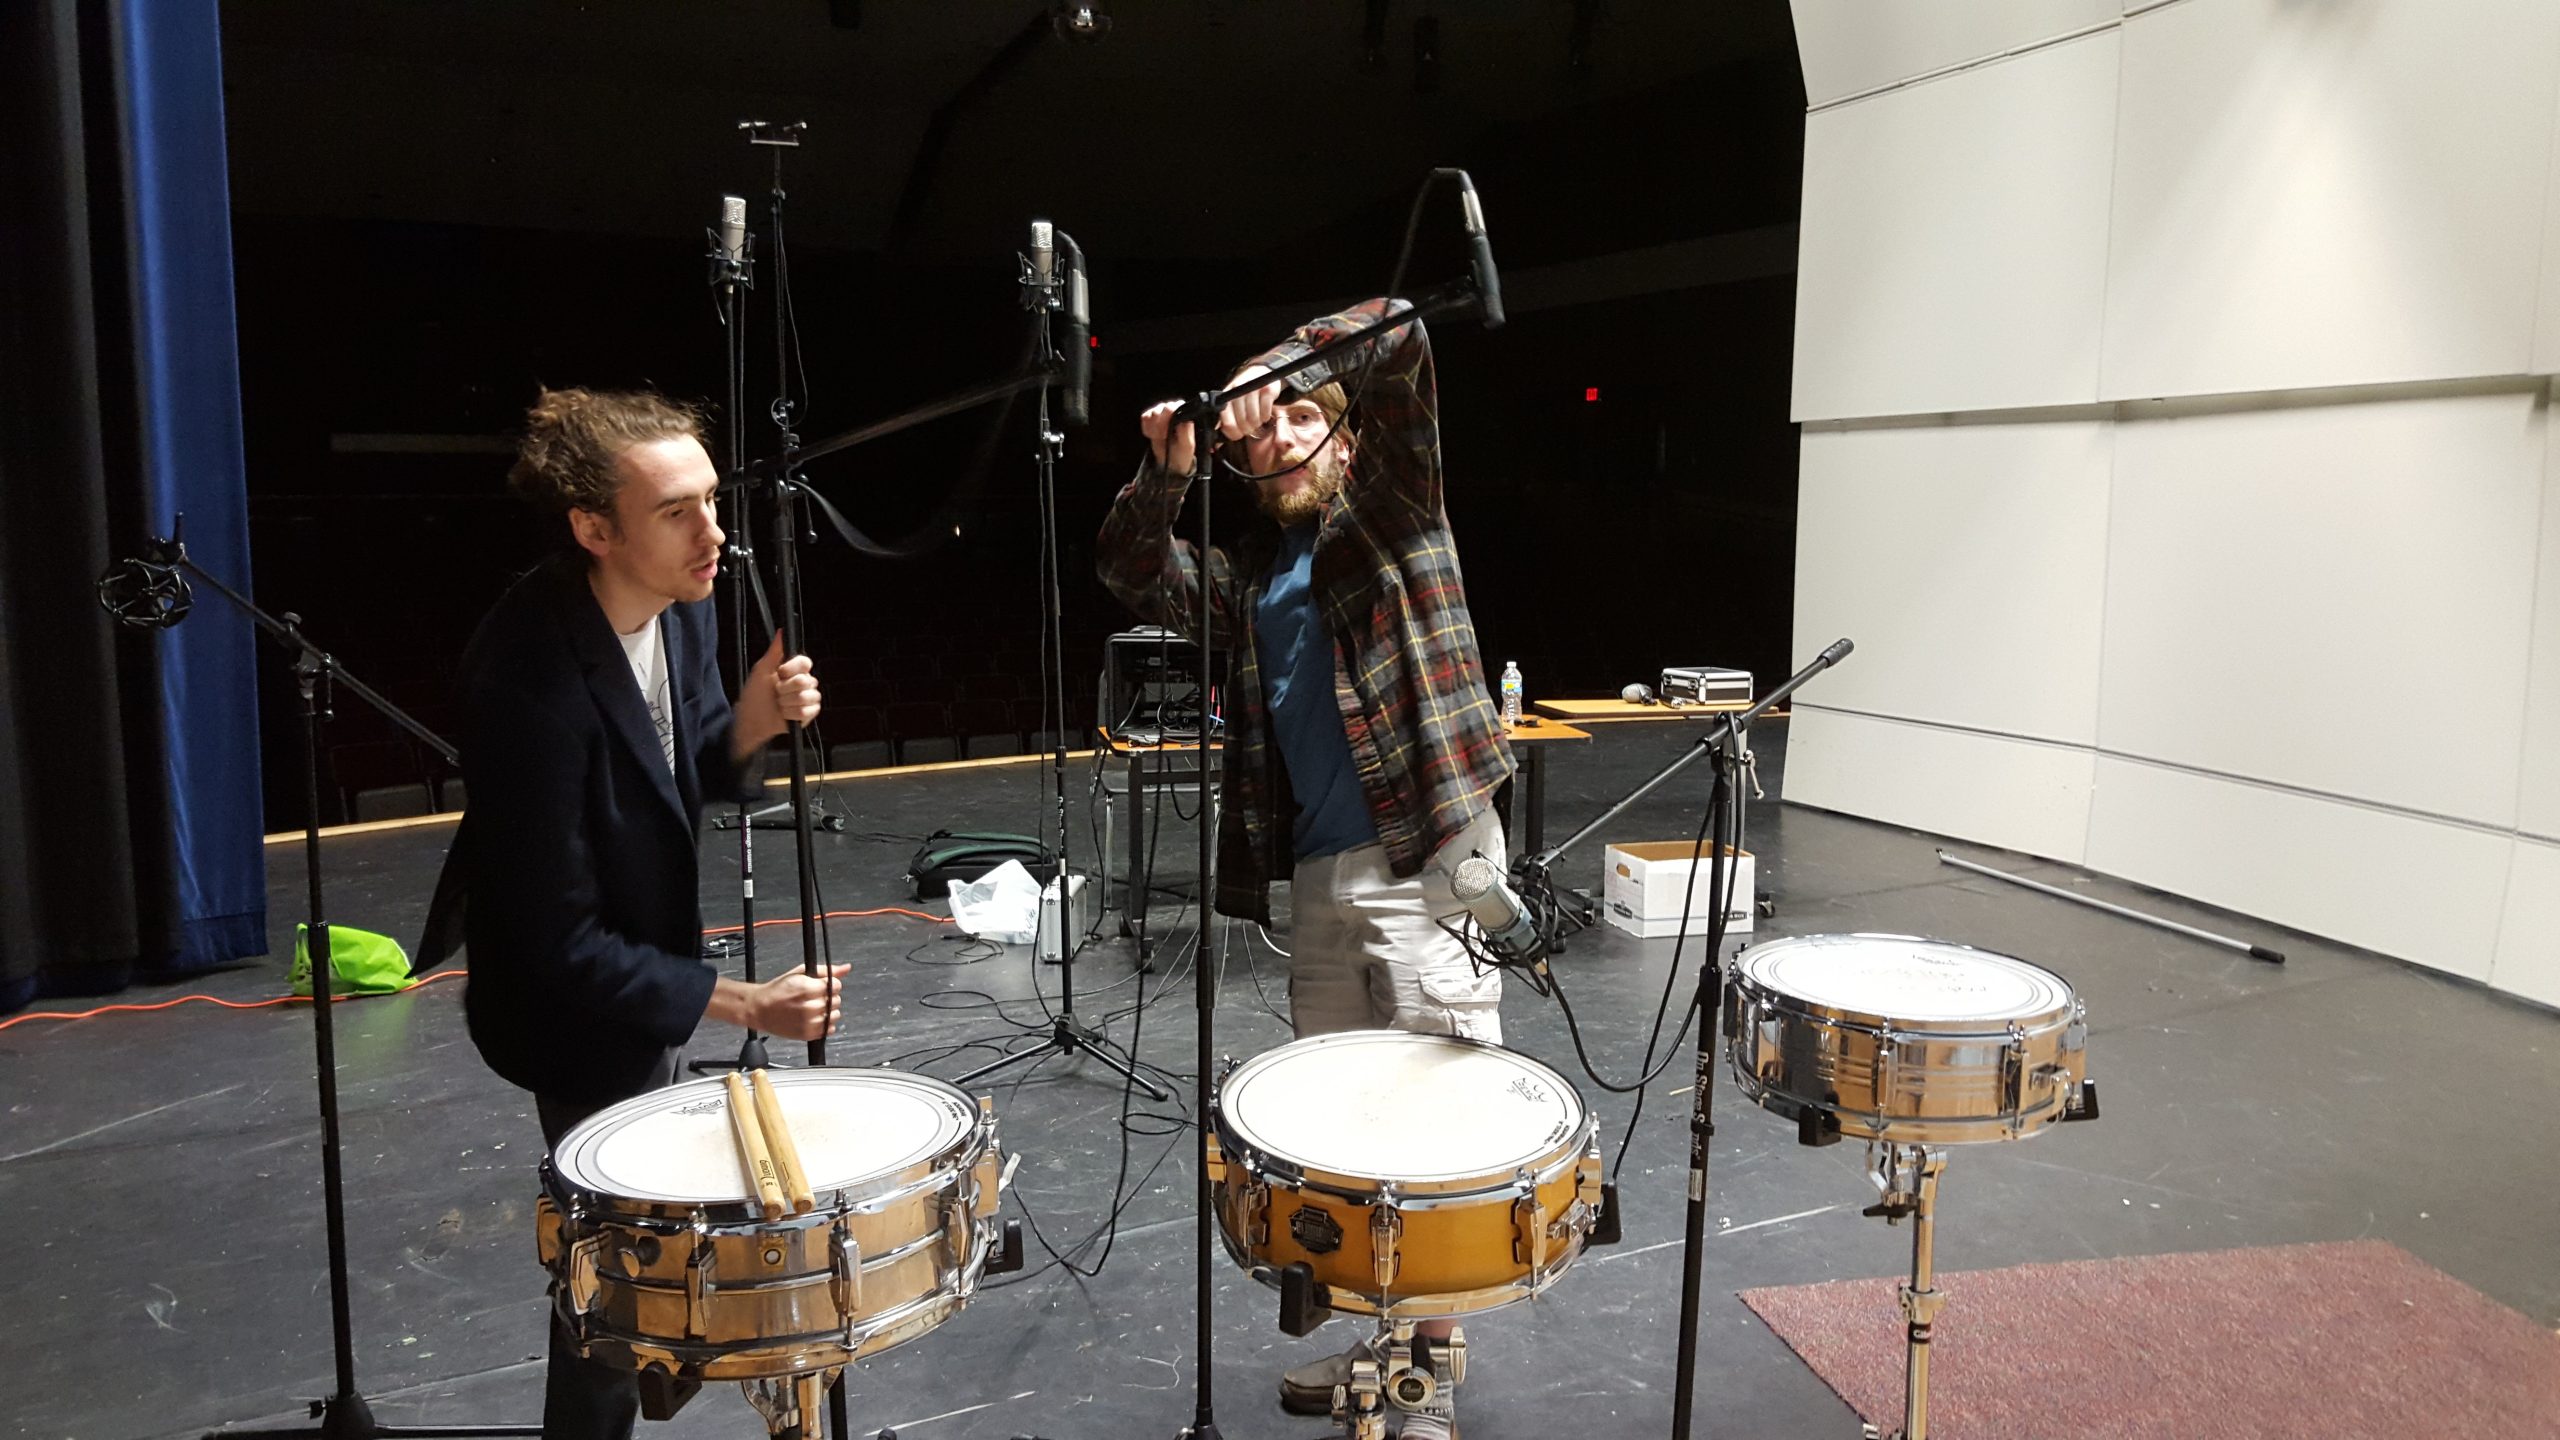
Sam and Jii set up to record the Snare Ensemble for VSCO 2
Thayer Auditorium; Durham, CT
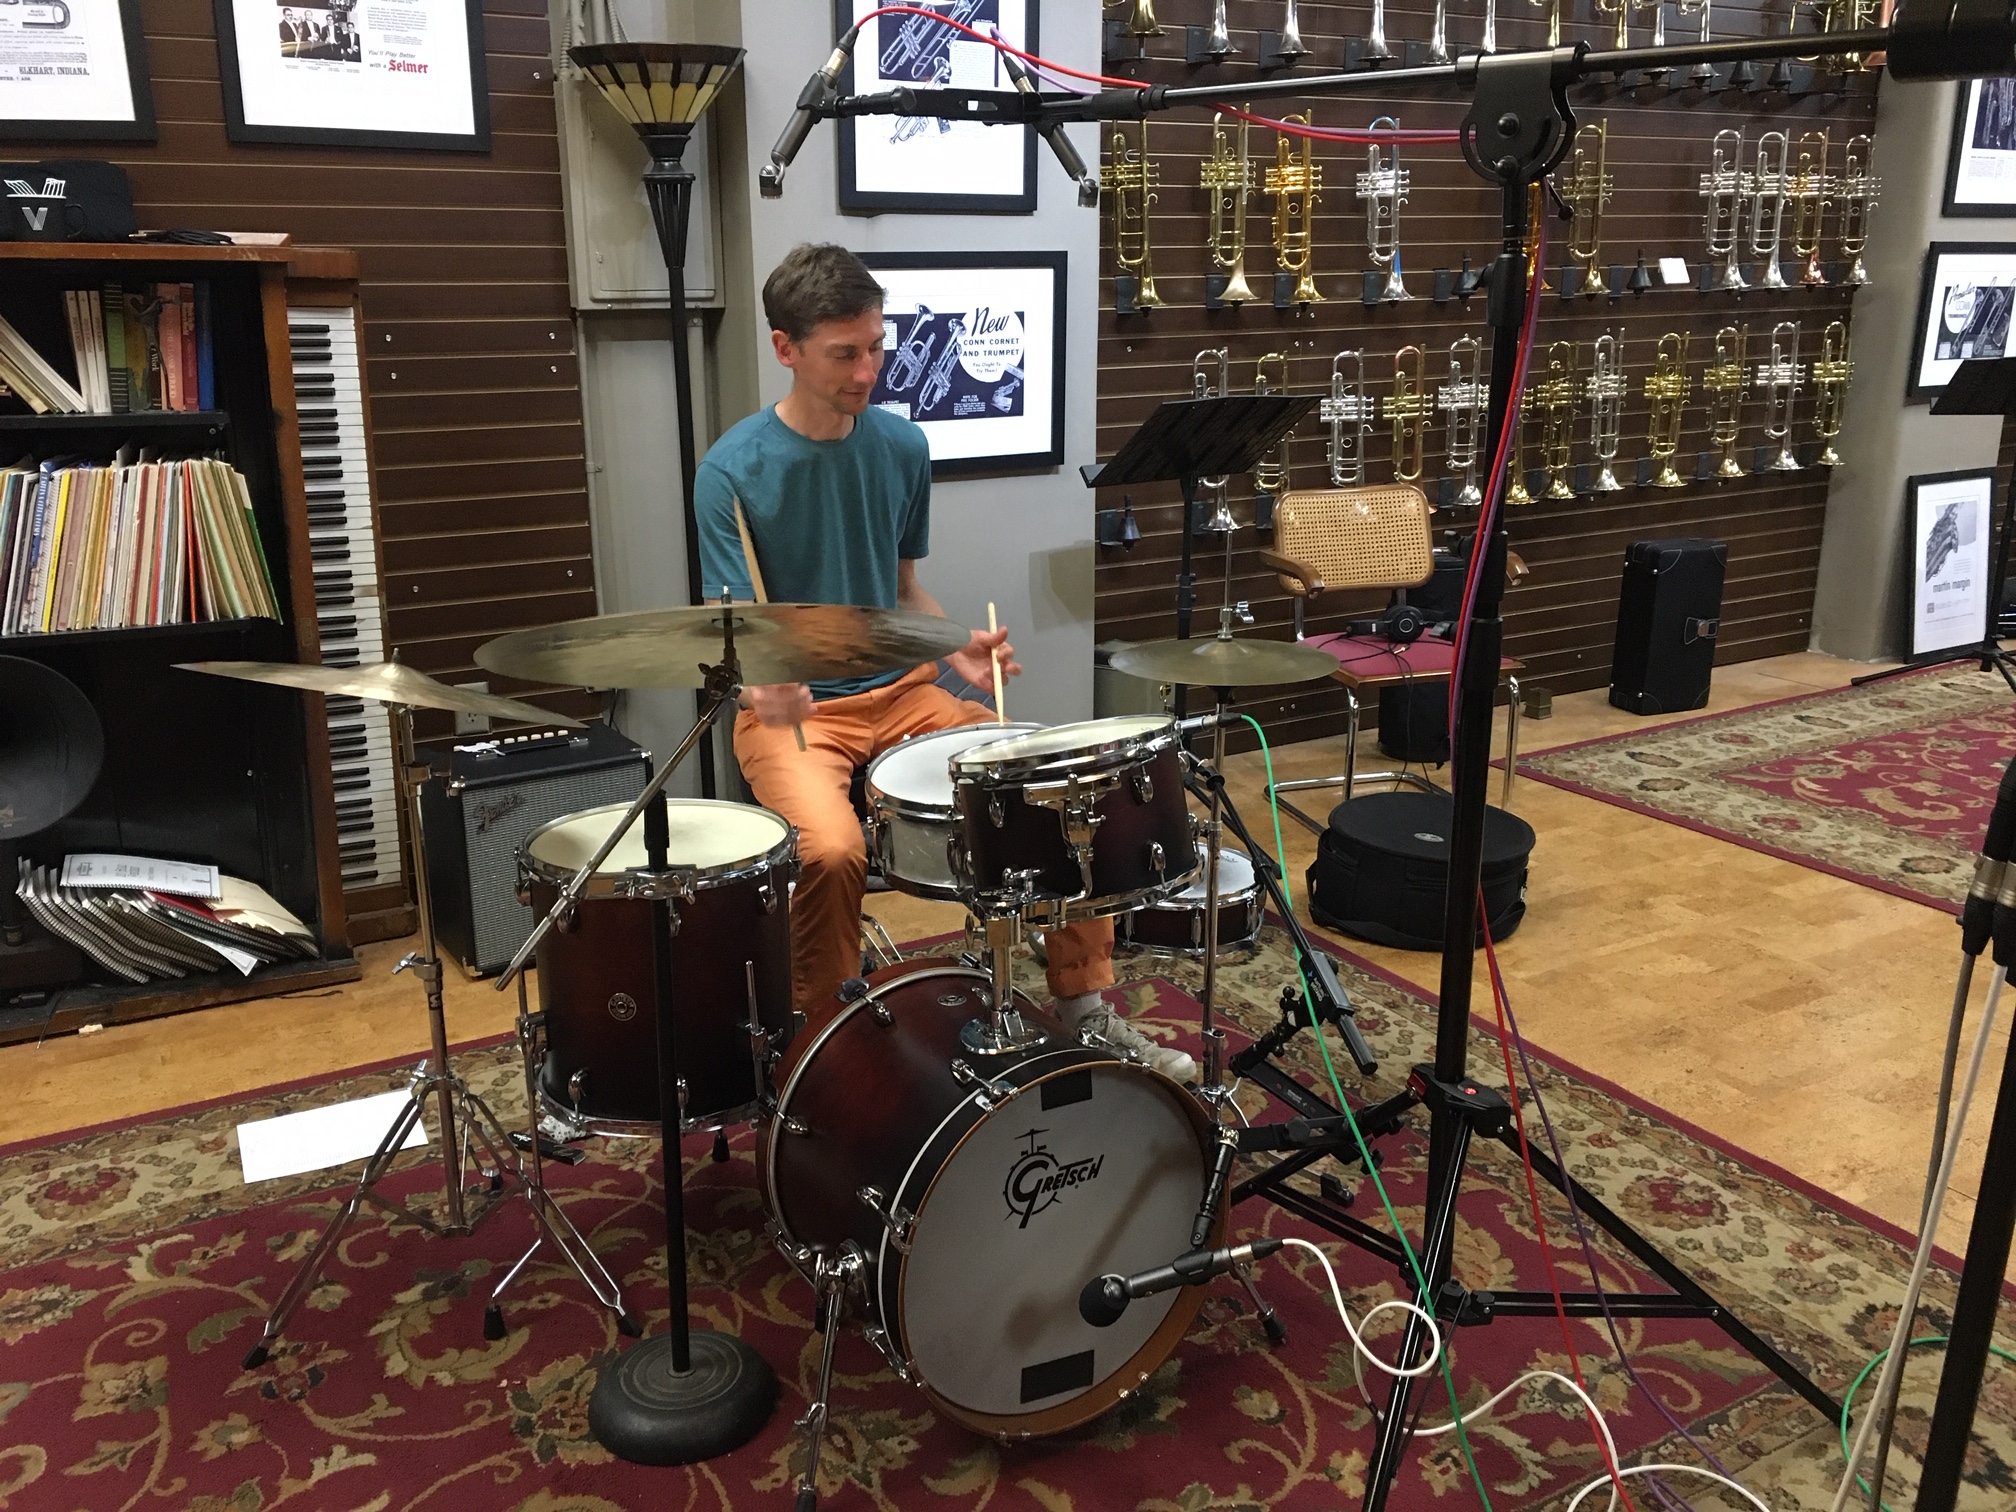
Virtuosity Drums Session with Austin McMahon
Virtuosity Musical Instruments; Boston, MA
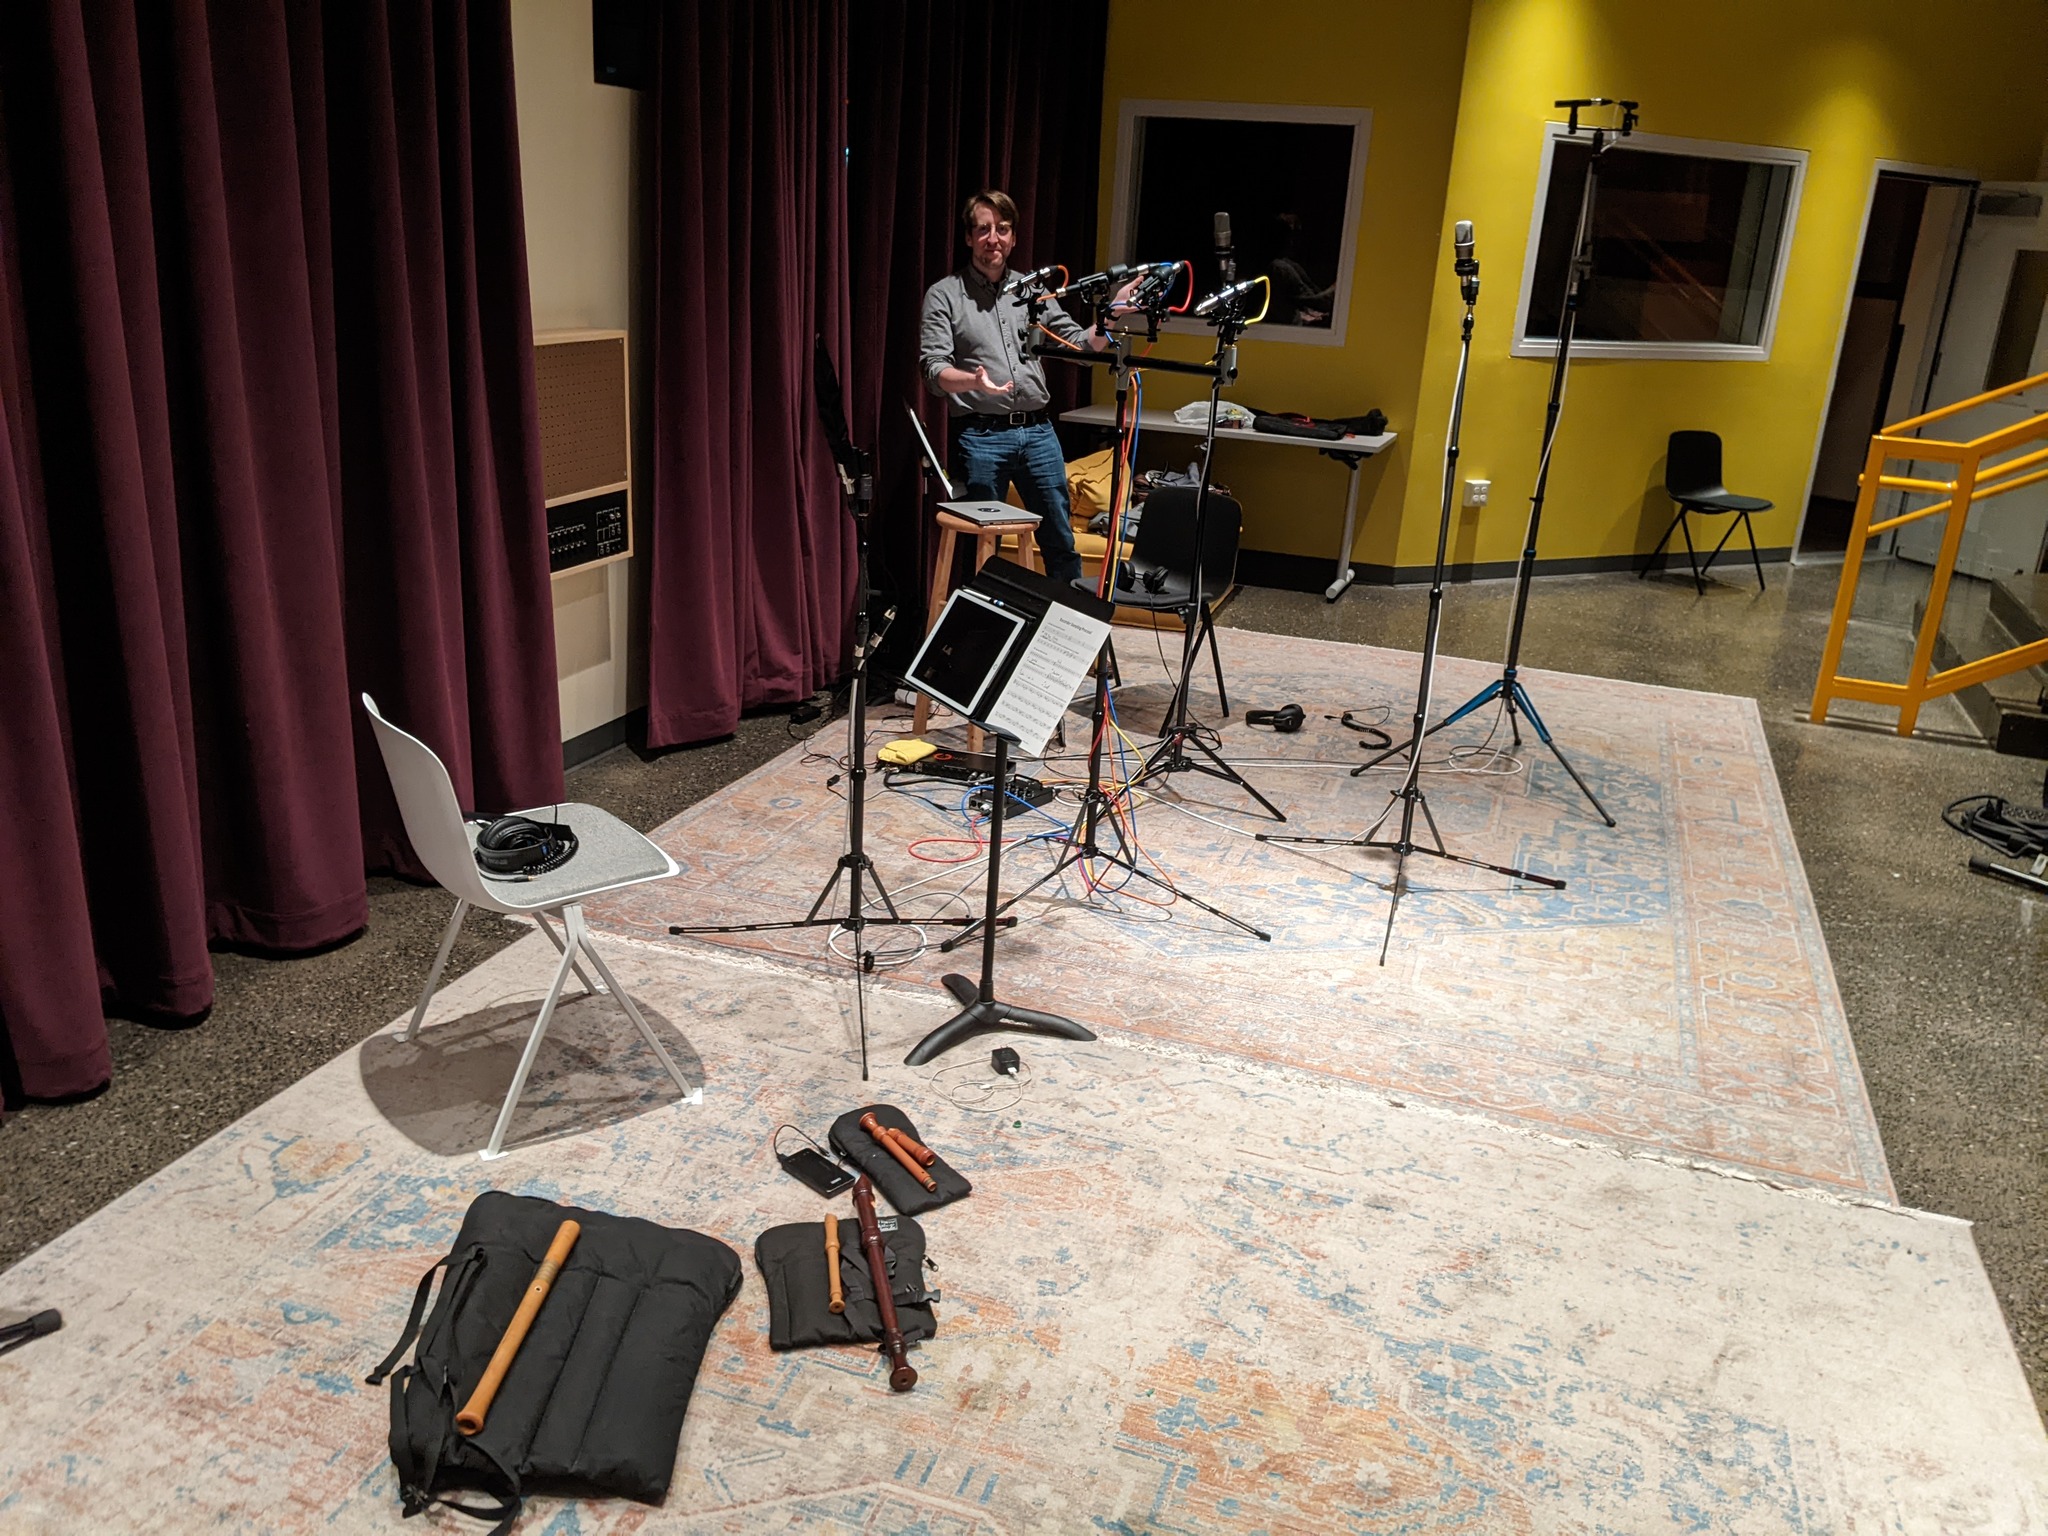
The Recorder Session
The Record Co., Boston, MA
There are a number of factors that are behind the location you will be sampling in. The most important factor period is noise. You MUST pick a location which has a low amount of ambient (“white noise”) and impulse (the train going by) noise sources. Of course, when you get to the location, there are a number of important steps you can take to mitigate noise that will be discussed later, but picking a good location can help a lot.
Avoid locations directly overlooking city streets. Favor locations facing alleys or in rural areas away from major streets, airports, and railways. Newer buildings are often quieter due to better insulation and construction, and brick buildings are almost always better than wooden buildings at blocking outside sound (if the windows are good).
Studios are of course the instant place of choice in the minds of most, but for budgetary reasons, they may not be the most economical- a studio costs anywhere from $50 to $500 a hour depending on the size, quality, and equipment involved. If you can locate a friend who offers a “friends and family plan” or a local studio that has lowered “off-peak” rates for extra hours or during under-booked periods, don’t hesitate to inquire.
If you have your own recording space or a large, treated space, that will work as well. Local schools and universities (nice big auditoriums and noise-treated band rehearsal spaces!) may be willing to allow usage of their spaces and even equipment for free or a small fee during off hours or summer break- a great reason to be friendly with local faculty.
Lastly, churches are often in need of donations and will often be willing to allow you to record in their spaces. However, churches can be quite noisy as they don’t typically focus on noise isolation like a school auditorium might, but typically have very good acoustics.
Location Scouting
When recording in a new location, take time to scout out the location and inquire BEFORE making any agreements. Spend at least 15 minutes in the location walking around, sitting quietly to hear the ambient noise threshold, and inquire about the noise level of air conditioning, whether it can be disabled if needed, and about any local noise sources of concern.
Ideally you want a space that has at least one “quiet” side or corner, around which you can focus your recording efforts, and you want the ability to control or disable any noise sources (A/C, refrigerators, TV’s, etc.) on the day of the sampling session. There is NOTHING worse than showing up at a session with all your gear in tow and realizing it is just too noisy due to loud neighbors to record samples. This has happened to me. It sucks.
Different instruments obviously respond better in different spaces. The goal of the sample set should always be to provide the greatest flexibility to the end user whenever possible (hence why recording multiple mic positions is, at least for commercial libraries, essential). Some users may seek to isolate a dry, close sound, while others may seek a distant wet sound. It is always possible to increase the reverb on samples as a built-in reverb in the sampler, but very difficult to remove unwanted reverb, so always err on the side of less room tone if possible.
A particularly active room should not be used for heavy-transient instruments such as drums. Categorically avoid small, ‘active’ rooms, which have many standing waves and will sound boxy, especially with brass (you know the type; those blank drywall-coated spaces you see in new houses these days). A larger space is generally, but not necessarily better as the standing waves will be less annoying, but you may get a noticeable ‘slap’ on the early reflections.
How to Sample
The next portion of the plan is the numbers- how many round robins, velocity layers, mic positions, intervals (pitches), and articulations. These choices are directly related to the amount of time, and thus capital, available to complete the recordings. One must balance and make an estimate of time involvements in order to determine how much of each of the five detail factors is allocated.
Round Robins OR Multisamples OR Repetitions– repetitions of the exact same velocity layer and articulation parameters to get recorded variations. These variations are particularly crucial with short articulations such as spiccato, pizzicato, staccato, as well as attacks on sustaining notes. Sustaining articulations benefit greatly from 2-4 RR’s, while short articulations should have between 4-16 RR’s available.
Velocity Layers– the number of dynamics isolated by the sample library. It might just be pp and ff, or pp, mp, mf, and ff… or more (to a maximum theoretical of 128 discrete dynamics). Despite common sense, more isn’t always better, as with crossfading instruments, sometimes the best results can be achieved from between 2-3 velocity layers (such as Spitfire’s famous Albion series). A good range is 2-5 for sustaining instruments and small percussion, 4-8 for keyboards and mallets with dynamics, and 6-16 for membranophones (drums) and gongs/cymbals.
Mic Positions– instead of mixing down all the mics to a standard stereo output, each microphone array may be mixed down to a preset position, e.g. close, mids, outrigger, etc. Many products still only offer a single position, but the demand for multiple is quite strong and can serve to greatly help a product’s value. This is the only factor that doesn’t significantly affect time budget.
Intervals OR Pitches (Pitch Fidelity)– instead of sampling every single note on the instrument (chromatically), the sample recordist may choose to sample every other note (wholetone) or every third note (minor thirds). In some cases, other formats, such as the “Diatonic Thirds” method employed on VSCO 2 (in order to match the best resonances on wind instruments, those most closest to the open form), or even in extreme cases, just the tritone cycle, may be used to further reduce time required while retaining respectable detail. While chromatic sampling is lauded as a mark of excellence, wholetone sampling is still widespread, an diatonic is not overly uncommon either (especially since it is easy for musicians to play in tune and comfortably with a good tone on wind and string instruments).
Articulations– discrete techniques to performing on an instrument. It may be as simple as “arco vibrato” or “pizzicato”, or as complex and bizzare as “extreme sul ponticello over Mongolian throat singing”. More articulations is almost always better.
In addition to the above, one can also keep in mind the option of sampling ‘true legato intervals’ for all the intervals on the instrument (chromatically). This method allows the construction of a ‘true legato’ instrument (for sustaining monophonic instruments only)- some even go so far as to record multiple lengths or varieties of legato, and one must also remember: each velocity layer sampled requires a true legato interval set to match for best results.
Seeking Balance
In the end, one must balance out all factors to create a realistic instrument in the time given. Ideally, one would choose the highest possible of all factors, but on a budget or in tight time, certain reductions must be made in order to fit. To determine which is the first to go, determine if articulations or the interval of sampling is more important.
Often times, a wholetone instrument sounds just about as good as a chromatically sampled instrument, while saving 50% of time and 50% of size on the system. Articulations are usually a big selling point, so it’s typically not a great idea to reduce them if possible. In addition, RR’s may be reduced, but for a professional instrument, you want a minimum of 2 RR’s on sustains and 4 RR’s on shorts.
Mic positions do not take up more time, and thus it’s best to record as many as you can rationally devise- it’s not hard to ignore or merge useless positions later if they take up too much hard drive space. Lastly, velocity layers can be reduced, especially near the edges of instruments’ ranges, where there is almost always less dynamic range. However, a minimum of three is typically a good idea.
Analog to Digital, Discrete from Infinite
Consider that the process of sampling is effectively a process of ‘analog’ to ‘digital’ conversion. You are taking something which is analog, that is, infinitely variable, and converting it to something that is digital, that is, in discrete, stepped levels. When a musician plays, they are perpetually varying aspects of their performance- volume, timbre, pitch, vibrato, even things like bow position factor in.
At the end of the day, it is up to you to take all those disparate variables and assign a set number of “accepted parameters”. Do you record with and without vibrato? Or with three levels of vibrato? Is there tremolo, and how fast is it?
The final decision one has to make regarding how to sample is the order. There are two primary schools of thought:
- Emphasize consistency: cycle through all notes on each velocity layer of each articulation before proceeding to the next layer.
- Emphasize intonation: cycle through all the articulations/velocity layers/RR’s on each note before proceeding to the next; rinse, retune, repeat.
As may appear evident, these two methods are somewhat exclusive of each other; that is to say, if you emphasize the intonation by recording one note at a time, you may end up with some inconsistent velocity layers if you have too many of them. However, this also means you will save a ton of time when recording a group (particularly the larger the group gets) by not having to retune constantly before every different note take. Therefore, it’s typically best to go with the first “school” when sampling ensembles and may be used for solo instruments.
On the other hand, if you emphasize consistency, if you are working with movable pitch instruments without a tuner or drone reference (not recommended!), pitch may be quite inconsistent to the point that a forte sample might be 10-20 cents sharper than the piano sample. However, this method helps keep instruments much more consistent across velocity layers, and thus is almost a given for all percussion and keyboards, and should generally be used for solo instruments.
You may decide to go a completely different route with order, and that’s fine too. Find an order that makes sense to you and is easy to remember and easy to explain (or else can be easily notated out for others if needed).