Or, “How I made an orchestral sample library in my free time for under $10,000”
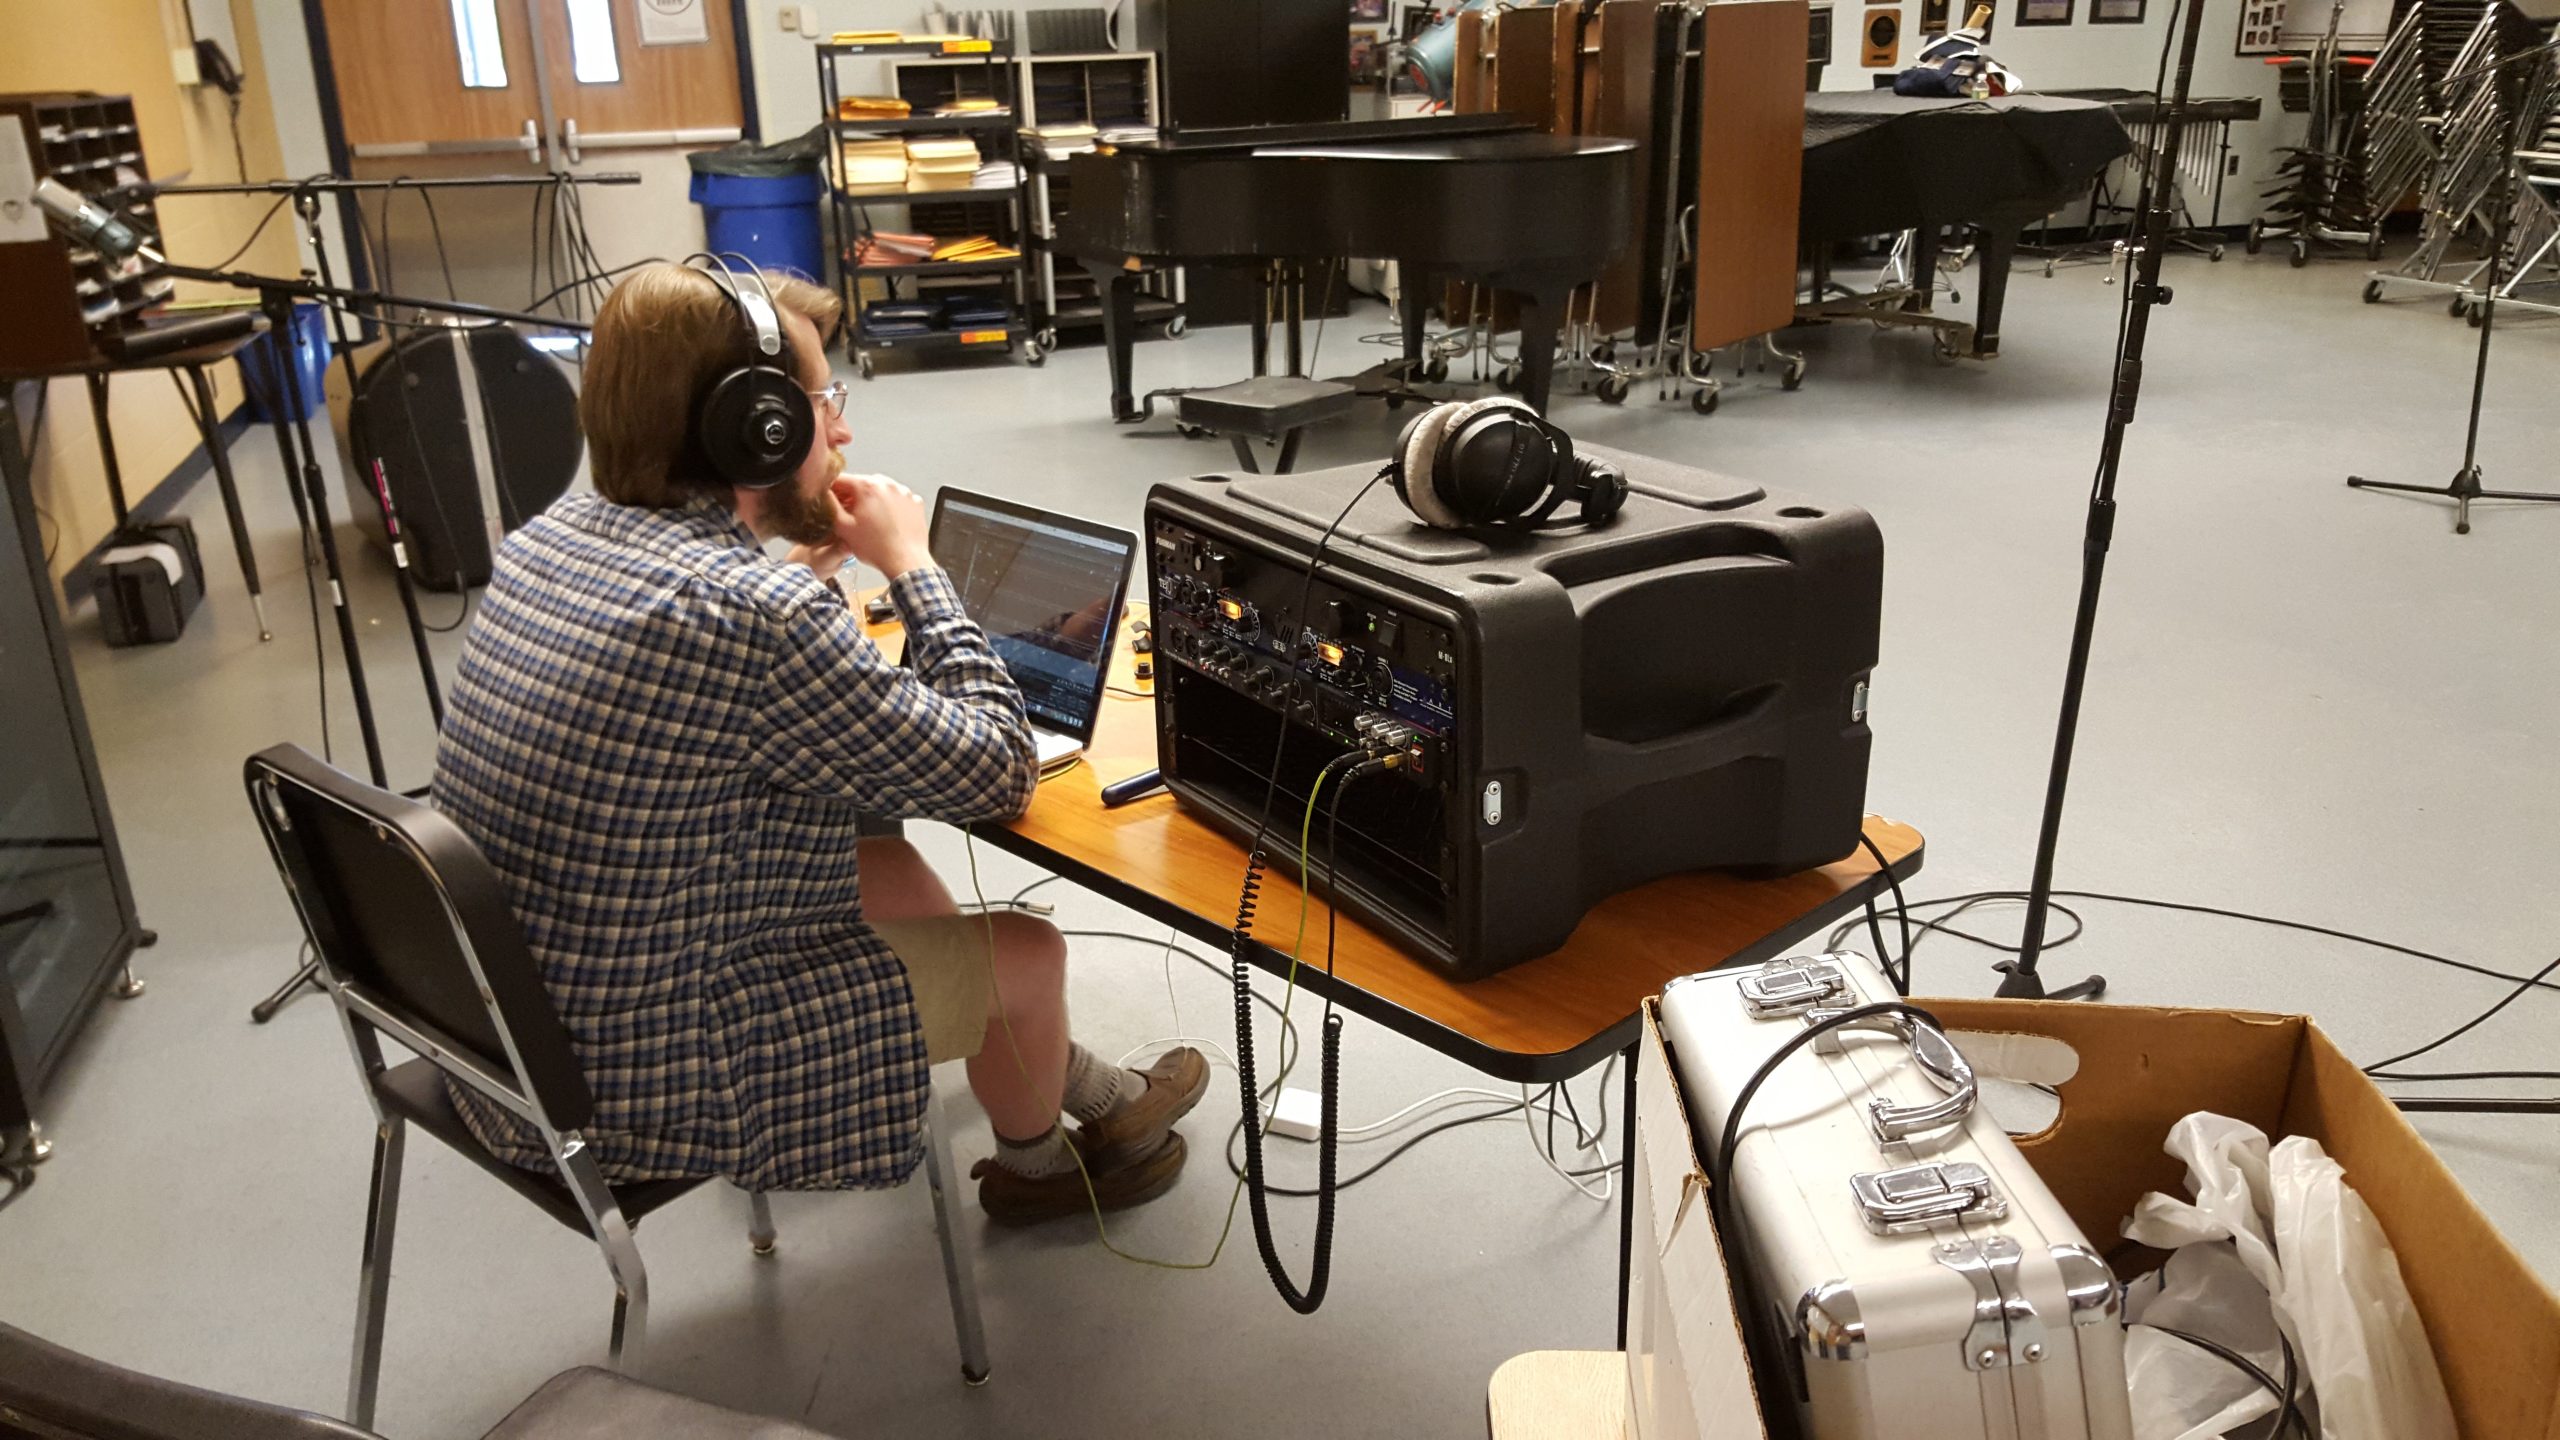
This section is dedicated to working with live performers. If you are planning on recording yourself alone, skip to “Solo Sampling”.
Coordination and Communication
Locate and lock in your performers at least 72 hours (three days) before the session, if not a whole week. Remember professionals book up typically a week in advance if not more, so you should take care to book in advance. Always get the musician onboard first, then get the location. It is way easier to find an alternate location than it is to find an alternate musician in virtually all cases. Clarify that the musician will bring their own instrument, and provide them with detailed instructions on how to reach the location if they are coming to you. If you don’t have a place to record, you may intimate discreetly that you are in need of a common location or “would be willing to come to you if that is more convenient.”
In your communications (and this goes in general), try not to be super serious and business-like, au contraire! You should, while considering the suggestions above, try to be personable and as honest as possible. Address people by their first name and memorize it. A huge part of successfully sampling musicians is getting them to RELAX, which, as a sample library developer, is honestly the hardest thing you will have to do during the entire session.
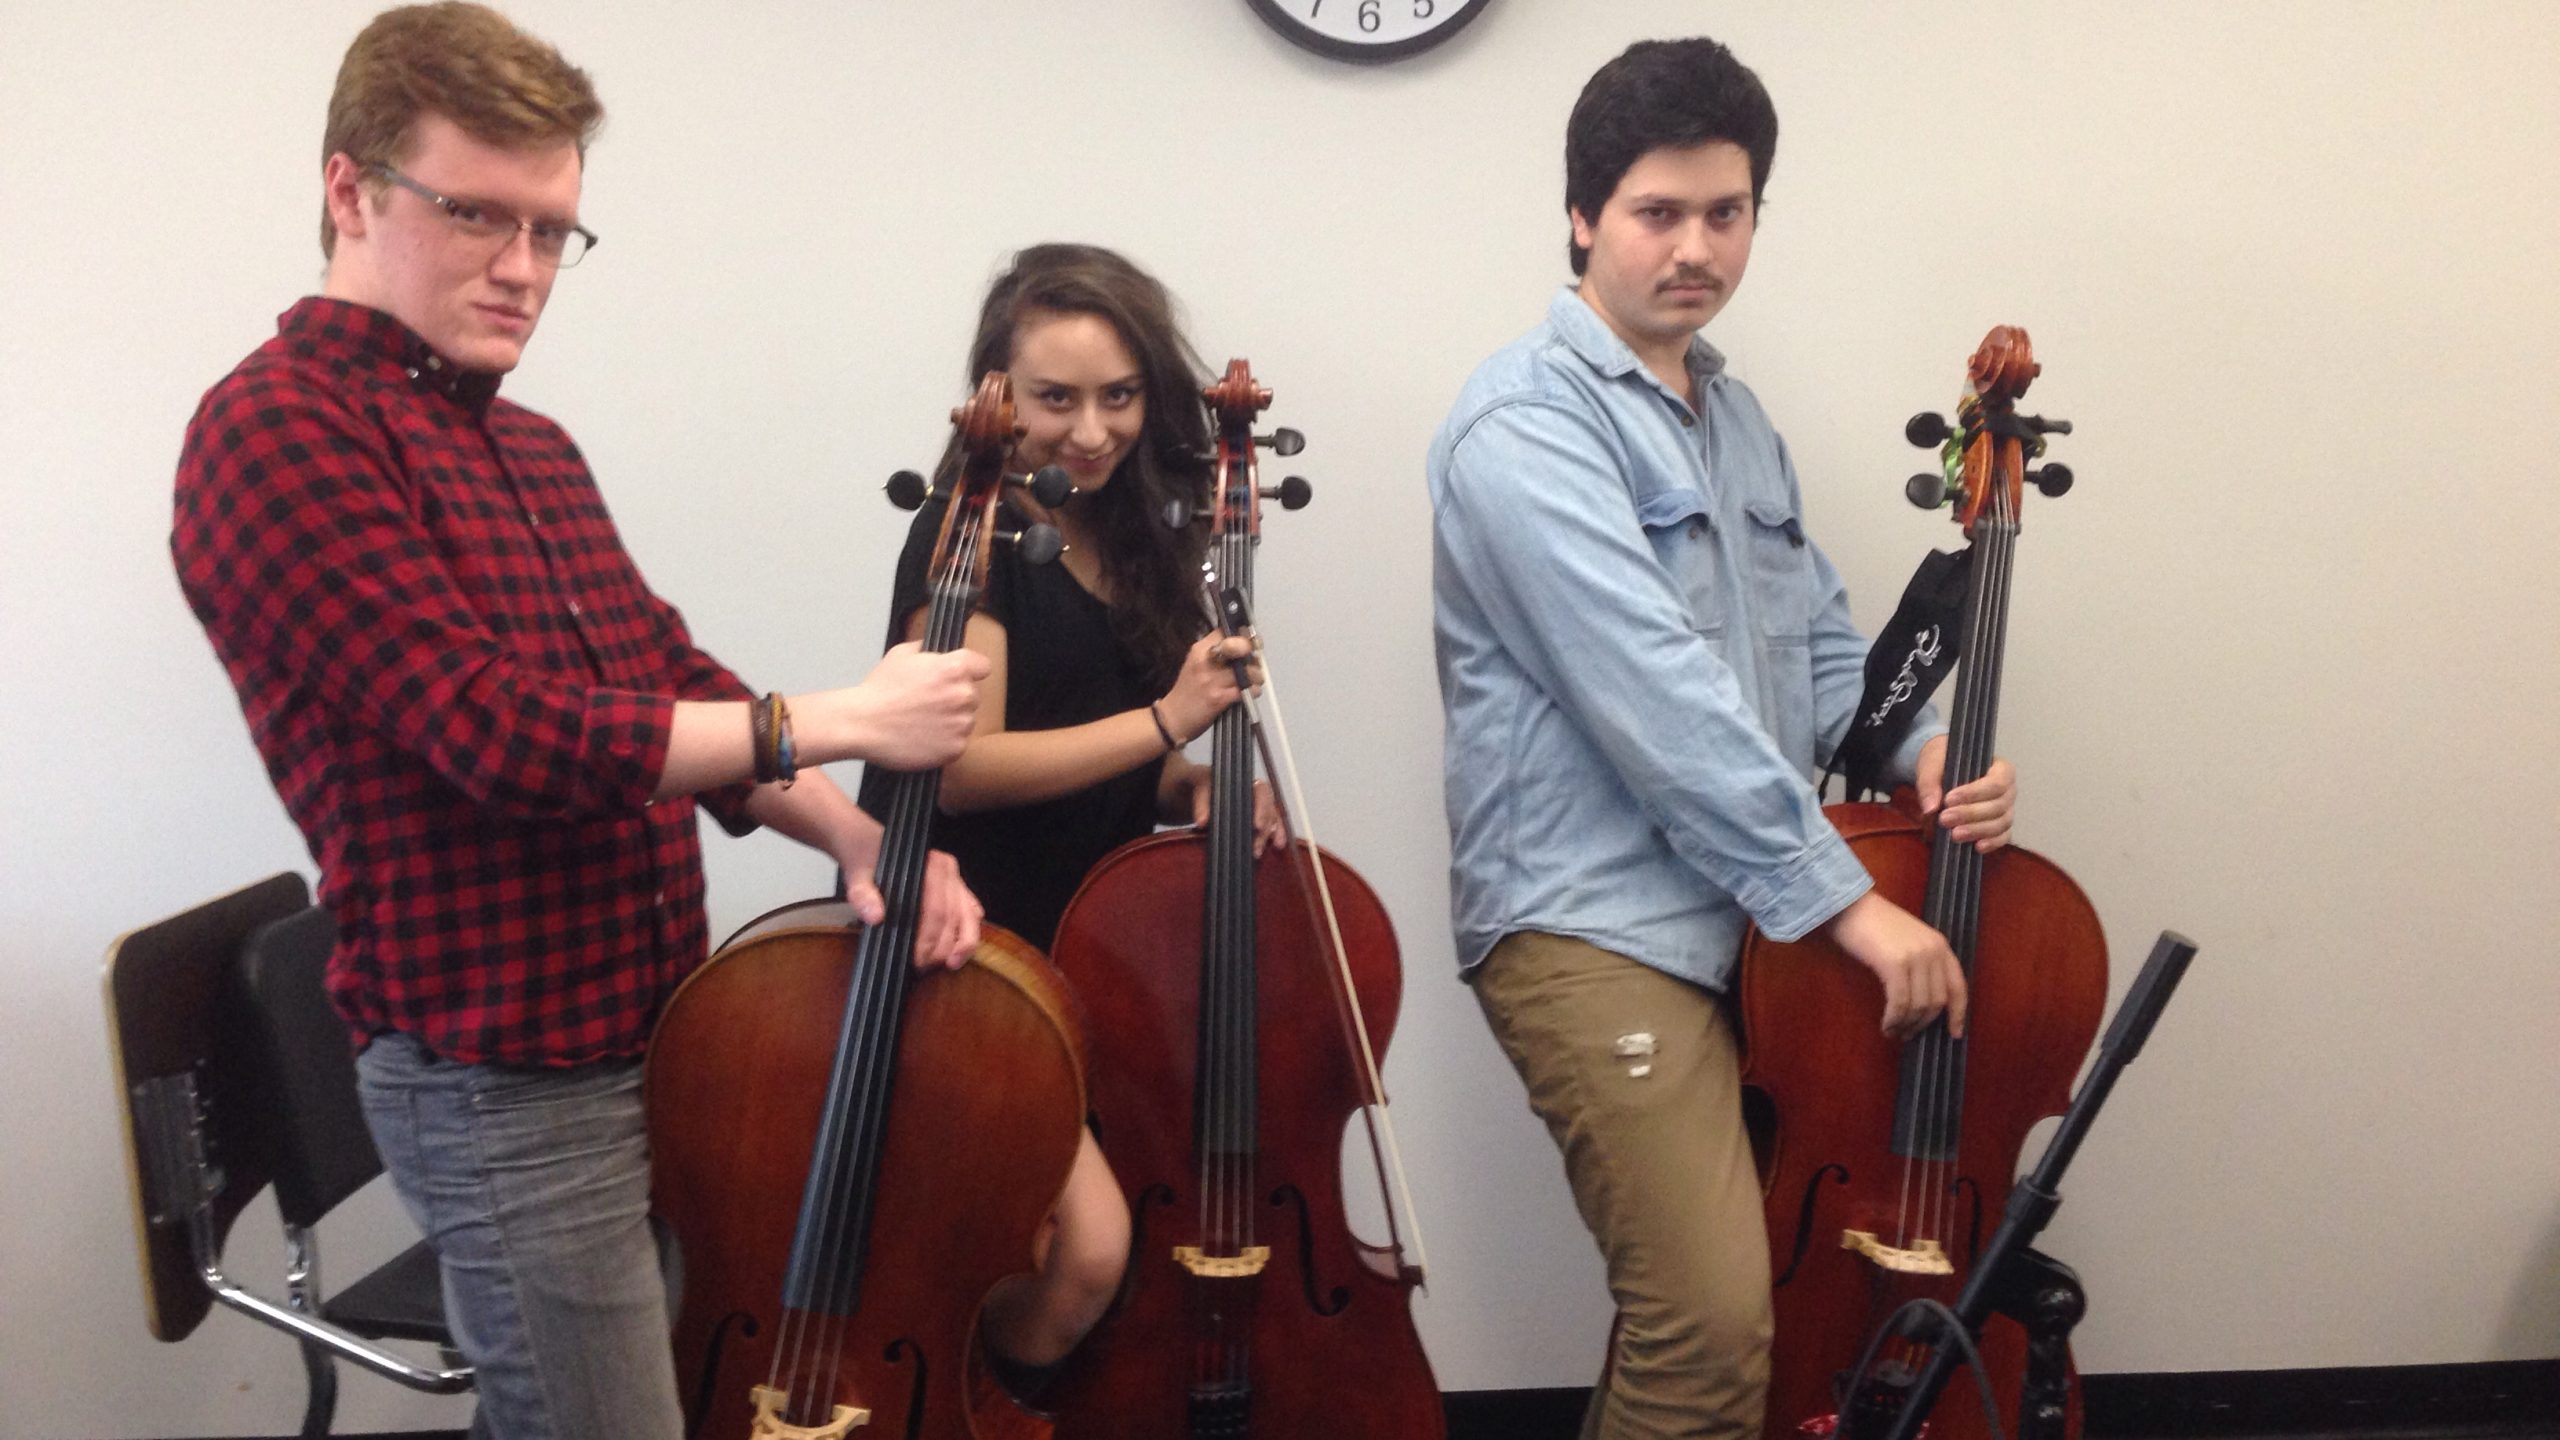
Musician Motivation and Performance
Everyone gets nervous, even the most veteran performers. Sampling to about 98% of musicians is a new and unusual experience, and no matter how many times you explain it is “no more complicated than playing long-tone warmups” or “the easiest session you will ever play on,” people are still nervous.
Your goal, as conductor of the session, is to knock the musician totally off their guard. It helps if you are already friends, but if you aren’t this is ten times as important.
Stress
Why shouldn’t musicians be stressed? Doesn’t stress make people think critically and clearly, and worry about precision and accuracy?
Stress makes people hyper-critical, not to mention causes muscles to contract and the diaphragm to shrink- for wind players, this is not very good, and even for string players this leads to poor posture. Sampling requires sitting for long periods of time in the same place and doing small, precise actions over and over again. Thus, a perfect storm leading to an unhappy musician with potential back problems, poor, weak samples, and a waste of potential.
This is especially true with ensembles. Stressed out musicians will spend much longer trying to tune, get frustrated and dejected much faster from the tuning process, and overall give a much poorer performance.
Even “good” stress, making an individual seem serious and professional, can still cause internal changes that affect diaphragm and mental changes that affect the endurance and most importantly, confidence.
Confident, relaxed musicians therefore make the best samples. Humor is quite possibly the easiest and fastest way to win the confidence of the musicians you are working with in the very brief time you have. Humor and confidence will empower the performers to ask clarifying questions and give valuable suggestions, such as suggesting a change in tuning method that is much faster, or suggesting an articulation that would otherwise go unsampled (*cough cough* sul ponticello over Mongolian throat singing *cough cough*).
Reactions
Each musician you work with will have a different reaction to the process. Many really open their ears and catch a “glimpse” of the magic deep listening reveals inside otherwise plain notes. Others listen deeply but become very self-critical in the process- every note they ask for a re-take; “it has to be just right,” they say. On the other hand, some people get really, really silly by the end. I once was almost in tears laughing as we tried to sample a few unusual trills on a flute requiring both the player and myself to get to work (the only known instance of flauto four-hands in recorded history).
So where do you start with getting the musician on the right path?
First Steps (literally)
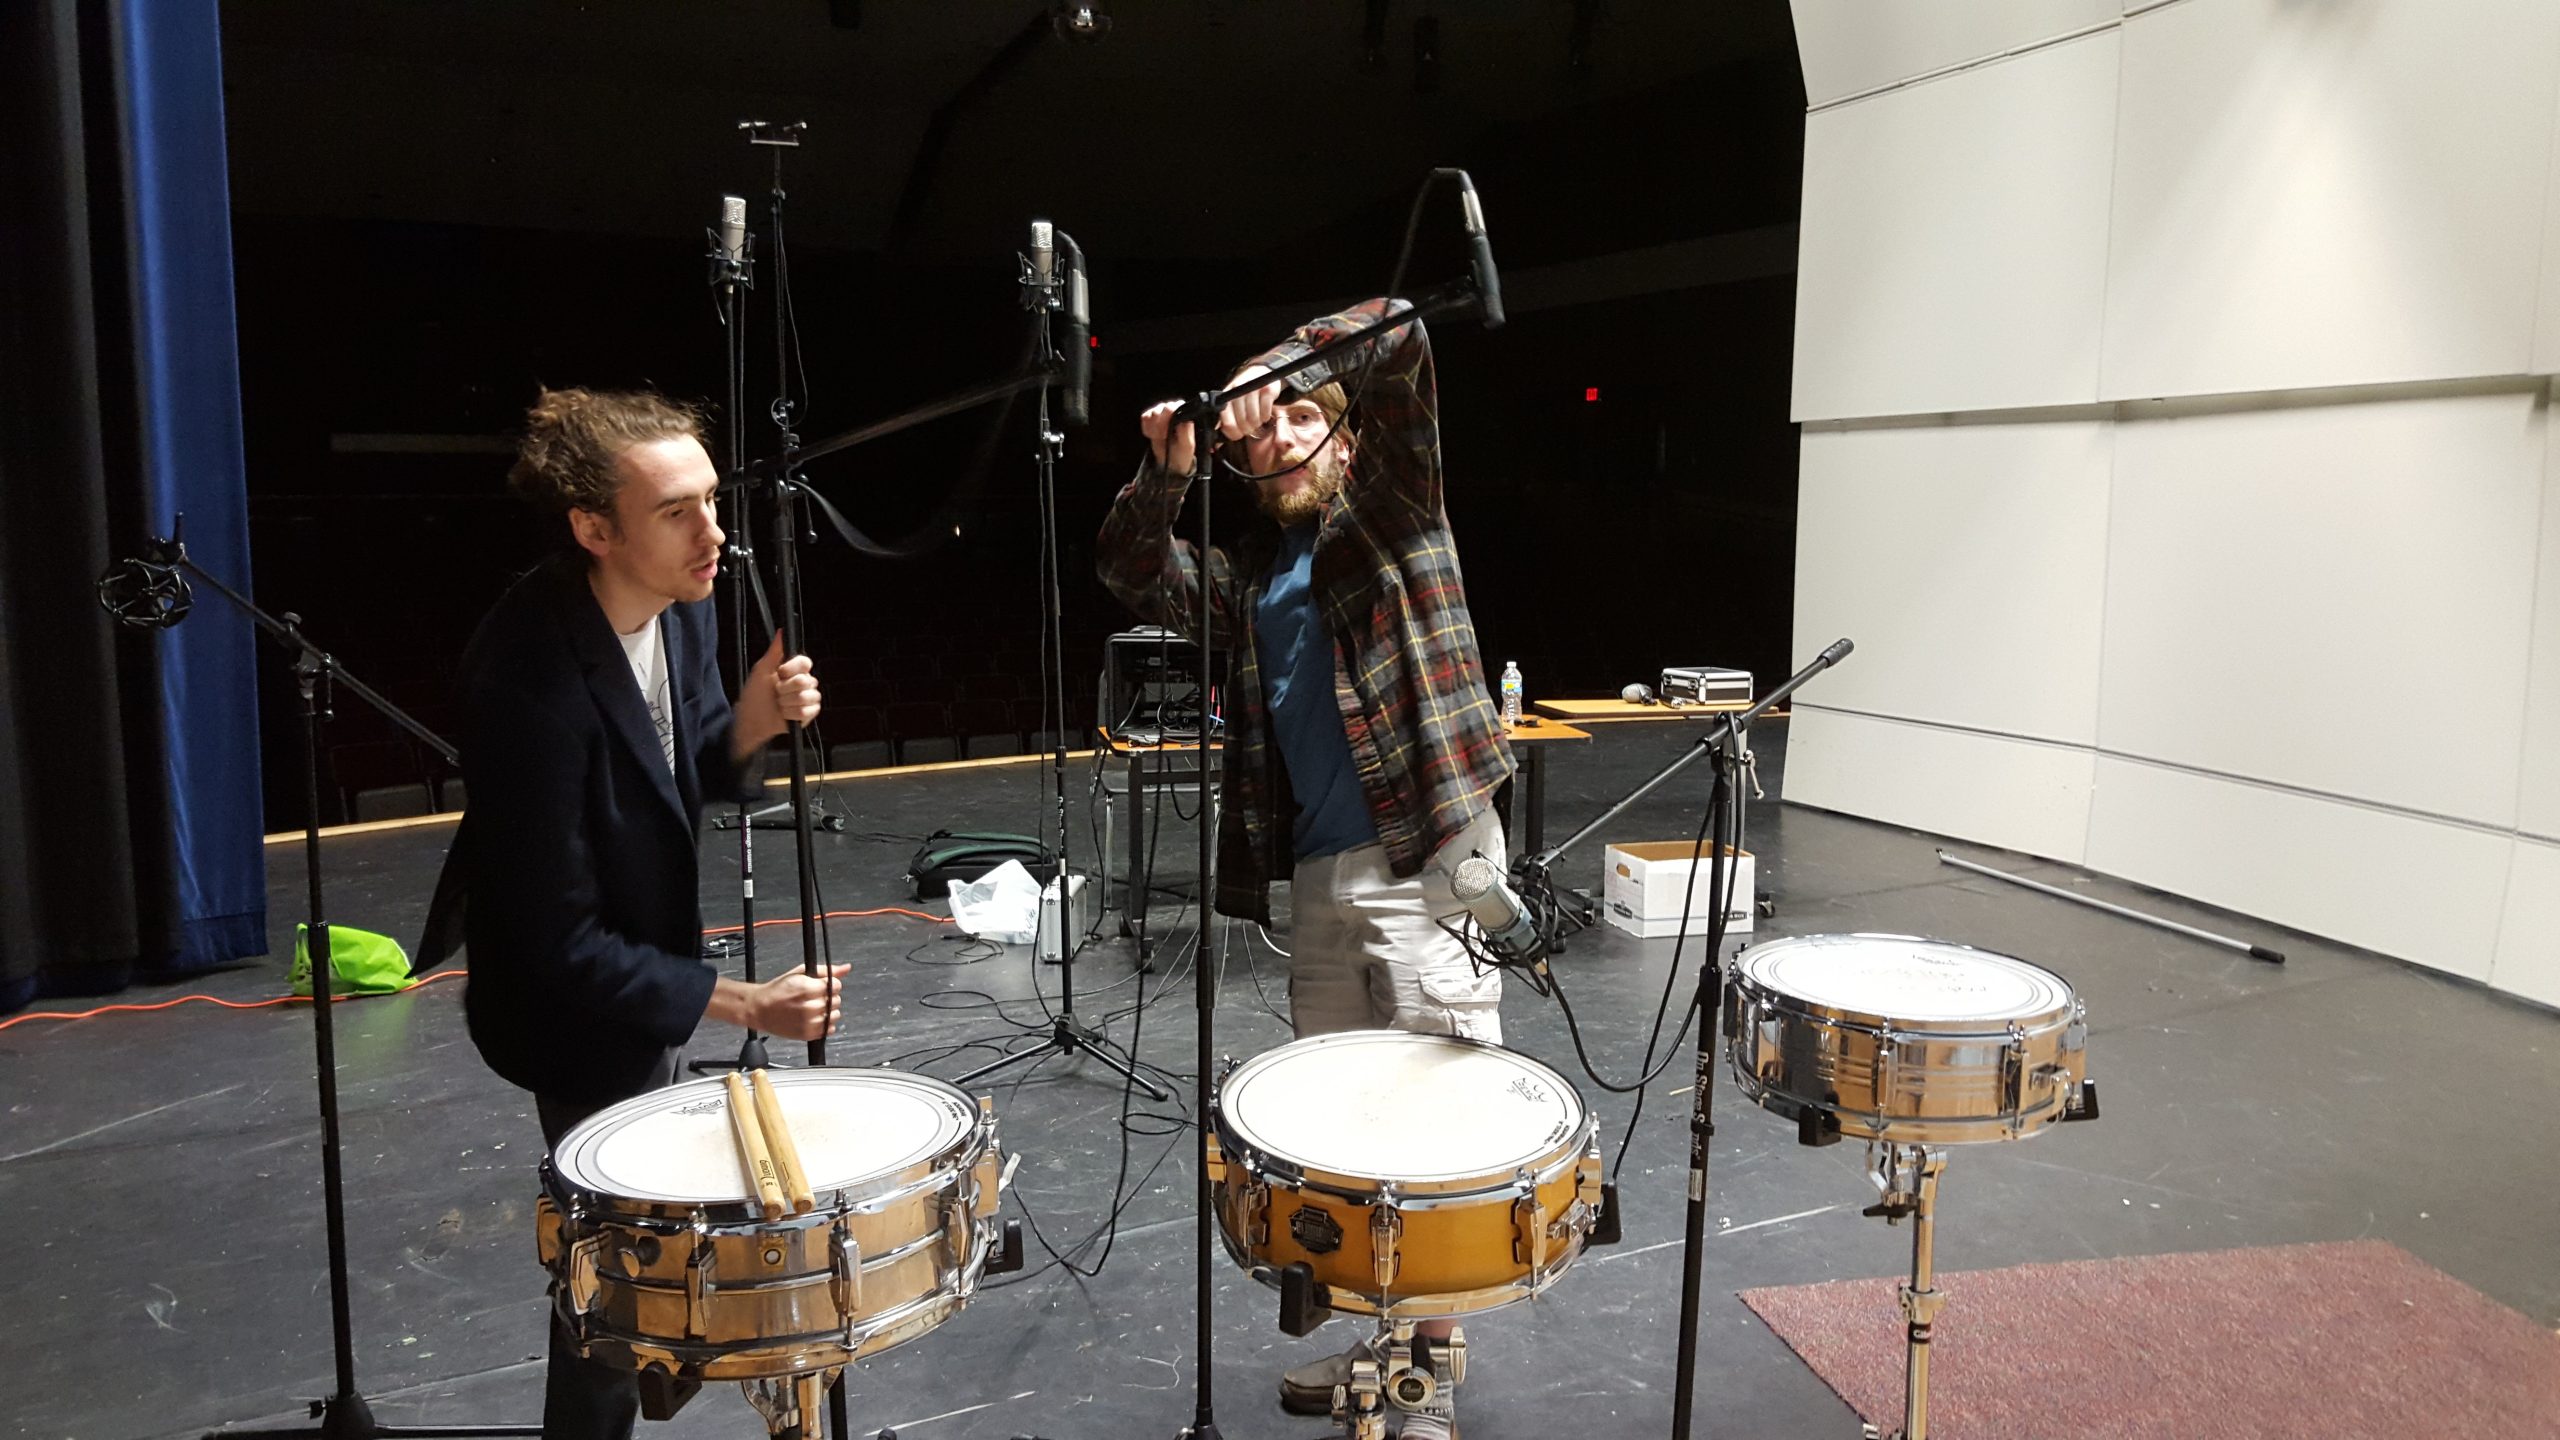
Begin by arriving approximately 5-15 minutes early if you need to pick up a key or get special access to the facility. If it’s a studio, get there 10-25 minutes early to be safe. Otherwise, arrive just a few minutes early. Your goal is to be finishing setting up while the musician is setting up. This might sound inefficient, to wait, but the communal setting up and warming up time will allow you to start getting the musician comfortable. There’s just about nothing more intimidating to a musician than walking into a room full of microphones set up like the skeletons of a half a dozen charred trees and being rushed to set up and warm up by an impatient recordist.
When they arrive, greet them, shake hands, smile – the usual. If you are typically introverted as is yours truly, try to be particularly outgoing for this bit.
Selecting a Setup Position
If you didn’t have the opportunity to scout out the space beforehand, immediately begin by walking around the space listening carefully. Locate all noise sources (AC vents, traffic, neighbors, refrigerators)- your first order of business is to determine where to put the musician and where to put the mics. Cardioid mics should always face away from the sources of unwanted noise, and the musician should be placed anywhere that isn’t right up against drywall. If possible, choose an area roughly near the middle of the space.
If there are bad noise sources, seek methods within your immediate area to resolve them. For example, ask to unplug a fridge temporarily, or turn off a loud AC unit. I even once found there was a rodent repellent unit that would emit a loud beep- it would have ruined the delicate harp samples we were recording if it had not been temporarily disabled. I am also infamous for taking battery powered clocks off the wall and removing the batteries just to avoid the risk of the ticking getting in the recordings.
You should already know where to put your mics the minute you figure out where the musician(s) goes. Main mics go about 1.5-3 meters (5-10 feet) back from the musician’s seating position, with close mic(s) about 0.3-0.5 m (1-2 feet) away- consult books on microphone placement or experiment around to place the close mic(s).
First step is to unpack the laptop and interface and get that plugged in and warming up. Your setting up should be deliberate, but never rushed. Again, rushing or appearing frantic/stressed will cause discomfort in the musician(s).
When determining location for your equipment, try to keep it off-axis to the recording equipment. Not only can electromagnetic fields from the transformers potentially cause issues with the audio signal (remember, it’s just an electrical current… although XLR ingeniously preserves the signal from EM radiation), but a noisy cooling fan or, even worse, a noisy engineer, can cause unwanted sounds. For that reason, I usually seat myself on a stool (or stand!) right behind the two main (cardioid) mics so I’m off axis but still easily visible by the musicians to give conduction and whatnot as needed.
Objective: Social Mode
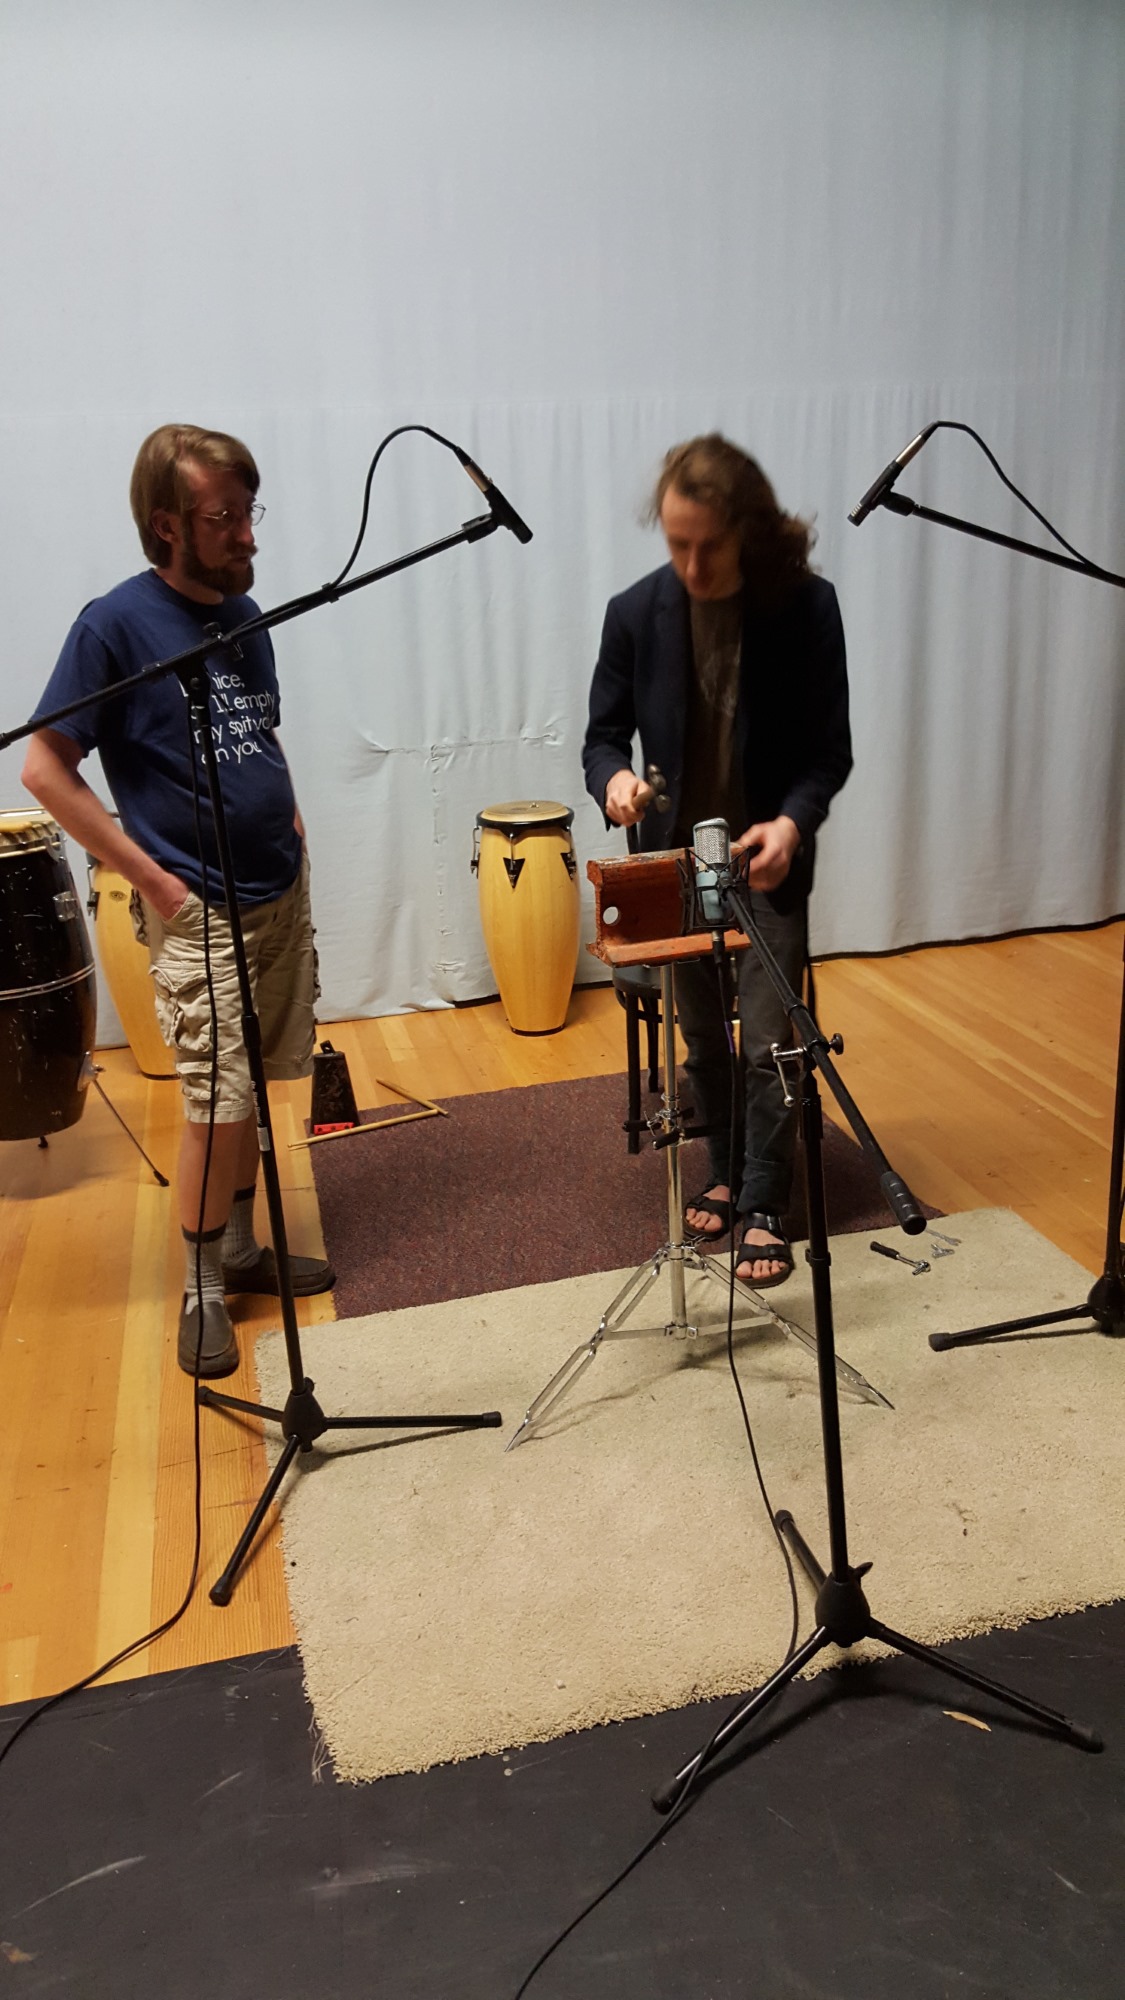
Since you walked into the room, you should simultaneously start discussing the project with the musician(s). Always start with the musician(s)- if you haven’t already, ask what styles of music they play (this may reveal additional articulations you were not anticipating or remove some you were), and inquire how long they have played. If they are a student, you can always inquire what path of study they are in and what semester they are. Engaging in this sort of talk engages what is called “Social mode” in the individual.
According to economic theory, humans function under two dominant modes, “Social mode” and “Economic mode”. When a person is talking to or assisting a friend, they are typically automatically in social mode- that there are benefits to engaging in the communication that transcend simple economic terms, that some “investments” of time now might mean a favor in return in the future, etc.
However, when with a stranger, the individual is in economic mode- under constant suspicion and vigilance that the other may be trying to give them a bad deal, subconsciously highly aware that the activity engaged in has specific profits and losses associated. Your goal is to get the individual into social mode by connecting to the individual on a personal basis.
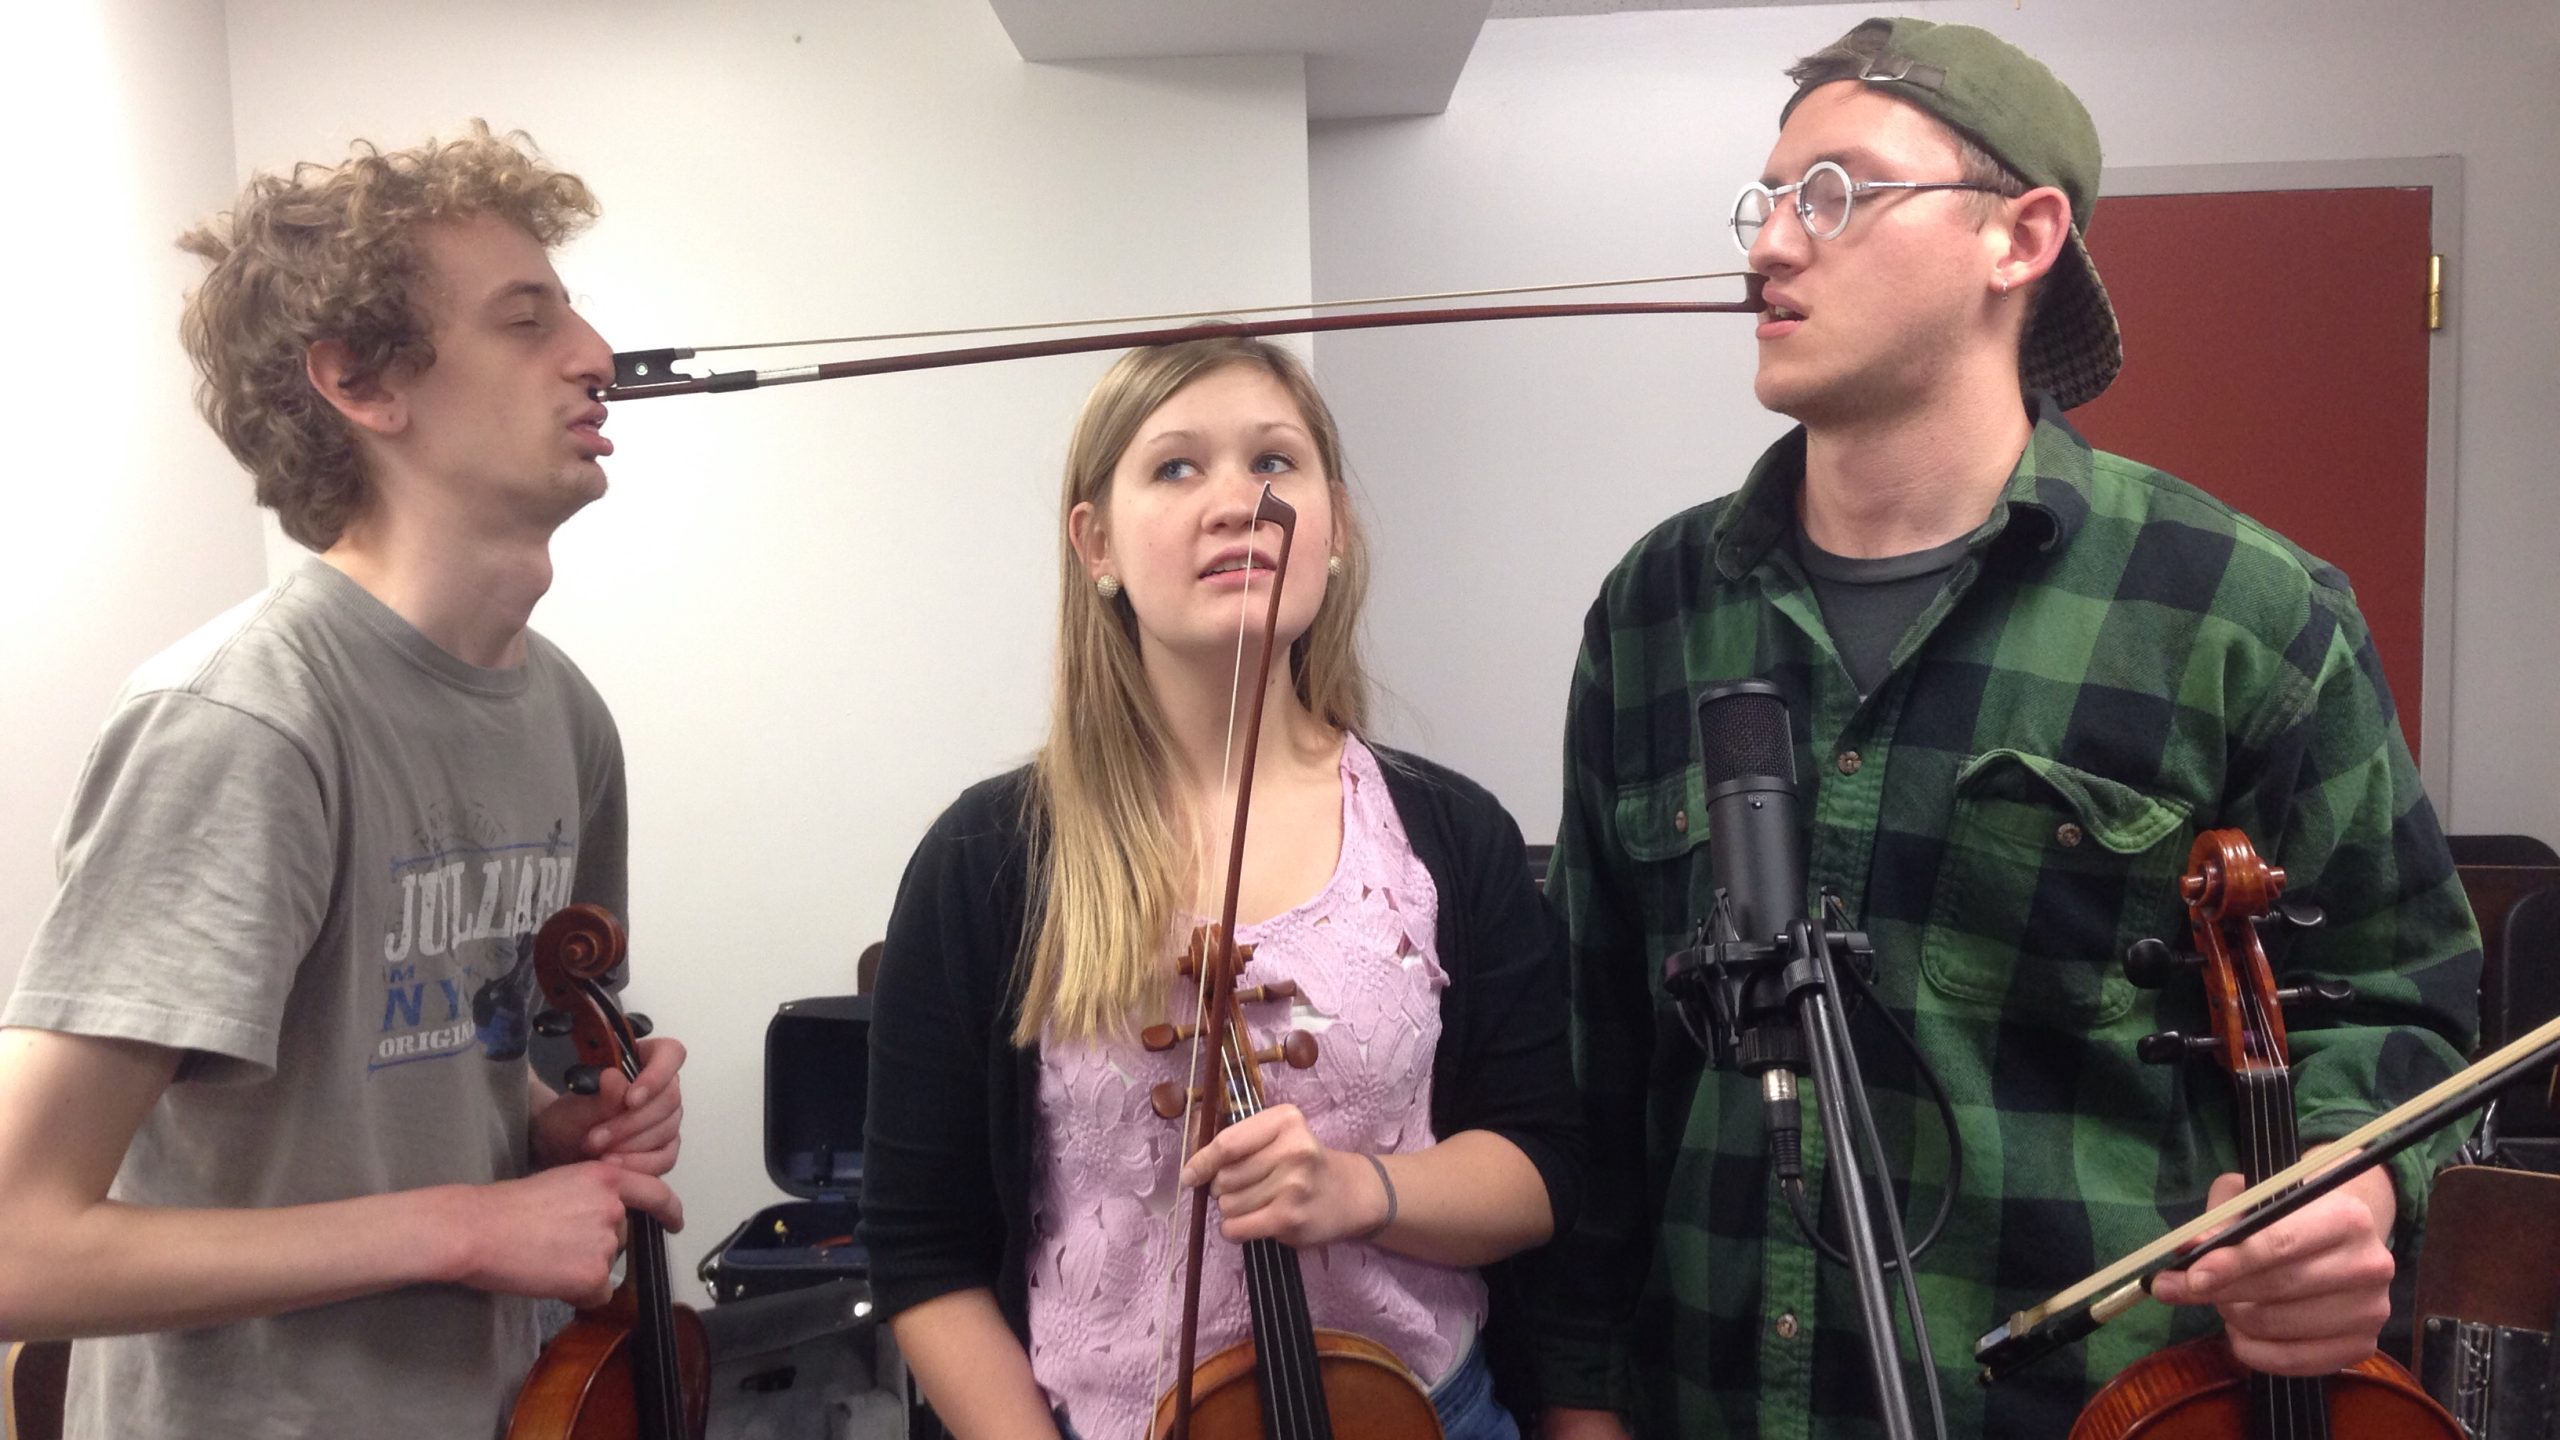
Humor is another great tool here. Don’t be afraid to tell a joke, even a really bad stupid one… or even use a silly voice or face for something or shout when telling people to play “forte” and whisper when instructing to play “piano” (channel your internal crazy German conductor). I often ask the musicians I work with if they have heard any good jokes recently while I set up. Pathetic, I know, but it works to break down some of the unspoken barriers.
Of course, don’t let the humor side become too prevalent or else you won’t work efficiently enough (and won’t have enough time to explain the procedure), but it’s a good way to get people in the right mindset: this is going to be relaxed, this is going to be open, this is going to be safe. Introverted and shy musicians require encouragement in particular- an extra minute spent at the start could save minutes later on of bad takes and discouraged resignation.
Another method to help people relax is to avoid “weak” postures, such as crossed arms, slouching, etc. If you use a “power stance” or even just a relaxed but alert posture, the players will take the cue subconsciously. If you have impeccable posture when sitting, your musicians will automatically copy you.
Explaining Procedure
Now comes the tricky bit. Explaining your entire job to this slightly dazed stranger in about 3 minutes without turning it into a confusing monologue of technical jargon. While you do this, you want to be hooking up mics.
Start by telling them what the samples are for especially about how it will help lots of composers realize their works more realistically (good time to throw in a “and hopefully improve those less-than-ideal parts they ask you to play in sessions”). Now you need to explain in a general sense how the sampling procedure works itself- what note they should start on, what scale they should use, how many times to play each note. You can even sing or play on piano (if one is accessible) an abbreviated demonstration of the cycle- this often helps a lot!
If you have a waiver, NDA, or contract you need signed, you should probably do that now. Keep it to one page, and make it human readable and to the point. Remember, a jolt of too much “super serious” stuff will instantly throw them back into “economic mode” which will undo all of your work so far into getting them to relax. You can also get around this by having them sign the NDA/contract digitally beforehand.
This is a good time to talk about The Sampling Ground-Rules:
-
- Remove any danglies, bracelets, or objects that might rub against the chair, instrument, etc. Don’t wear jackets or other noisy clothing.
- Take care not to move during the performance of the note. Especially don’t touch or rub/scratch your clothes.
- Always breathe through your open mouth while playing. The nose is very noisy.
- Hold your position once the note has ended until it has died away.
- If at any time we need to re-take (likely because something loud and annoying went by on the street outside- GOD how dare those ambulances try to save people!), I’ll let you know.
- If at any time you would like to take a break or ask a question, don’t hesitate to let me know!
- Please turn off your cell phones and return the table tray on the seat in front of you to the upright position. Violation of this will result in no fruit-cup.
- The anesthesia typically wears off within 24 hours.
Always start with a ‘test run’ once you have set up the mics and turned on phantom power where needed. First ask the musician if they would like to play a little something while you calibrate the mics. Ask the player to play the loudest thing they can (sometimes this can be fun to say with comedic effect as well… “You call that loud?”) and set the inputs so they peak between -6 and -12 dB for safety. Then you should instruct the musician through each step of the sequence as a dry run, going at least to the second note in the series (e.g. C @ piano, C @ mezzo-forte, C @ forte; D @ piano, D @ mezzo-forte). Be sure to let them know what is too long and what is too short with both longs and shorts.
MAKE SURE your microphones are set up right- Left should be Audience Left, not Player Left, for all positions. It can be reversed later on, but it’s easier to just record it right to start. I often walk around and speak the desired name of the mic into each mic and make sure it’s set up right while recording the test.
This will be your last opportunity to get inputs balanced- do it while they are playing using the volume bars on your monitor while listening with earphones. It’s way easier to do this with preamps that have digital or stepped gain, but you can get continuous gain pres matched pretty well with some practice.
Make any final adjustments- remember, your job is to capture a clean, pure sound that can be modified and adjusted if needed. Ensure any tube preamp is not adding unwanted distortion if it is in use. MOST IMPORTANT: Once these values are set, do NOT change them.
Once you have a good balance and sound and the musician seems comfortable with their first sampling task, press record and walk them through the first few bits.The first few notes are often reluctant and feel unnatural. You can see this on the faces and in the nervous laughs of many musicians who play for you in sessions. But, as time goes on, after about 10-15 minutes, a pattern evolves. A systematic, organized process takes over. Eventually they’ll get the hang of it. If they still seem unsettled or uncomfortable, if a take really sounds great, let them know! A little ego fuel goes a long way.
Special Considerations/Tips
Certain instruments require special considerations. Here are a few more common ones to keep in mind-
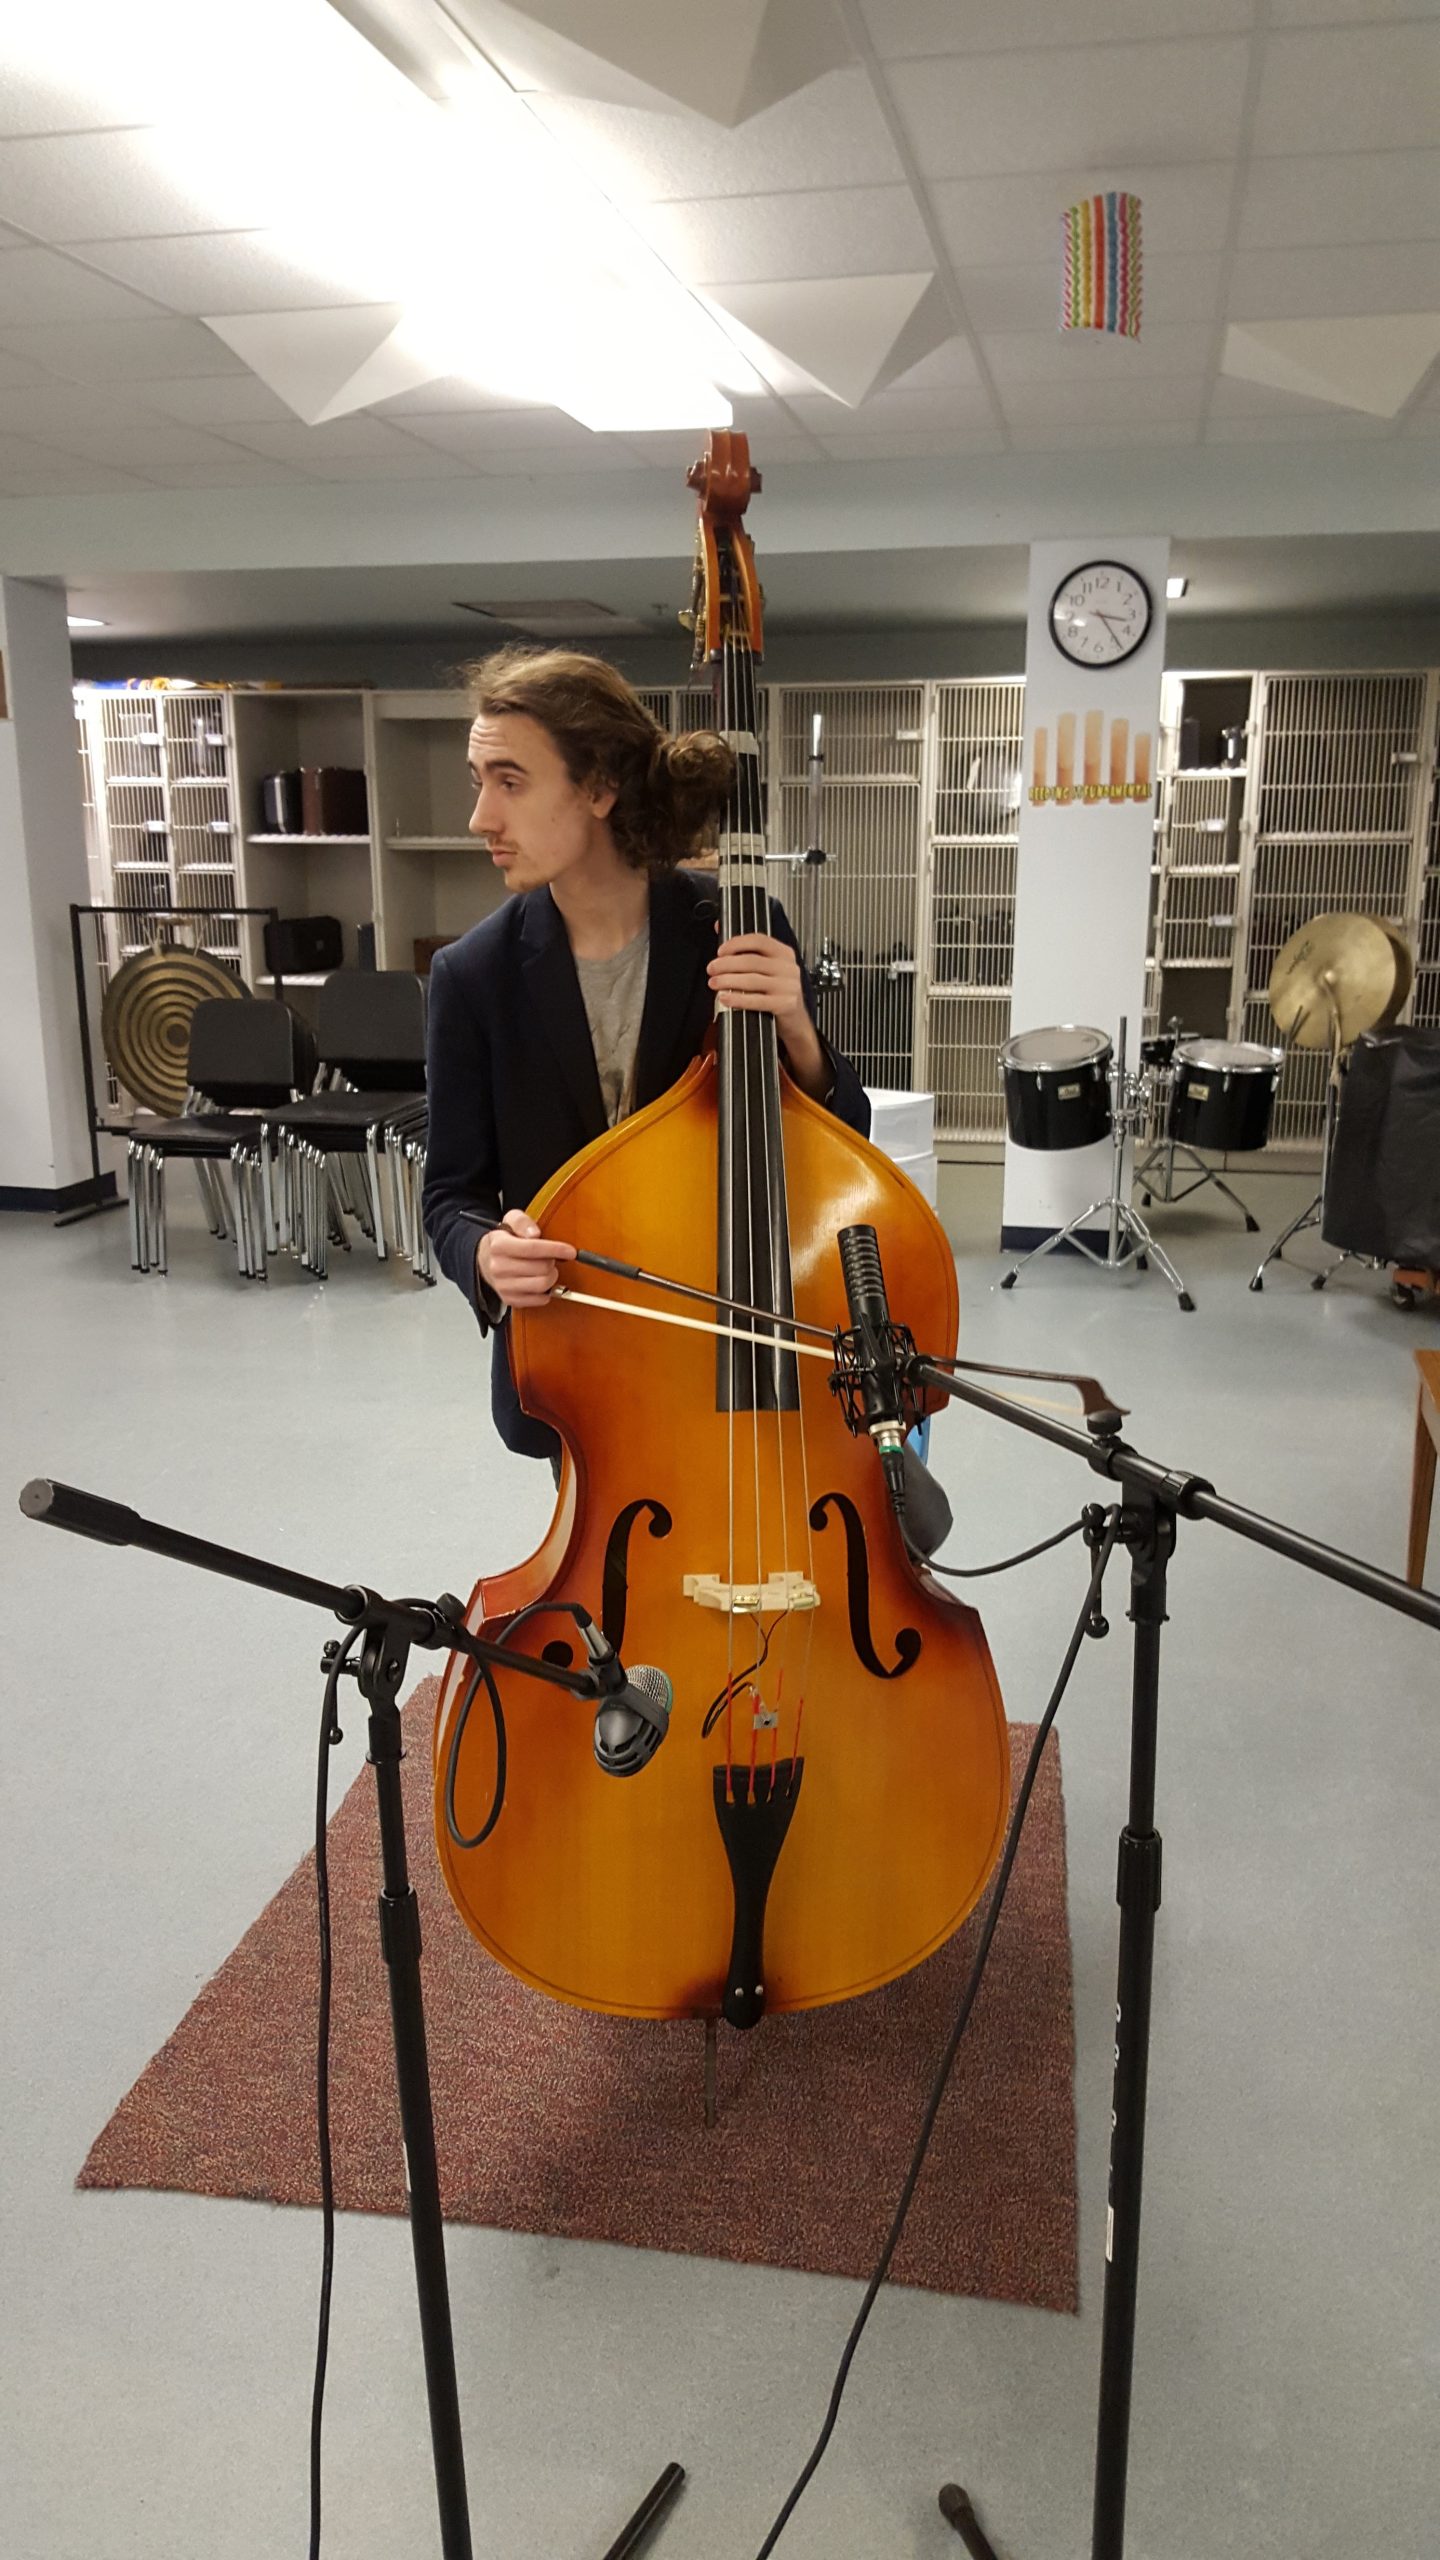
- As string players work up the fingerboard, depending on the height, they will become fatigued if they have to hold down a string for a while. Give them the opportunity to stretch and take a break regularly.
- All strings will have unwanted resonance of the open strings. Unless you are sampling chromatically, you must mute the other open strings or else it will sound really, really wrong.
- With most wind instruments, it’s a good idea to work up from a low or middle note, such as the low C on trumpet (transposed), then to come down and ‘pick up’ the last few low notes at the end. This way the ends of the range can be worked up and down into, rather than instantly lept into, allowing the player to ease up or down.
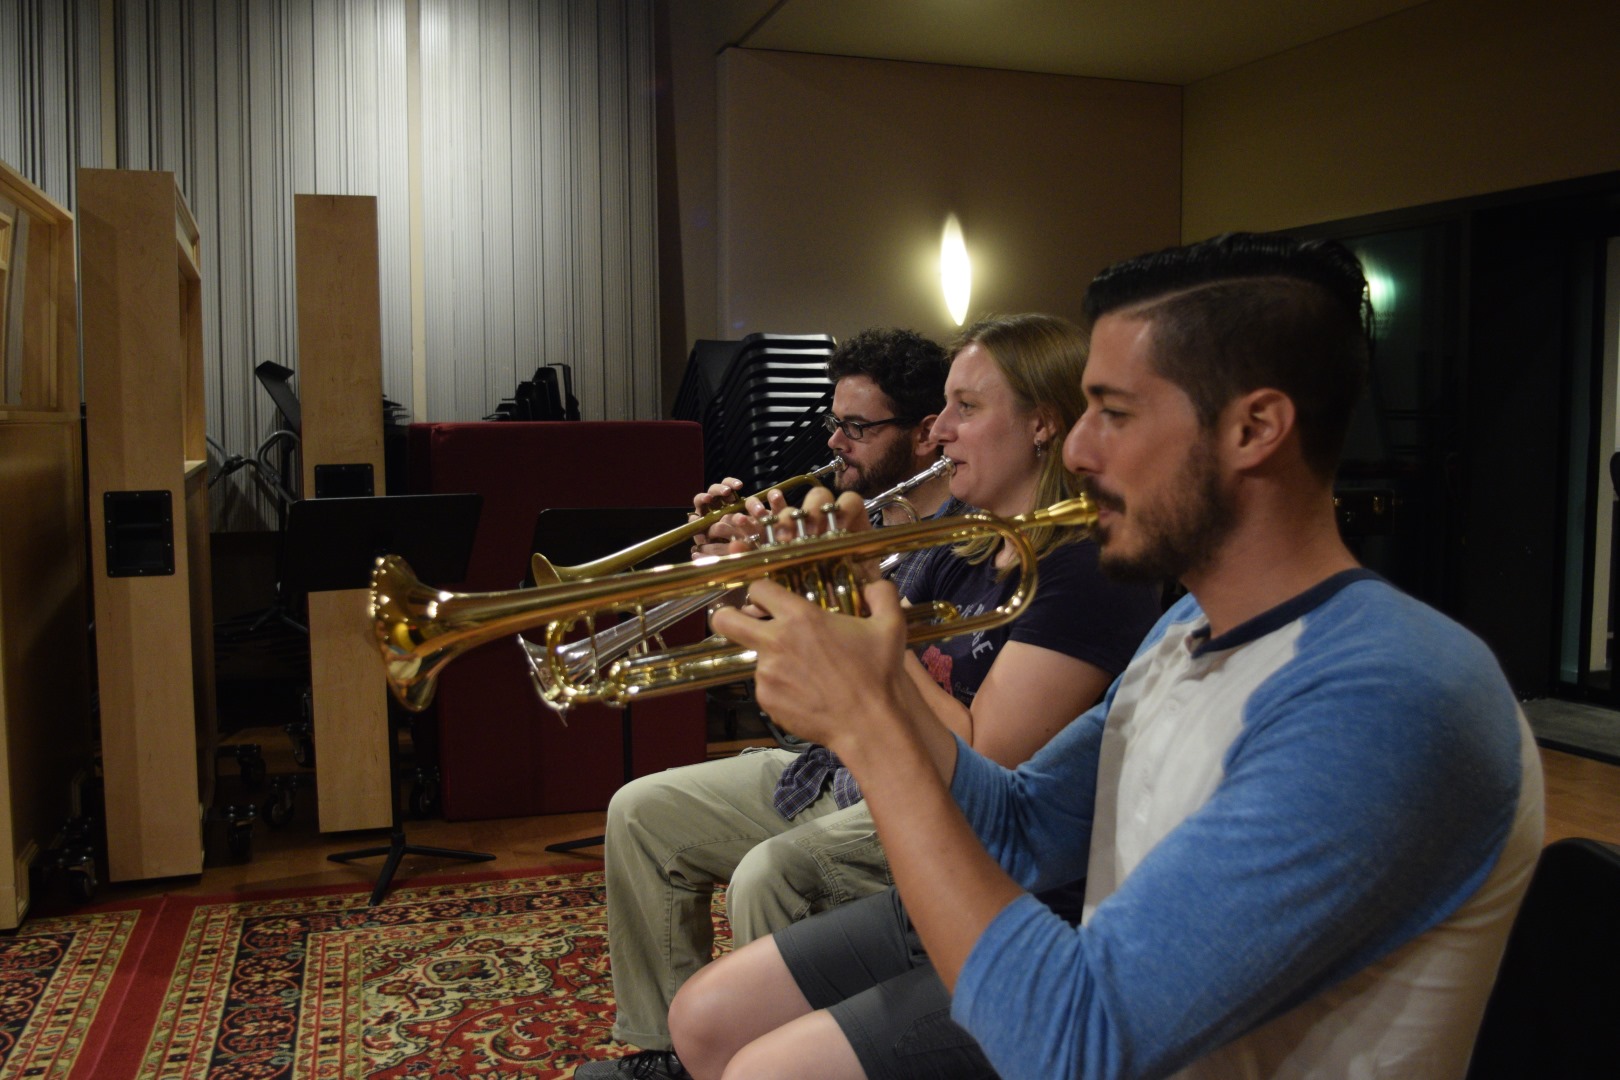
- Trumpet players (and by extension, all brass to lesser degrees) fatigue quickly, particularly on high notes. Be careful to offer them regular breaks so they can keep their chops healthy.
- Sometimes you need to just say “let’s take a break” when a player is starting to get discouraged with a lack of control (sampling often makes players hyper-critical and also unearths a lot of previously unknown control issues which virtually all players experience).
- Sections require extra time to tune. Therefore, it’s best to sample per-note- get the note in tune, then play all the articulations and varieties of that note, then move on.
- Instruments such as harps, pianos, and harpsichords all require at least 5-15 minutes of tuning before sampling can proceed- see if that can be done for you by a professional tuner before you even enter. Harps are fairly quick so the harpist can typically tune up while you set up without any delays. Never sample an instrument with more than one string that is played in unison (piano, hammered dulcimer, mandolin) without tuning first.
- When placing mics, contrary to popular opinion on mics (less is typically better), it can’t hurt to place a few extra close mics to get extra perspectives. It really sucks when your close mic doesn’t sound the way you want it to sound because you only used one close mic. Additionally, recording an audience perspective, despite being pretty worthless for anyone with even a remotely decent convolution reverb plugin, is a good selling point for the “numbers” game.
- Spend at least 10 minutes of the session doing something wacky or non-standard. You will thank yourself later when a reviewer says, “what a cool sound!” every 10 minutes.
- Horns are VERY hard to tune. Don’t sample more than four of them at once if you want to keep your head and schedule. They also take a long time to empty out condensation, so the more horns, the more delays.
- Horns sound terrible in anything other than a concert hall or other large acoustically pleasing space. Do not sample horns in a small studio or classroom, it will sound like a 1980’s sampler horn no matter how detailed you make it or what mics you use. Oh, and don’t put a mic right behind the bell. Just use an ‘overhead’ slight above and in front of the player- sounds much better.
- If you want your horns to project more, put a sideways table or other flat surface behind them to reflect the sound.
- You can automatically instill a sense of placement in your samples by rotating the mics, rather than the players.
- All keyed instruments (e.g. clarinets, saxophones, flutes, etc.) project sound out of the key areas moreso than the bell/end. Typically a close mic about 1-2 feet from the instrument pointing towards the center works well enough for starters.
Conduction
If you are leading a section, practice your conducting. You should never need to conduct for a solo player- it will add unnecessary tension and stress.
For the love of God, don’t use wavey-smoothy conducting patterns– just use very precise, geometric, and steady patterns that show each beat with a clear and pronounced ictus (the little bounce on the hit). Hit every beat in distinct locations so that the players, upon a glance, can see where you are, and exaggerate the “4 +” before every measure.
Also practice preparations (the “4 +” you give before starting a piece) and cutoffs, practicing precision and clarity on these as well. This abbreviated, militant conducting style (“a la band director”) is necessary to provide the clearest, most accurate timing possible when leading a section.
When playing shorts (staccato, pizzicato, etc.) it must be conducted or a click used. Have a 4/4 or 3/4 pattern with a note on the first beat of each measure. Practice and rehearse a standard signal to proceed to the next velocity layer and instruct players to continue repeating the parameters until instructed otherwise- there will always be mistakes during recording shorts, and it gets worse the more players you have. During beat 3 or 4, once the sound has died away, you may deliver brief verbal cues, such as “forte”, “staccato piano”, and so on.
Although a click track is not required, keeping a steady tempo is. Determine a tempo by finding the decay of the sound of the instruments and adding some extra buffer, then using either a 3/4 or 4/4 pattern depending on how slow you have to go. Don’t use fancy patterns or overly complicate things, just focus on making the basics as clear as possible.
Other Methods for Inspiration
Sometimes musicians need a bit more of a nudge to relax. One of my favorite exercises is something I picked up when I did free improvisation regularly- a listening game. As they hold a note, ask them to listen to the overtones and the way they interact.
I was once in a session with a bassoonist and we realized there was a high overtone that was really strong. Of course she had been playing bassoon for decades and never realized this about the bassoon!
People sometimes like to hear themselves over headphones- sometimes it can help to play them back the first pre-take.
Another thing that can really help for groups is to ask them if they know a song or to invite them to improvise. Sometimes I’ll do a quick 1-minute free improv. at the start. Record it and splice up bits to create some aleatoric samples! Other times, I’ll bring some super simple harmonic music so players can get used to playing together. Most soloists have their own repertoire that they like to play while warming up.
I’ll also use an aleatoric free improv activity as a warm-down as well, right before the end of the session. Simple conduction exercises- little 15-20 second “vignettes” of harmony. Have several be with the feeling “quick” with short notes and another “long” then conduct an attack, growth through the phrase, then a slow decline back to silence. These go excellently in the library and are always a lot of fun for players, especially more classical conservatory-trained players who rarely get invited to experiment on their instruments like that.
The End/Compensation
You will often need to set aside ~10 minutes at the end for packing up and paying musicians. With mobile deposit methods, checks are an effective way to pay musicians if you have qualms with carrying around large amounts of cash. In addition, some musicians may prefer to be paid via Paypal or Venmo.
Wire transfers are rare and typically not cost effective unless the sum is large. I typically offer the musicians a choice between a check on location, cash sent in the post (or sometimes on location), or a paypal transfer that evening, and collect the relevant information as part of the release they sign at the start.
Please note if you are paying someone over $600 here in the United States, you will need to collect a W-9 from them and provide them with a Form 1099 at the start of the next year. Talk to your CPA or financial adviser for additional information on this.
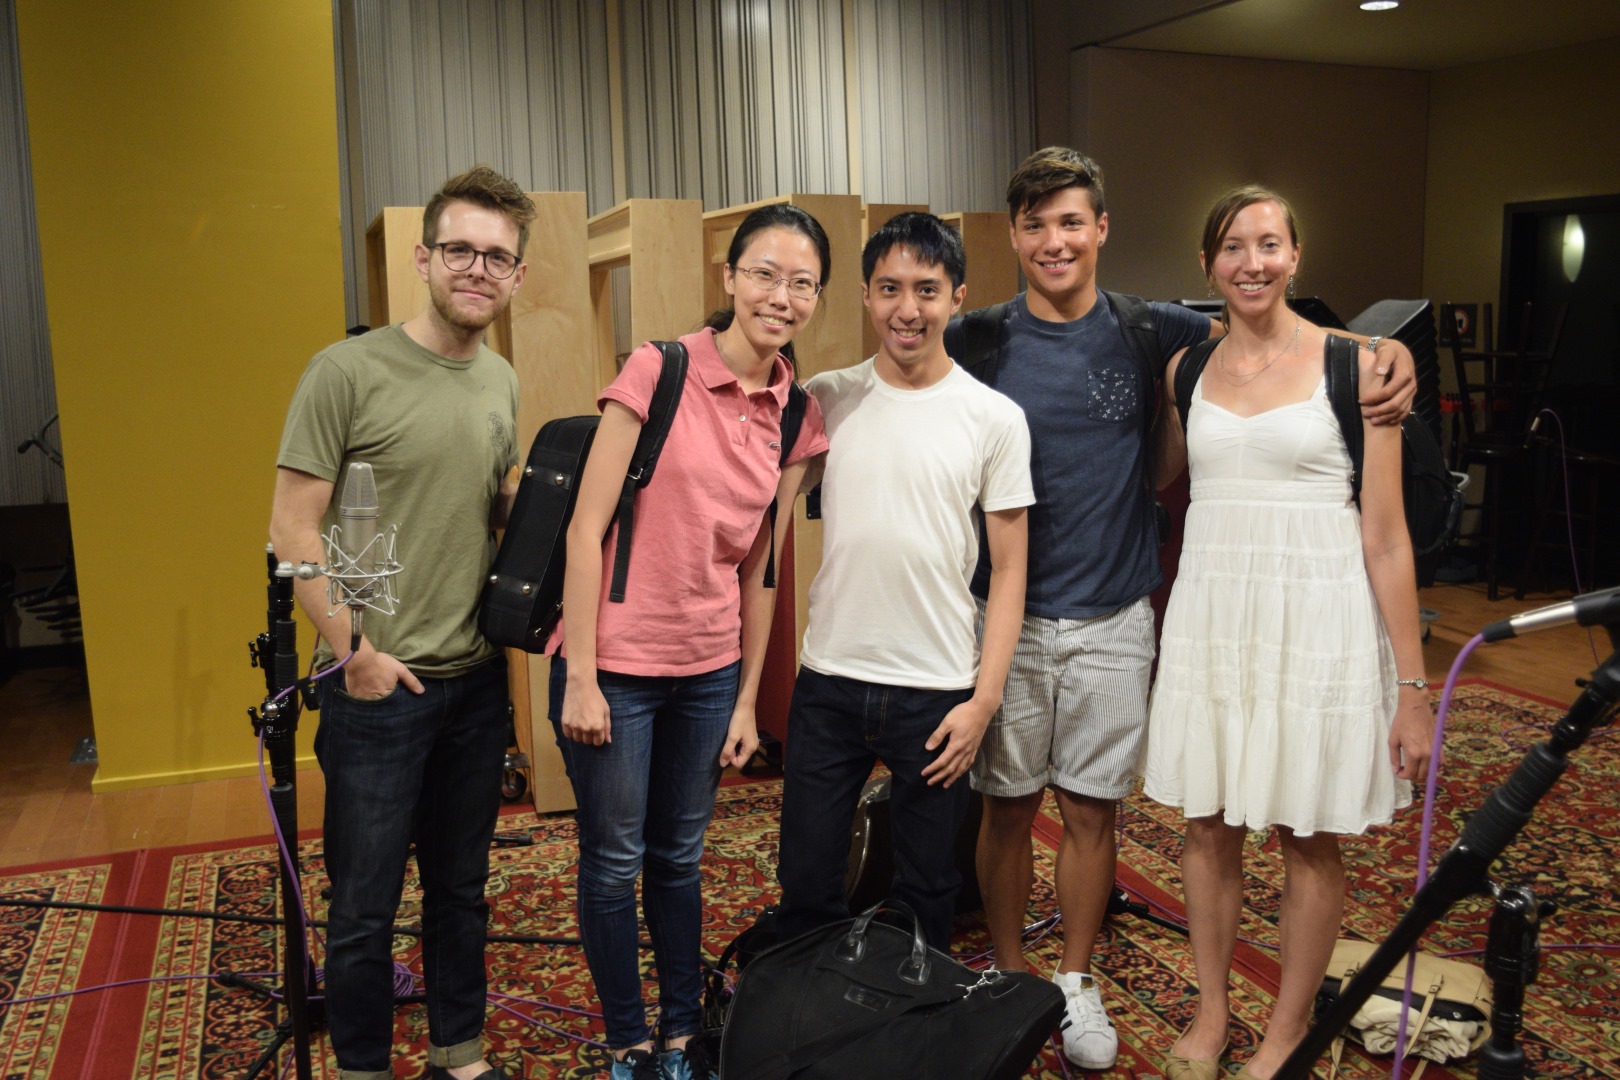
It’s also worthwhile grabbing a group photo or some quick shots of the instruments or mics. Having a decent digital camera is advised, especially in dark studios where phone cameras often struggle.
Solo Sampling
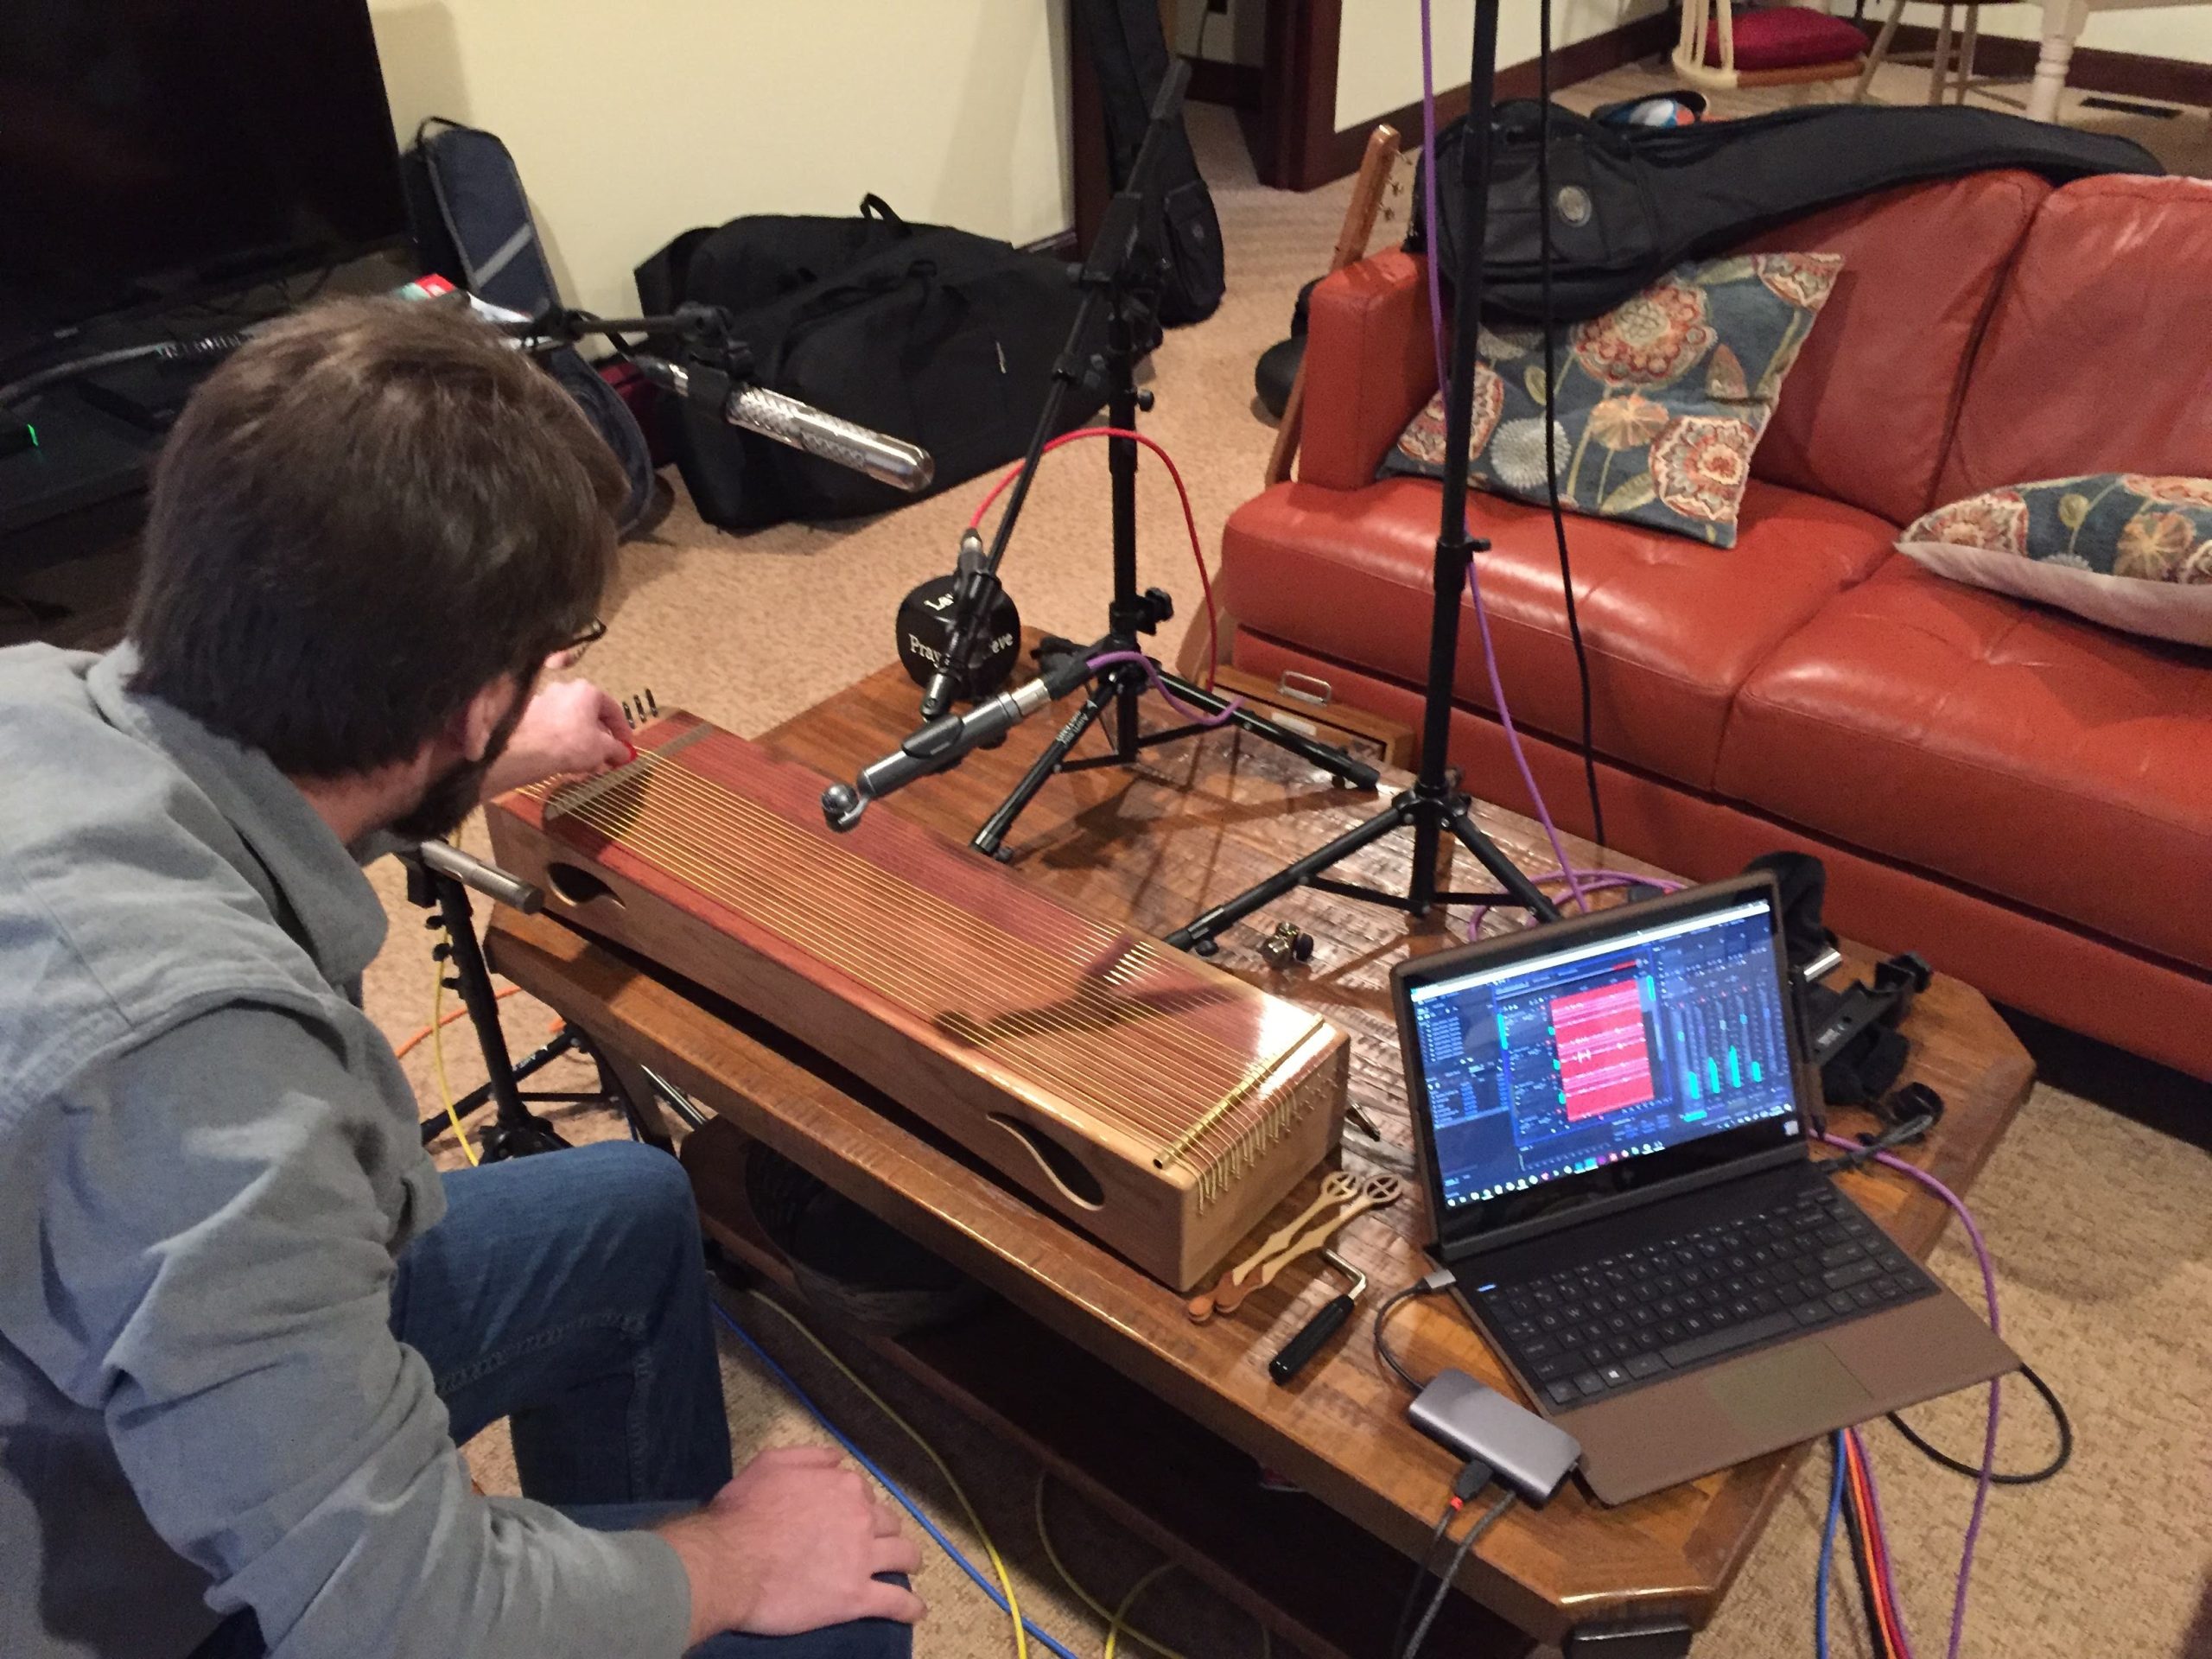
Sampling instruments by yourself is a fantastic way to get stuff done without all the drama and work required to get musicians motivated. However, it can cause some… undesired side effects if you aren’t careful.
For one, long periods of sitting and intense focus can cause stress resulting in disorientation and even acid reflux, especially if you’re playing physically demanding instruments such as low brass or large percussion. One solo sampling session was so long and sustained (about 10 hours with a short lunch “break” eaten on location) that I nearly threw up as a result!
The first rule of solo sampling is to take care of yourself. If you start to get too fuzzy-headed, it’s time to stop and come back later… hopefully. It’s important to thus set up systems to help mitigate stress and make the process comfortable. Studies by the Israeli army showed that soldiers on the move should stop and rest about 5 minutes per hour, with a 15 minute “packs-off” break every 3-4 hours.
We should thus assume the opposite- if you sample sitting for a hour, take five (and I MEAN five whole minutes of taking a break- stretching, walking, etc.- not the song). After 3-4 hours, take an extended 15 min break. Go outside. Take a walk.
The second rule is to plan ahead. Make sure you are maximizing your time if it’s limited. Come up with a series of priorities on what you really desperately want to sample and what can wait or be supplemented elsewhere or by someone else.
This plan relies on four factors, regardless of if you are the one playing or if someone else is playing for you:
- Scale: How will you approach the instrument? Diatonically? Chromatically? How much time do you have?
- Articulations: What are the common articulations? Can you play them? How many velocity layers can you divide it in? Do you need round-robin/multisampling?
- Range: Can you play the outer range of the instrument? Do you need to adjust your plan to help your endurance?
- Mics: How are you going to mic your instrument? What tone do you want to bring out? How does the instrument sound in tests?
These four factors all lead into the overall feel and functionality of the final product. Some people like planning these meticulously months ahead of time, others such as myself do some general planning and let the rest fall into place in case there are issues or other concerns (which there always seem to be).
Regardless, you must always plan your time and have a preliminary plan for mics when you go into a session. Range and exact Scale can be determined on the spot, as can some final mic placement changes to adapt to room environment and instrument behavior/design.

Preparing Yourself
Before going to your session, make sure you eat a healthy, full meal. Do not sample on an empty stomach- it is a very bad idea, trust me. I personally find I play better if I have eaten at least a hour before I play but no sooner. Therefore, I suggest eating about 1-2 hours before the session so by the time of the session, the energy is starting to come clean and steady without any discomfort from having just eaten.
Bring at least two full water bottles’ worth of water, even if the location has water fountains or vending machines present. That way you don’t have to get up and stop recording to take a drink. If you plan on being there for more than a two hours, you may want to bring some light snacks (a piece of fruit, granola bar, etc.). There’s almost nothing worse than being starving AND trying to focus intently and perform your best.
You should prepare your mobile device or tablet with two very important apps (or, if you can find one, an app that combines these two elements)- an accurate tuner (I use cleartune but there are a variety out there) and a decibel meter that shows decibel levels like a standard volume bar. If you don’t have a mobile device or tablet, you can use plugins on your computer monitoring the input signal live.
You will need the first when playing a wind or fretless stringed instrument to get good intonation. It’s entirely possible to change tuning later on, but what you want to avoid is large amounts of pitch waver and having your entire instrument wildly out of tune. In the latter case, you will end up sampling something that isn’t an accurate representation of the instrument, while in the former, you will greatly tick off whoever has to process your samples.
It’s strongly recommended to use a drone over headphones while recording, in addition to, or instead of, a tuner. This will give you much more accurate pitch fidelity in the end and save a LOT of processing.
Be efficient and experienced with your equipment, and never stop using your ears. Regardless of your equipment, be it a pair of SM-57’s or bespoke ribbon microphones, it’s important to understand completely the advantages and disadvantages of your equipment. Poor samples almost always result from generic usage of equipment, such as is often imposed or proposed by books, engineers, or teachers. The truth is, there is no one-size-fits-all to the world of recording. Have a clear goal and idealized sound in your mind and strive for it.
Calibration
The way sampling alone typically ends up is, you spend the first 10-20 minutes setting up and calibrating the microphones to your taste (meaning every time you want to make an adjustment, you have to put your instrument down, go run over to the interface, turn some knobs, and then run back).
Check for:
- Good levels, roughly equal across the mics, in the middle of the instrument.
- Consistent placement in the stereo image (i.e. center note should be centered on things like harps and mallets).
- Clean signals from all mics; no interference, hiss, hum, rumble from AC blowing air on the mics, etc.
Working on Musicmakers, I think I tweaked the harp mics about a dozen times, mostly because I kept forgetting how far back the harp leans when you play it and not moving mics to the correct position to get a balanced stereo signal.
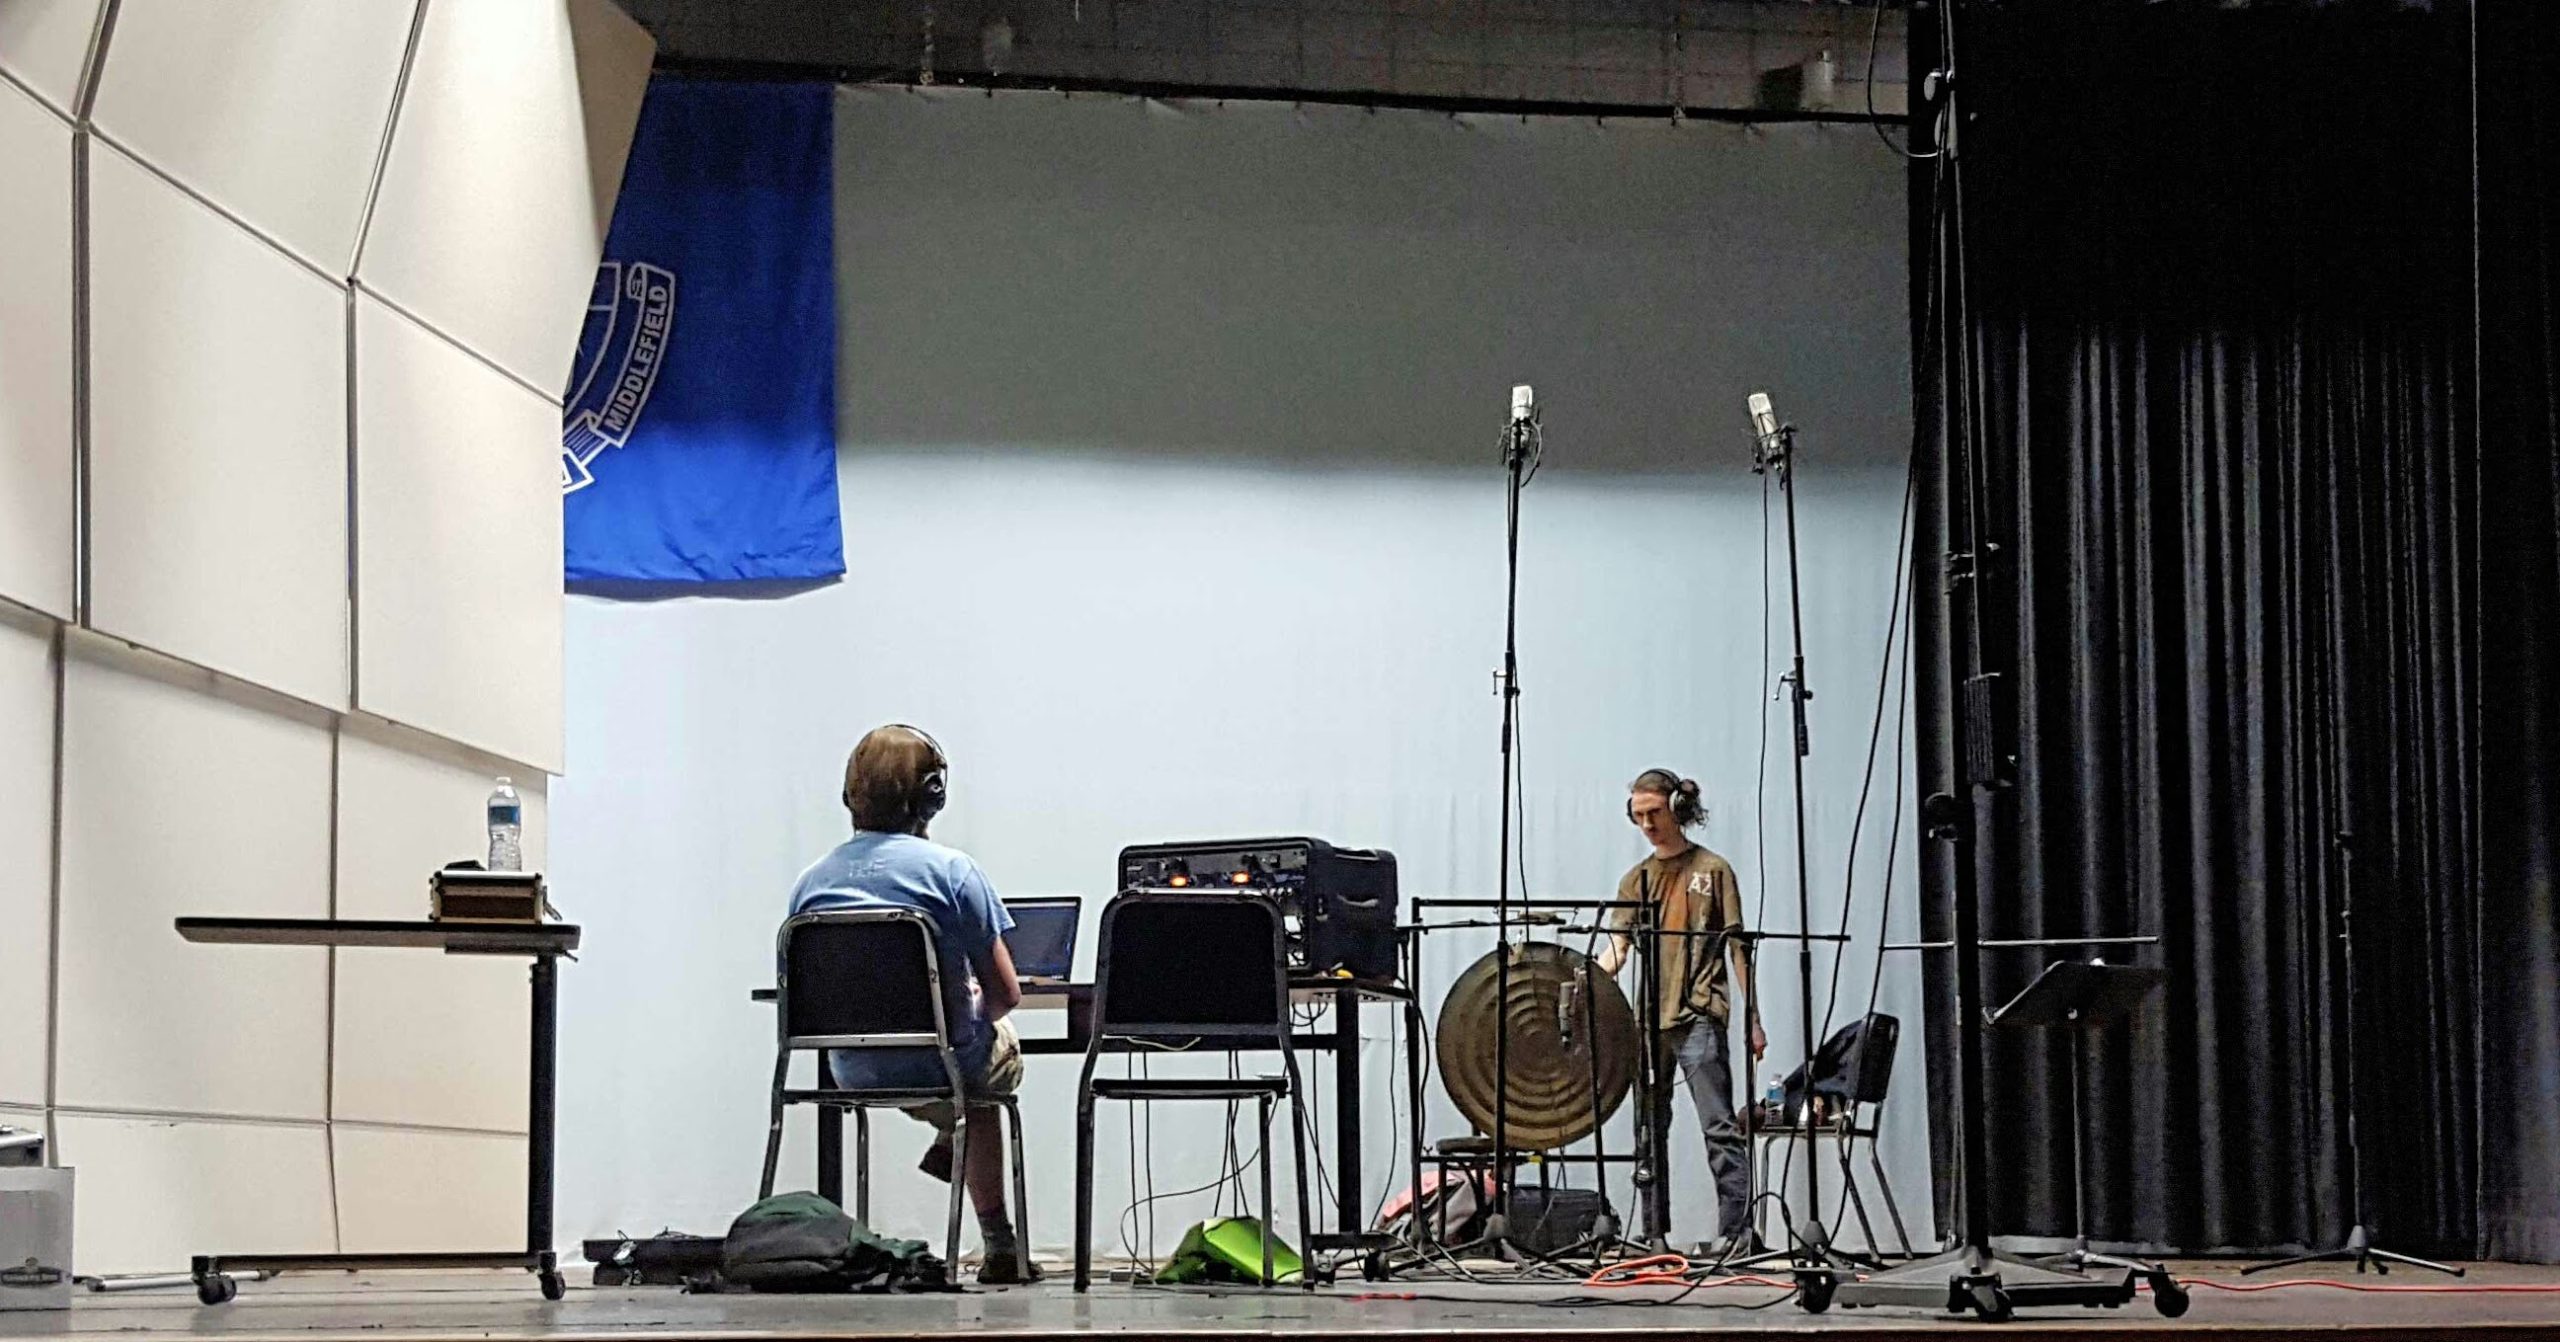
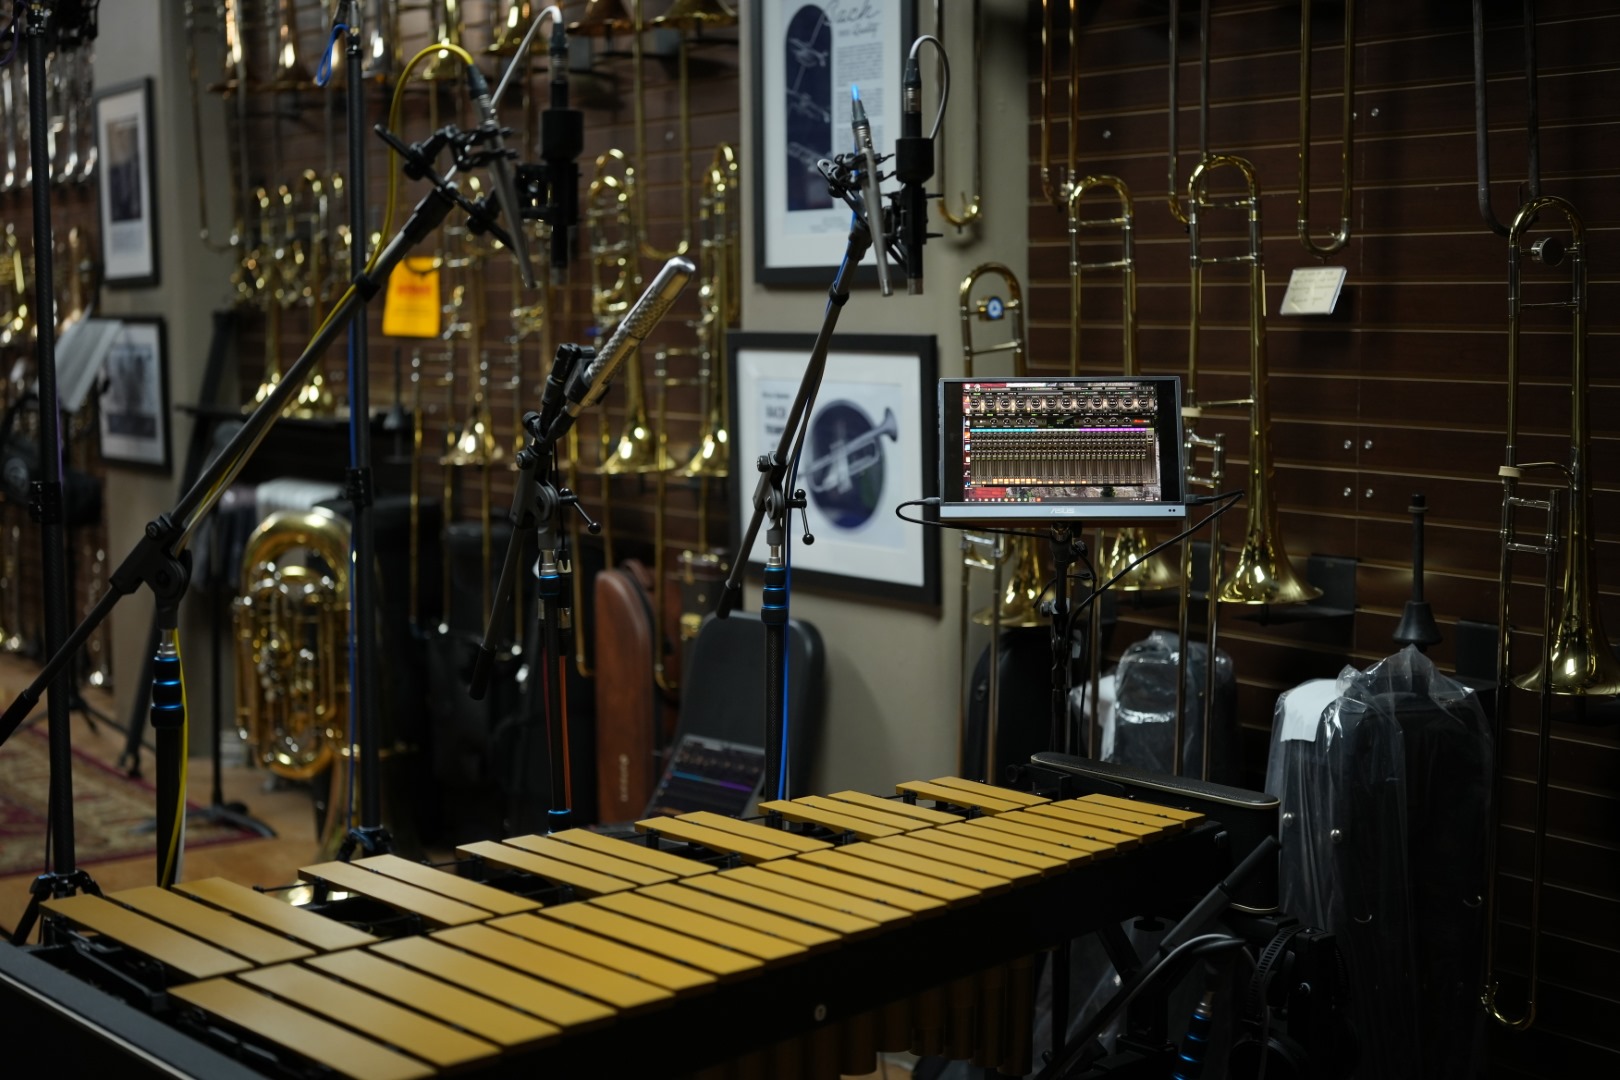
It can be VERY helpful to have an external portable display on an arm accessible to you, as shown above (keep the laptop away from the mics due to fan noise!). Extra bonus points if it’s a touchscreen (or if you have a wireless mouse handy to tweak settings), but even just a regular monitor mirroring your DAW view is a fantastic way to be able to accurately monitor your signals while you play a little.
When you are initially calibrating, you’ll want to record a short song- I came up with a little one that I play on all the instruments I sample (it’s just a little 4-bar Baroque-ish ditty that repeats itself). Now you can go adjust levels based on the multi-track recording and what you see on the displays until things seem correct.
This is a good time to talk about The Sampling Ground-Rules for Flying Solo:
- Remove any danglies, bracelets, or objects that might rub against the chair, instrument, etc. Don’t wear jackets or otherwise noisy clothing.
- Take care not to move during the performance of the note. Especially don’t touch or rub/scratch your denim jeans… or shirt… or hair… honestly, leave hair alone.
- Always, always breathe through your open mouth while playing (obviously not applicable for winds). The nose is very noisy.
- Hold your position once the note has ended until it has died away.
- Take regular breaks to stand up and walk around. Your legs, bum, and back will thank you later.
- Please turn off your cell phones and return the table tray on the seat in front of you to the upright position. Violation of this will result in no fruit-cup.
The Marathon
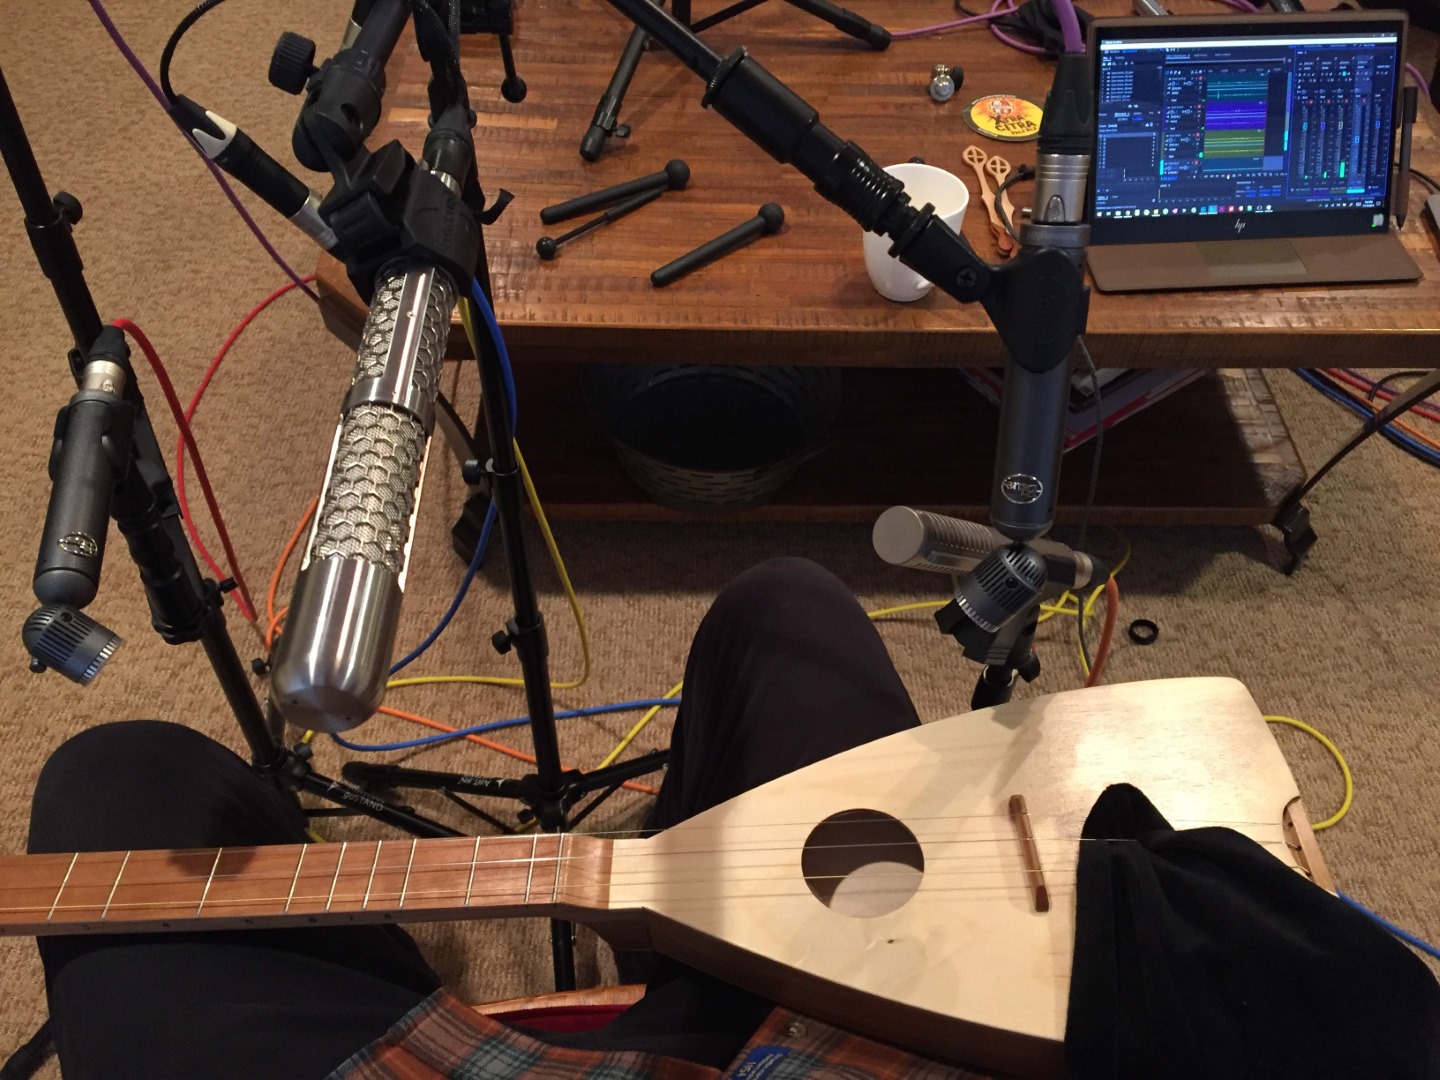
After all that planning comes the first note and “the marathon” begins. You enter a game of mental and physical endurance- the normal challenges of performing augmented by the demands of a careful performance (no giant flubs, please), not to mention monitoring the progress and success of your session (RR? Note? Velocity Layer?)- often with fingers involved. The first few notes are often reluctant and feel unnatural.
But, as time goes on, after about 10-15 minutes, a pattern evolves. A systematic, organized process takes over. Velocity layers start becoming more like emotional states cast over scientific exactness: a forte might be anger at eight inches, a piano, resignation at one.
As human beings, we love to be able to understand our world via classification and organization. We develop patterns to create a sense of continuity and comprehension of our surroundings. While sampling, this natural order asserts itself and the repetition, like a mantra, becomes second nature. You begin to forget that you are playing an instrument. You begin to forget that you are using your fingers, lungs, eyes, and ears to carefully perform and shape each note and slip into a trancelike state, feeling and straining to hear each note dissolve into the beautiful nothingness of the dark hall that lies before you.
Sometimes you jolt to your senses realizing you just held a piano key down for a minute and a half, listening to the almost imaginary whisperings of the very last resonances in the strings. Other times you sit there and realize you have been sitting silently for a totally unknown amount of time, so intently listening that even the silence made music.
In many ways, sampling is similar to piano tuning tuning. It encourages a deep listening that most musicians don’t encounter in everyday playing. You become strikingly aware of the shape and the breadth of each note that you produce, and the subtle beating of strings and harmonics and all else. Weird overtones that you never noticed before play sharply in your ears. It’s a fascinating state, and has opened my ears in new ways while performing and composing (not to mention fueled an interest in minimalist free improvisation).
Eventually you find yourself at the end with nothing more to play. You have finished your work, like a marathon runner a race, and now it is time to rinse, wash, and repeat with the next instrument or articulation.

Aftermath
Once you have completed recording on your sampling project, it is time to gather all the finished audio and head home. If you worked with other musicians, you should make sure you collected their contact information so that you can let them know when the project is out- it’s also a nice idea to offer them a copy of the library (or at least a respectable discount for their contribution).
Be sure to personally thank anyone who worked on the project or helped you locate musicians, from engineers and facility managers all the way down to assistants and runners. Never burn bridges, even if you don’t think you’ll ever use the facility or performer again for any number of reasons.
The next step for the sample library is cutting, followed by mapping and scripting. These will not be covered in this post for reasons of length and time, but a decent amount of video tutorials regarding the cutting and scripting processes can be found by Dave Hilowitz (creator of Decent Sampler), as well as Simon Dalzell (Ivy Audio) on Youtube.
If you are not able to cut your own samples, you can find a number of individuals, such as our wonderful Cassandra Incognito (reach out to contact@versilstudios.net if you’d like to get in touch with Cassie!), who will provide cutting and processing services for a reasonable fee. Mapping and scripting are equally challenging, but there are a variety of choices that have to be made before deciding on the right sampler format for your product, which will inform how you map and script it.
For now, be sure you back up your raw sessions in their entirety to at least one additional backup drive (I have them located on three drives across multiple systems). If you back them up online, also keep a physical backup somewhere just to be safe. If you just spent, say, $500 recording a bunch of samples, then there’s no reason to spend some time and money to keep that investment safe.
If you have any further questions about the sampling process, affordable equipment, or anything contained in this blog, don’t hesitate to contact me.
Best wishes,
Sam Gossner, Founder
Versilian Studios LLC.
