Sampling: Behind the Scenes
Sam Gossner, Versilian Studios

Sample libraries are incredible. You can load up a piano recorded on the opposite side of the world with microphones you’ve never seen or heard of and immediately play it, even change its dynamic response and temperament or add reverb or other effects. Rare and unusual instruments, long relegated to museums and collections, can live again in scores and compositions in the digital domain.
So, how is it done?
After over a decade of experience, I’m pulling back the curtains to show you how sample libraries are made, from start to finish. Along the way, we’ll learn about how developers plan, record, edit, and assemble finished libraries.
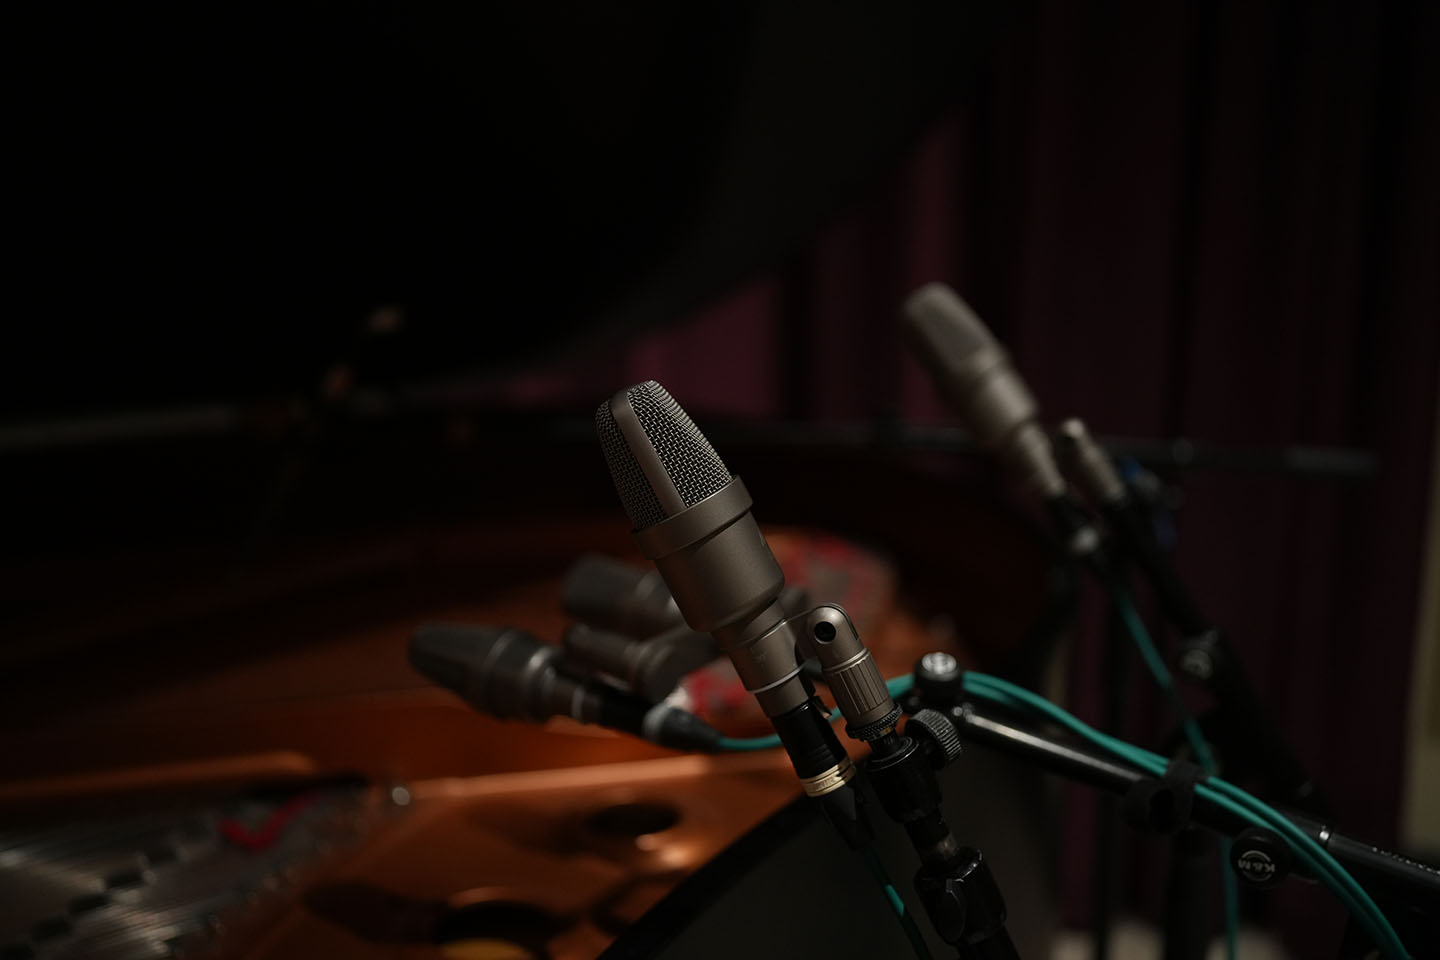
⇑ Calderwood Drums session, 2024

Planning
Sampling is, in brief, the process of converting an infinite “analog” thing into a discrete “digital” thing. Creating a sample library is the same conceptually as taking a digital photo, where discrete pixels capture points in space. Together, they form a picture we can see.
Sample libraries are similarly made by recording hundreds to thousands of individual audio clips, called samples. These are then mapped to respond to various MIDI inputs to generate a resulting sound when the right inputs are active. Loud samples play when you press a key hard, quiet samples when you press lightly.
The first step to any project is to thoroughly plan out exactly what needs to be recorded, to calculate how much time will be necessary OR adjust the recording plan so that it fits within a given time budget. Even two sample libraries with the same number of samples and same length of recording time can sound and feel dramatically different based on HOW the developer allocates their time and resources.


The Four Elements
There are four main elements or axes on which we sample instruments:
- Pitch Fidelity: Chromatic, Diatonic, Wholetone, Minor 3rds, etc.
- Velocity Layers/Dynamics: Single, or anywhere from 2-127
- Round Robins: Multiple takes of the same thing to add realism
- Articulations: Different ways of playing notes (pluck vs. pick; short vs. long)
These four elements multiply together to give us an idea of the number of samples we’re recording.
If we then apply a time factor (e.g. 2 seconds for short, 10 seconds for long) we can approximate the length of the session, usually with a 25-35% loss to retakes and breaks factored in.
Different instruments need VASTLY different formulations of these elements. For example, a drum would need a lot of velocity layers and round robins but usually not that many different articulations. Meanwhile a recorder has virtually no dynamics but can have quite a few articulations and great variability chromatically due to cross-fingerings.
It’s up to the developer to make the call as to the appropriate factors for an instrument, given the available studio time, capabilities of the instrument, and abilities of the performer.

Pitch Fidelity
Pitch is an arbitrary, continuous concept. Most (Western) instruments have a chromatic (12-tone) minimum “pitch resolution”, dividing each doubling of frequency into 12 equal slices. There are many instruments which have lower pitch resolution, such as diatonic, modal, or pentatonic found on most simple flutes/whistles and stringed instruments.
However, it’s not always necessary to record an instrument at its highest pitch fidelity, as mathematically you can save about 50% by using diatonic or wholetone instead, doubling the amount of “stuff” you can fit into a session with limited time. This is how I made VSCO 2 without losing my mind (or shirt!).

Velocity Layers
Velocity is the MIDI term for the vertical “intensity” axis transmitted with every note. When you press a key harder, a higher velocity is signaled. When you press a key softer, a lower velocity is signaled.
In the Classical world, this is similar to the term ‘Dynamics’ or ‘attack’, while in engineering we think in terms of decibels (dB).
For a piano, struck percussion, guitar, or other ‘impulse’-type instruments, striking a key or head harder gives a higher dB response and usually a brighter sound. By recording at fixed, regular levels of dB, we can capture consistent velocity layers. The less distance between each layer, the smoother the sound transition, but the harder it is to maintain even layers. Most humans max out around +/- 1.5 dB on instruments like drums, mallets, and piano. Plucked strings tend to be a bit harder, around +/- 3 dB.
For instruments like winds, brass, and bowed strings, or other ‘sustained’-type instruments, velocity can be tied to either intensity (dynamics) OR to attack shape (accented, unaccented), usually using a modwheel to crossfade between sustain dynamics. The latter method can have issues with solo instruments due to phase differences caused by samples in different dynamics having slightly different intonation (pitch).
Most sustaining instruments have 1-5 layers, impulse type 3-9+ layers.

Round Robins
Humans are naturally, perfectly imperfect. Every strike of a drum or press of a key results in minute variations in intensity. The better, or rather more consistent the player, the more consistent the takes, but exact identical behavior virtually never occurs in the ‘analog’ world.
For this reason, the concept of taking multiple takes, cycled through in playback as ‘Round Robins’, came about in the late 90’s and has remained a common feature of sample libraries to ‘Humanize’ samples.
For sustained sounds, usually 2-4 RR are done, while short sounds can be anywhere from 3-9 RR. Drums and other percussion can be anywhere from 4 RR to as many as 16 RR. Remember this is a game of diminishing returns; doubling RR won’t “double” humanization beyond 4 RR or so.

Articulations
The vast majority of instruments have different ways of playing, such as using or not using vibrato on strings and woodwinds, or playing short versus long notes. Similarly a guitar can be plucked, picked, or strummed, or a piano can be played with or without sustain or una corda pedals, with full or half stick.
A sample library does not need to be a complete encyclopedia of every sound an instrument could possibly produce, but the closer you get, the more useful it will be. Sometimes creative, interesting sounds can be just as useful as normal, mundane ones. Often performers will bring unique ideas to the table with regards to sounds, and having some spare time leftover to discuss and try various ‘effects’ or a unique play style will add a lot to your project.

True Legato
One of the ‘final frontiers’ of sampling which has grown ever more complex over the past 20 years is trying to capture the transitions between notes. This process, generically known as ‘True Legato’, has many methods of capture from simulated real phrases to various ‘exercises’ with varying efficacy.
At the short end, it’s possible to quickly capture transitions in about 30 minutes, while the longest methods can roughly triple or quadruple recording time.
The “worst offenders” in this regard are by far bowed strings, which have so many ways to transition between notes and so many considerations that very, very few efforts to sample them as extensively as necessary have succeeded.
Brass are complicated by the endurance limits of performers, so some care must be taken. Woodwinds are comparatively quite straightforward and results are frequently excellent.

Other Considerations
Just as important as how a note starts is how it ends. Guitars, keyboards, and mallets all have a unique sound when the hand/damper stops a note. Likewise all sustaining instruments have some resonance and reflections of the space at the end of a note. Capturing and triggering this sound, called the ‘release’, adds immense realism to an instrument and is vital to any serious sampling project.
Many developers have sought to capture ‘extra’ noises of playing, such as ERA which includes many sounds of breaths or hands moving along the necks of instruments. When integrated at a low level into the samples, and at a different RR count of course, this provides an added sense of ‘immersion’.
Other techniques include capturing the sound of repeating the same note in a connected way. This unique ‘rearticulation’ or ‘repetition’ sound, in particular on plucked strings, can add a lot of realism.

Time & Budgeting
In an infinite world with infinite time, sampling would go on for days, weeks, months, even years, until the very limits of general MIDI and modern hard drives are met.
However, with a few very unusual exceptions, this is virtually never the case. Studios cost money, performers cost money, time spent sitting in a room not directly making money costs money.
Like all things in life, there is a mixture of financial budgets, physical limitations, and diminishing returns at play which naturally serve to counteract the desires of the sample library developer to record at ridiculous levels of resolution. Extreme sessions take their toll on the mind and body.
Even if you capture 20 velocity layers at 16 RR, how consistent are they? The classic sample libraries of the 80’s and 90’s had so few samples that the developer could focus on ensuring each sample was absolutely perfect in every way. With 10,000 or 100,000 samples, that is simply not possible.
Countless cases of modern sample libraries, even our own, with undiscovered issues or noises found years or even decades after releases have occurred. There is nothing here about laziness or incompetence, but rather the immense depth of modern sampling is so enormous that such mistakes naturally slip through the cracks of even a rigorous review process.

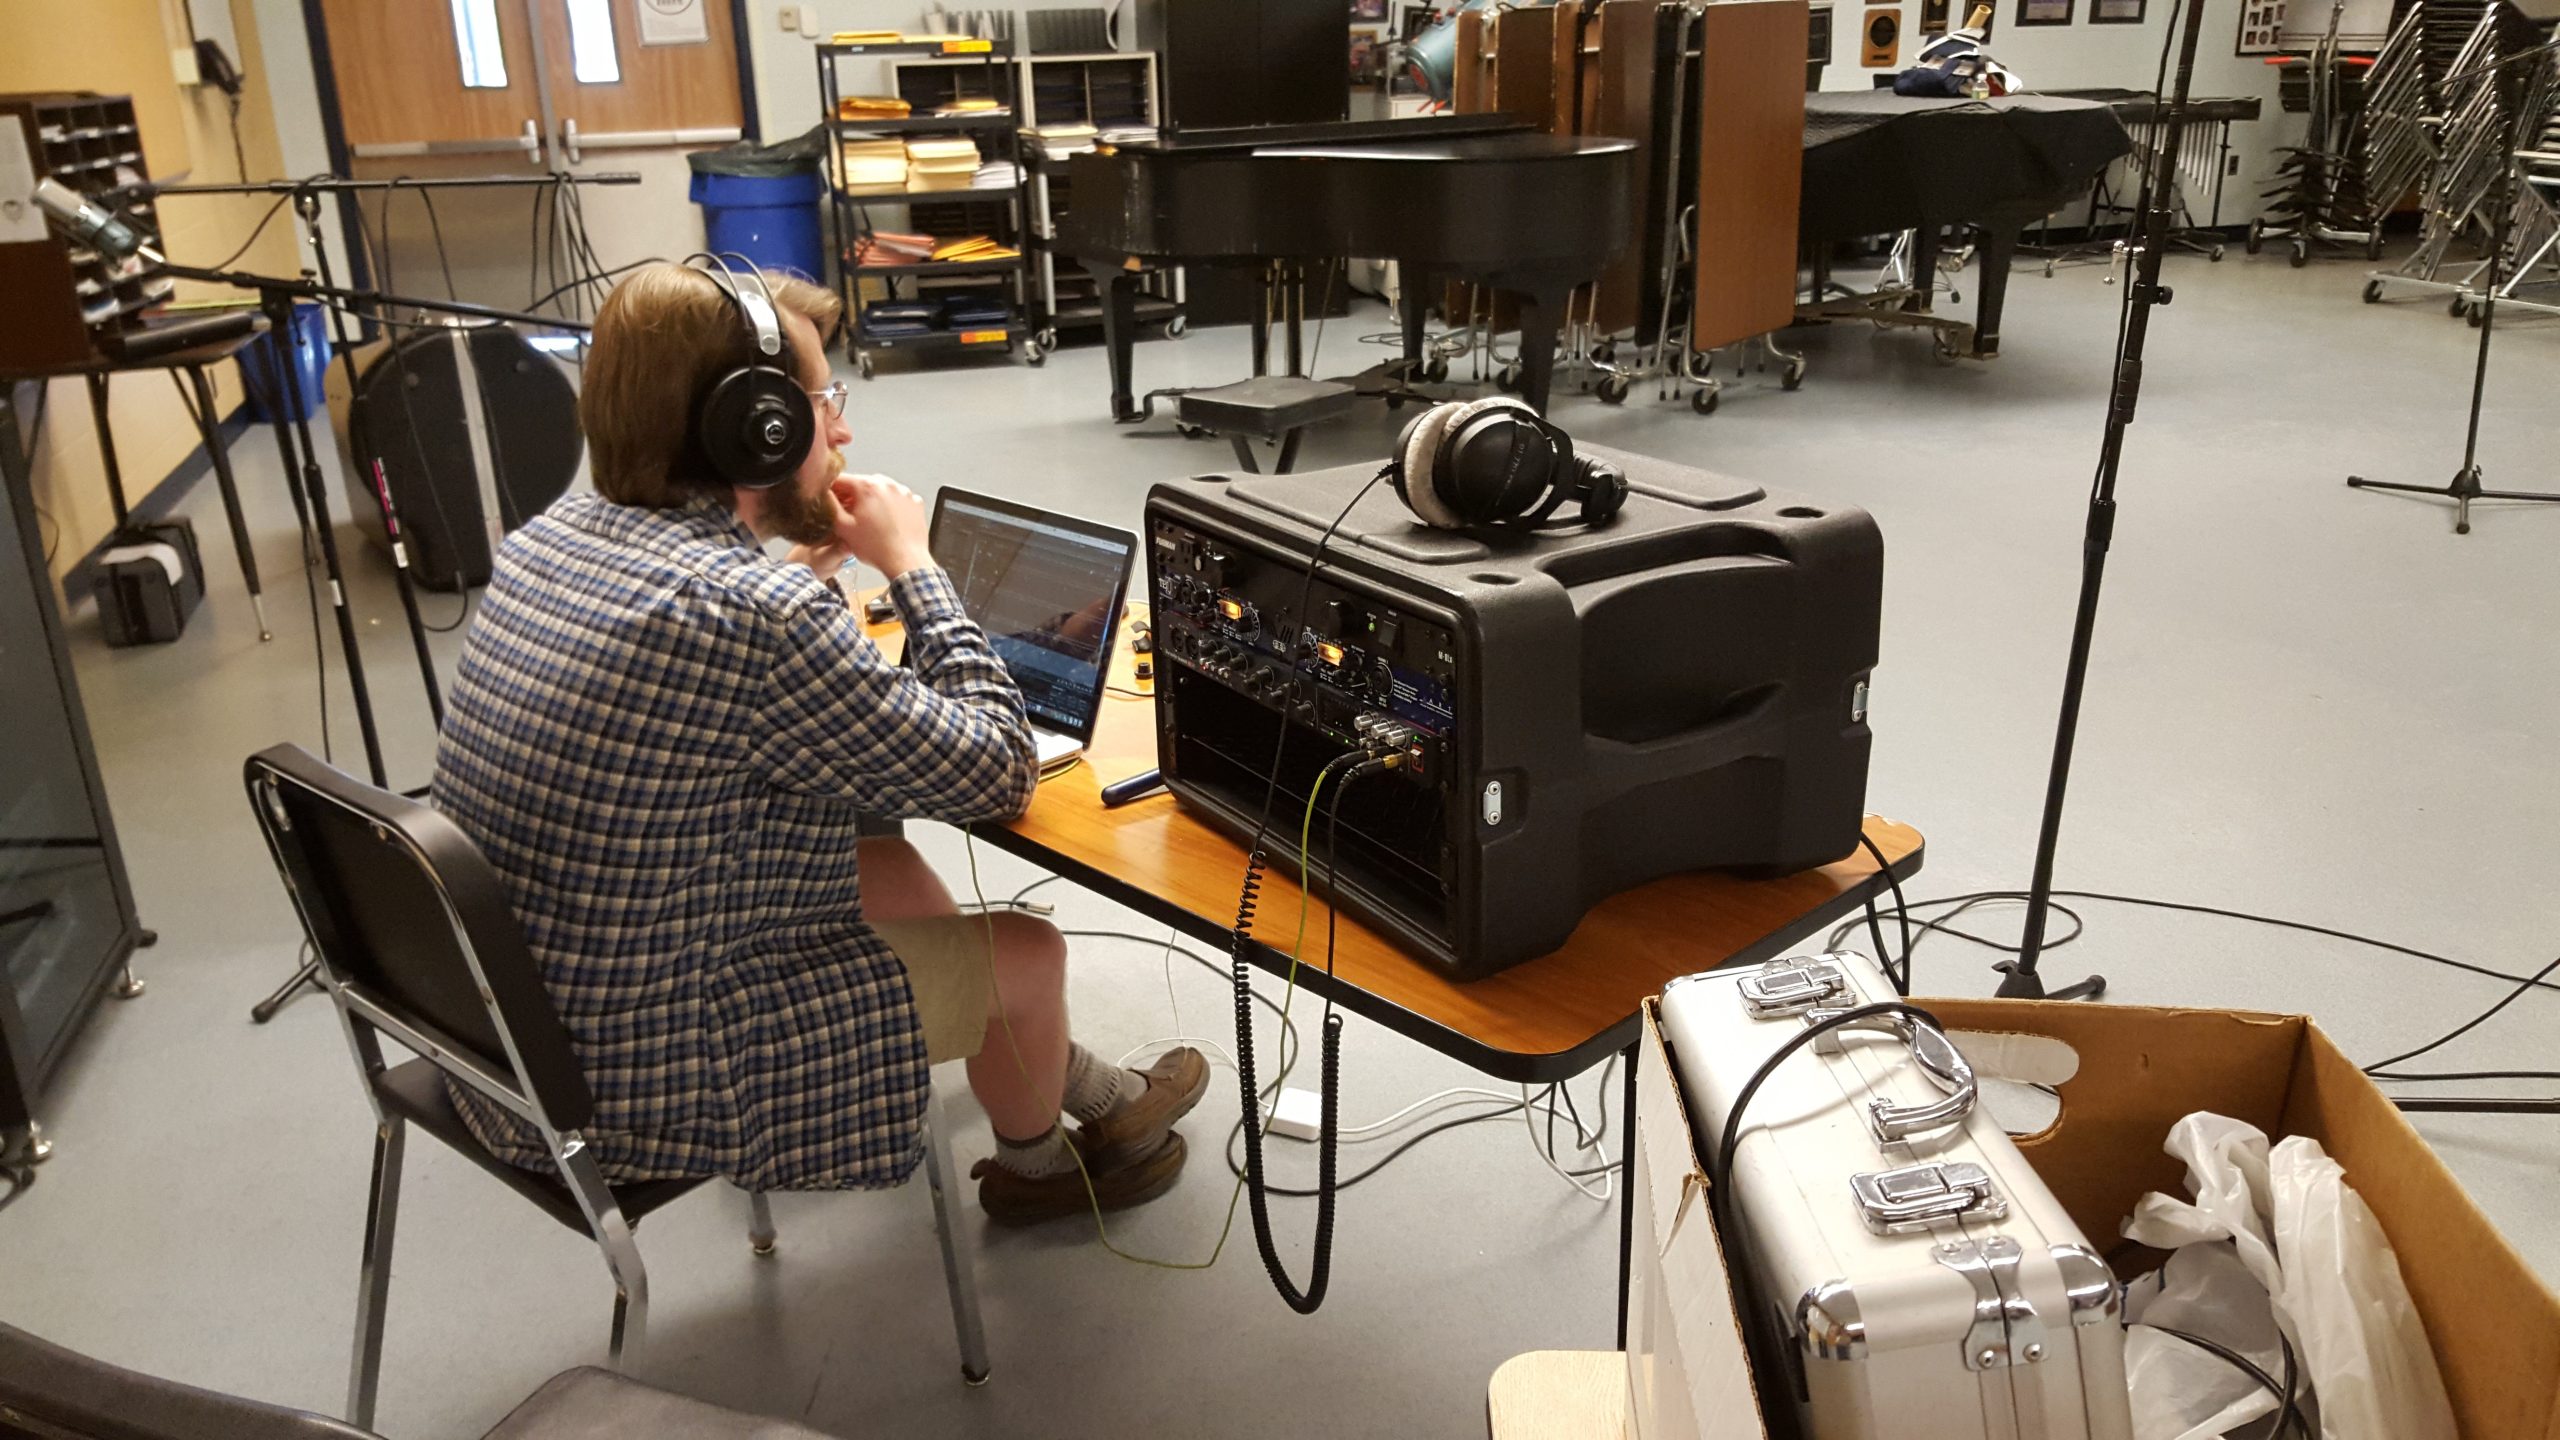
Recording
Once we have a solid plan and a good estimate on what we’re getting ourselves into, it’s time to get recording! This is the most critical, make-or-break part of sampling. You can change your mind with things like GUI and post-processing, but you can’t go back in time and record something you forgot or make up for bad takes.

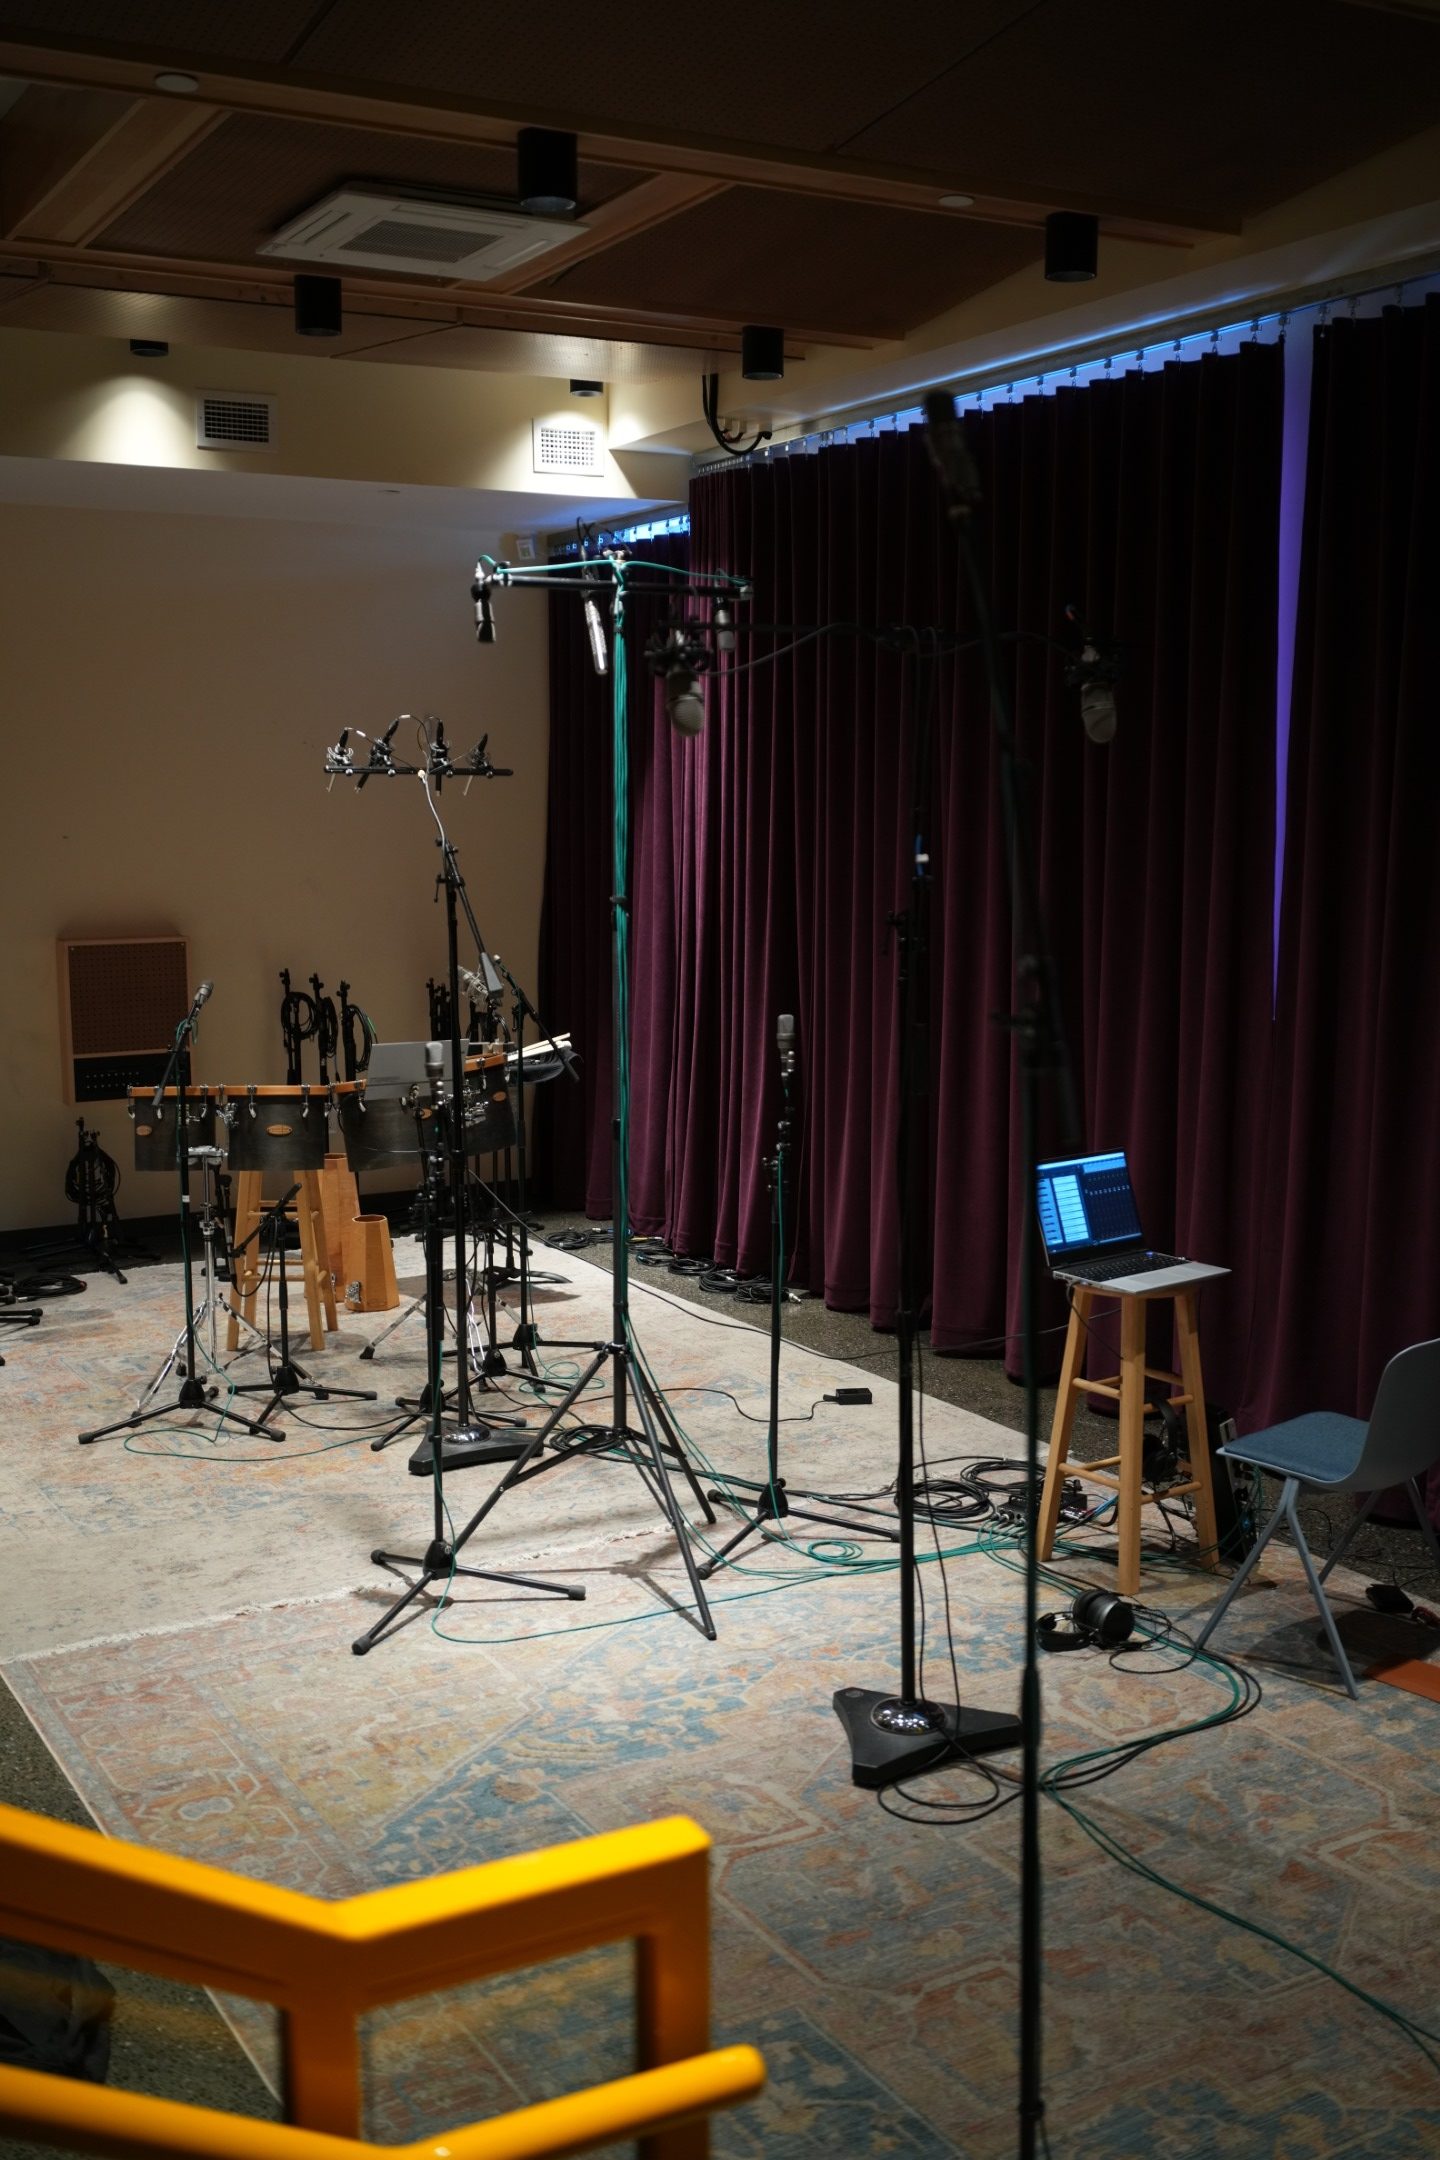
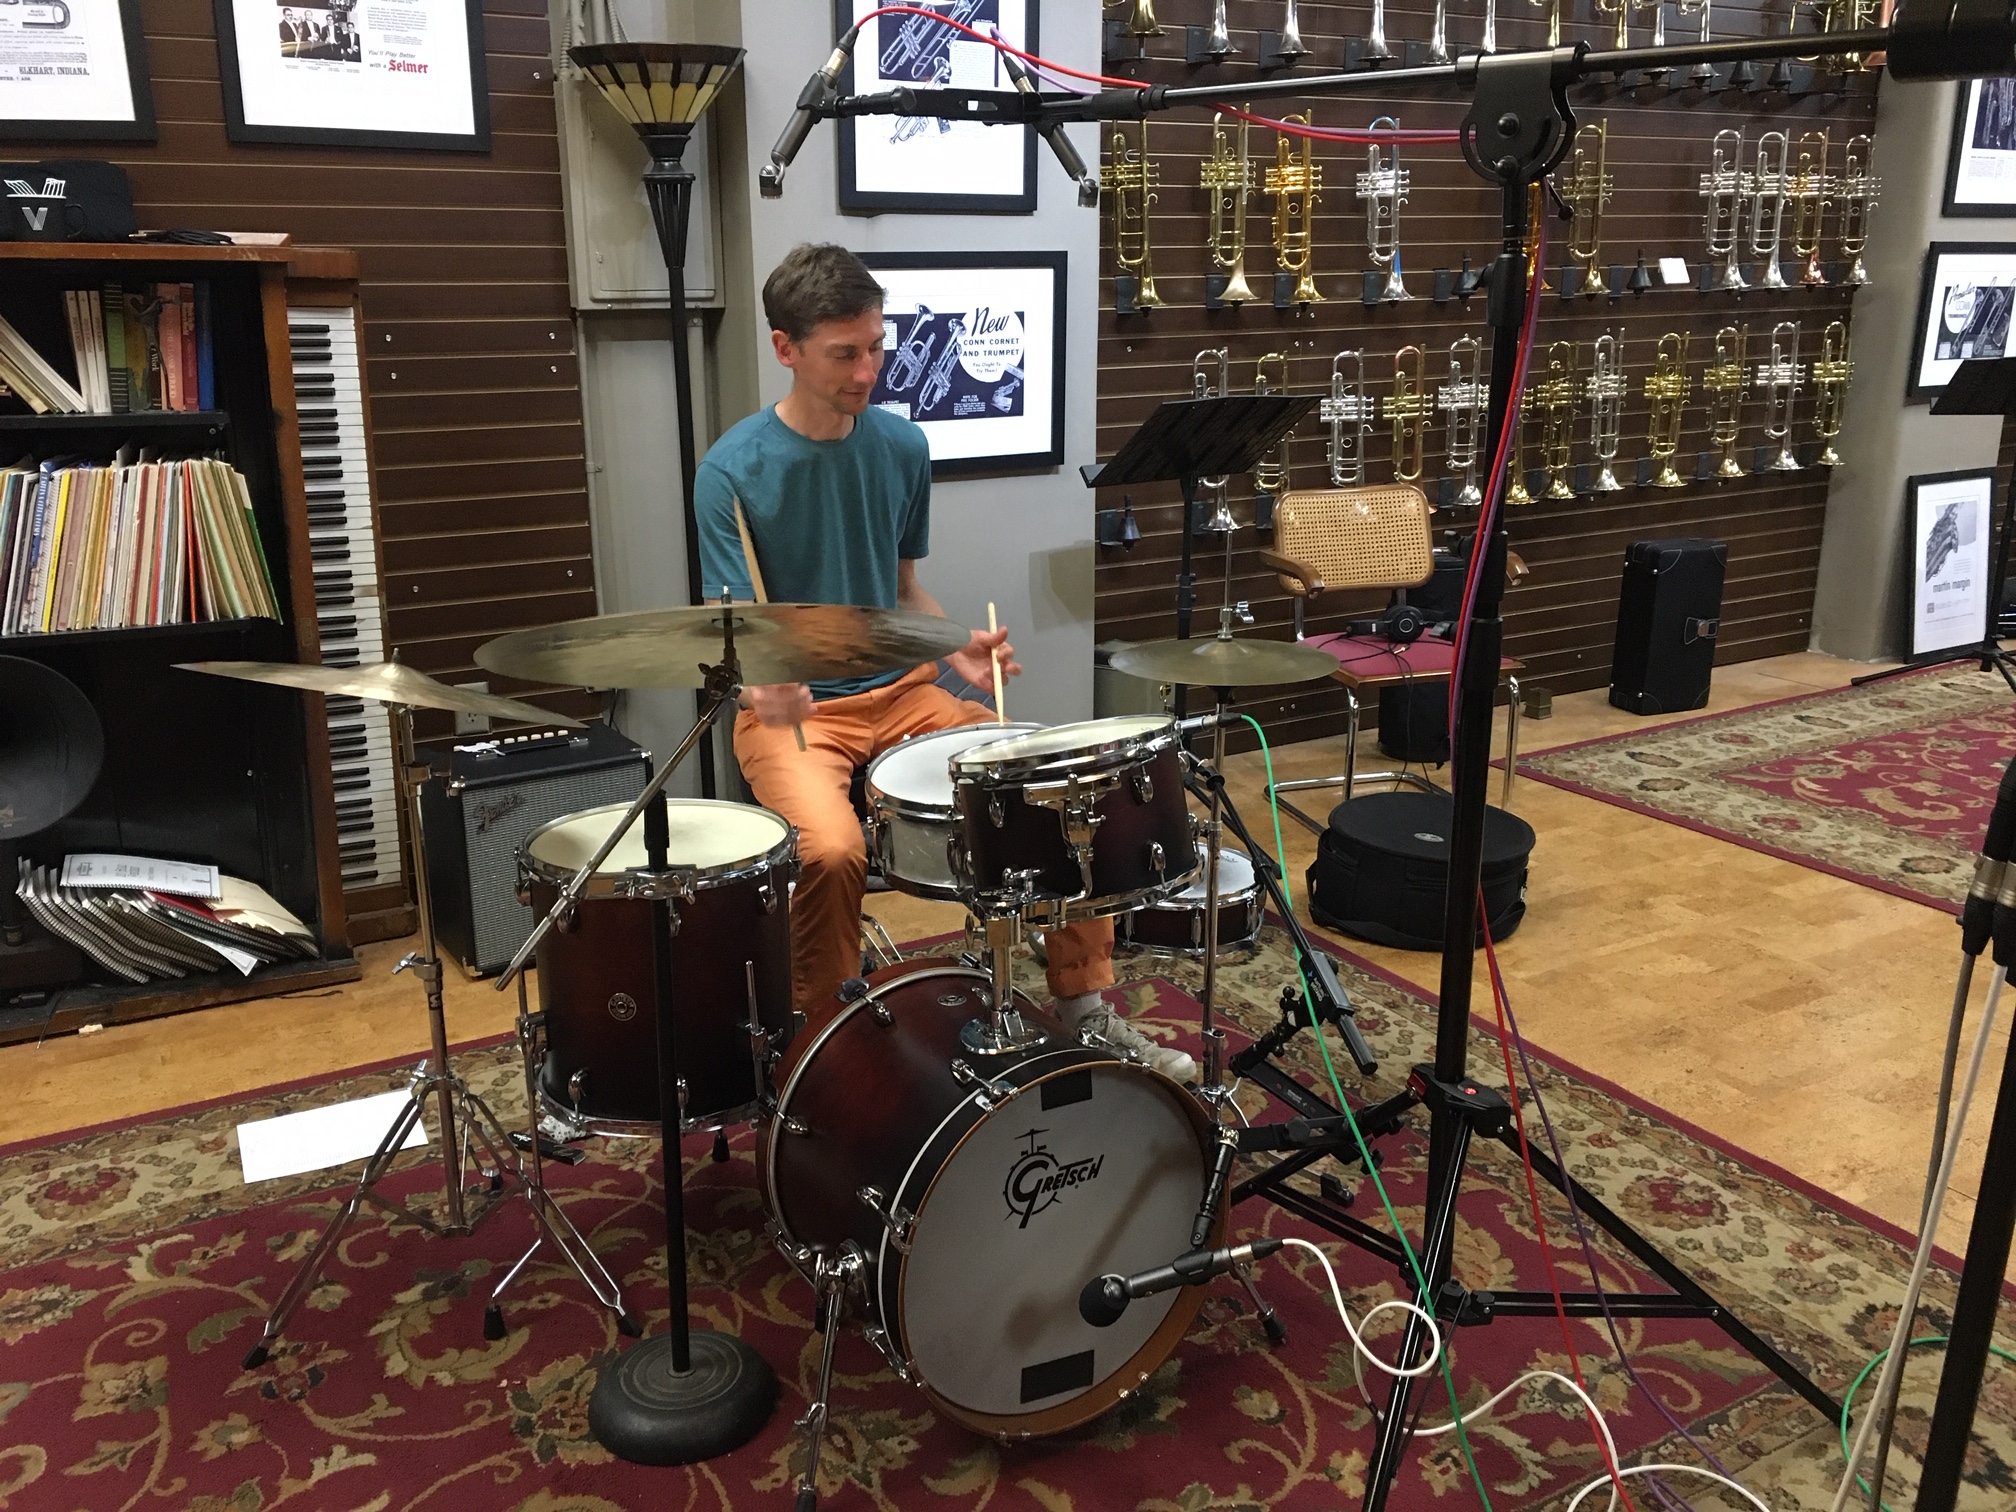
Space
The environment you record in has an immense effect on the sound. We’ve recorded samples everywhere from broom closets to concert halls, and bigger isn’t always better. Some instruments are so quiet that even the sounds of distant planes, chattering birds, and the hum of lightbulbs can ruin the samples. In these cases, ultra-low-noise studios are necessary for recording.
Some instruments though really just don’t sound “right” in a small space, such as brass and strings. For these, recording in a larger space is usually necessary unless a ‘tight’ studio sound is desired.

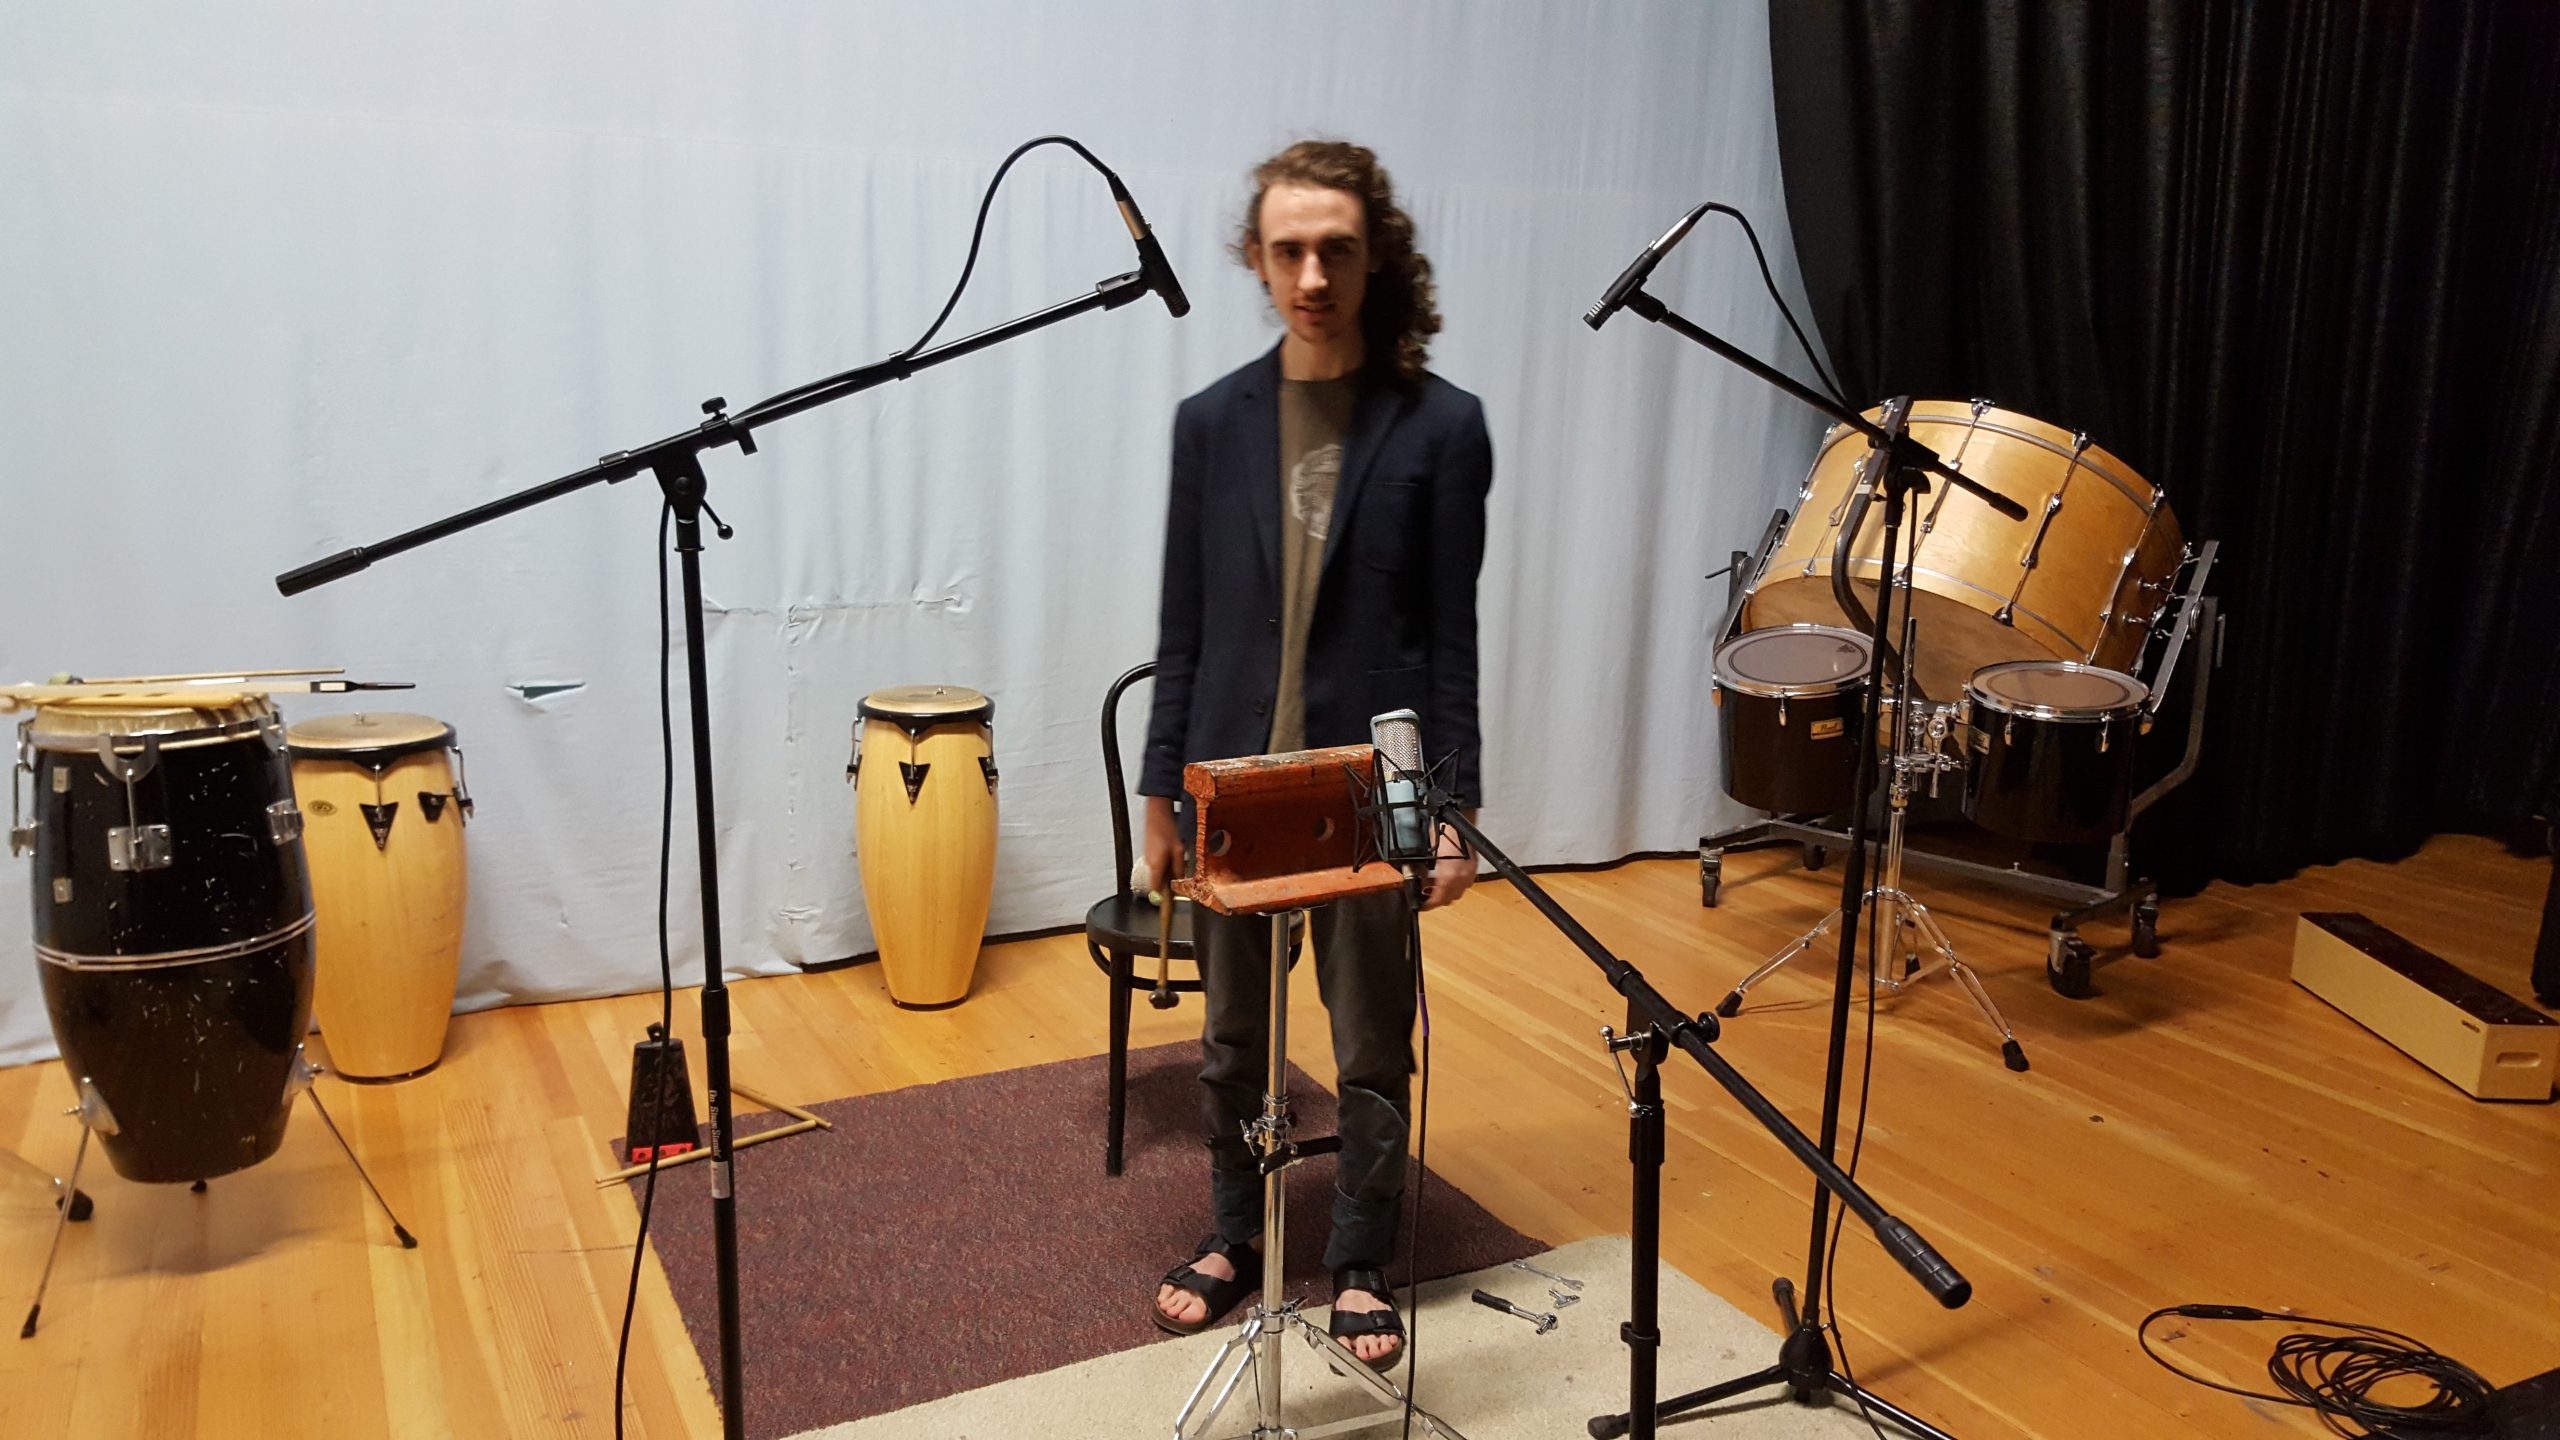
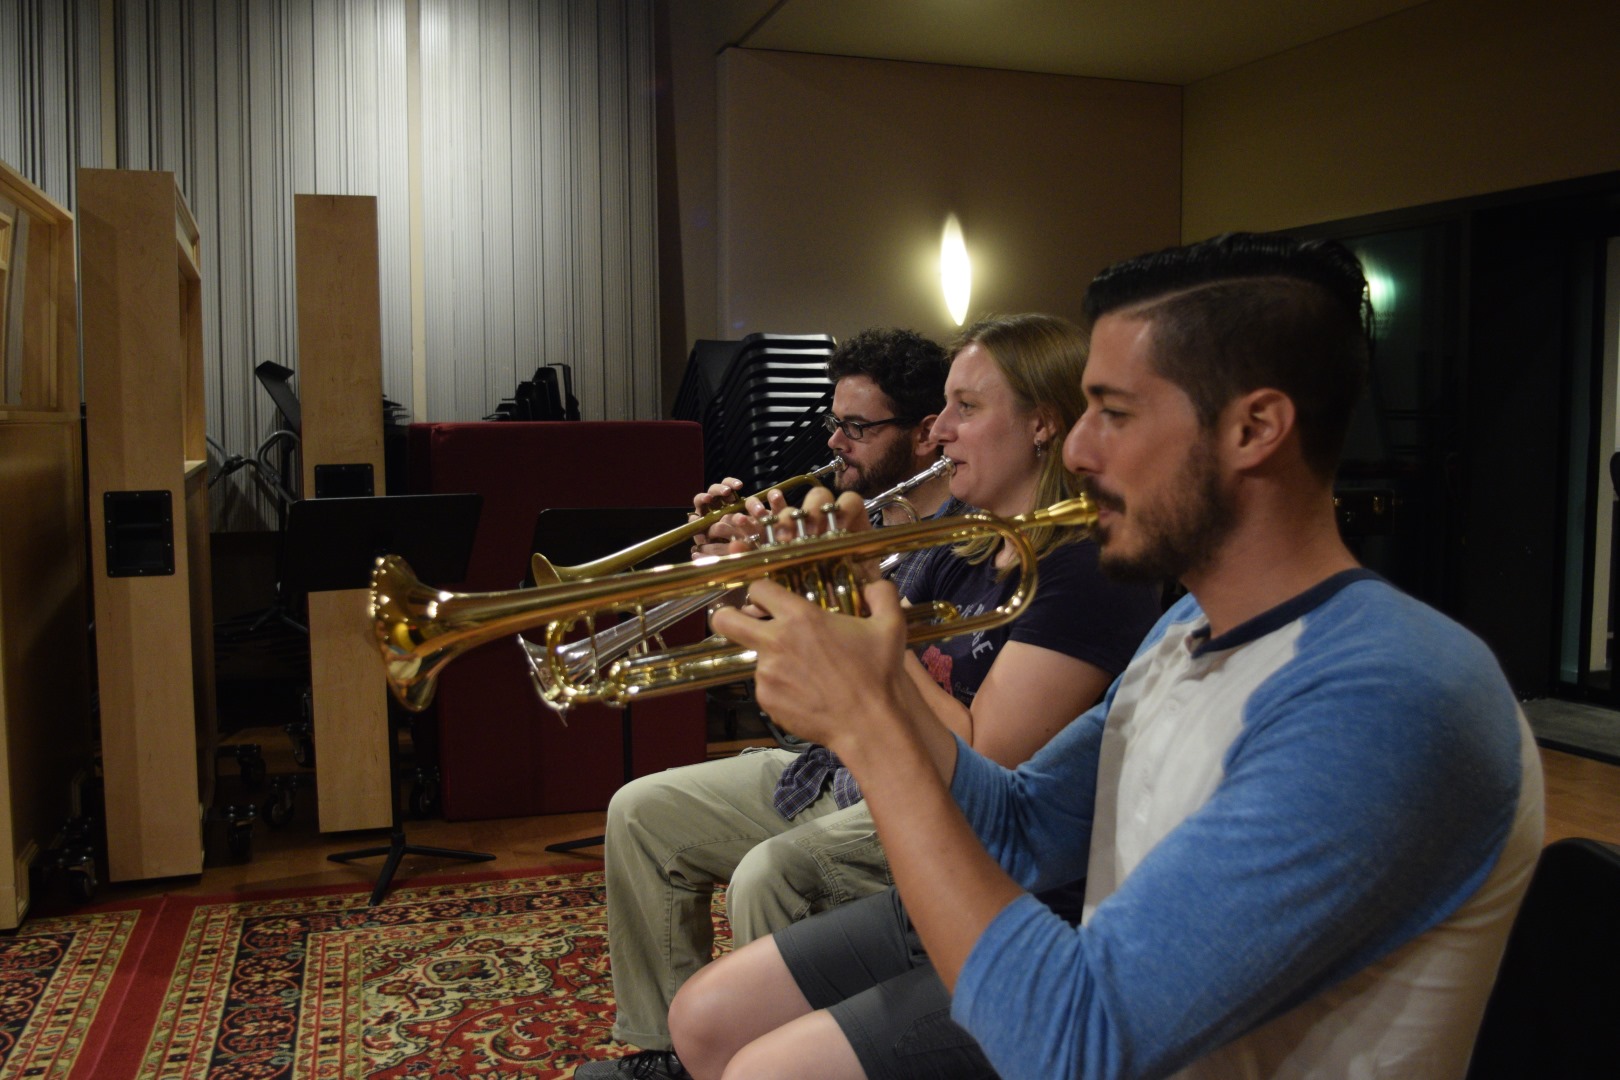
Performers & Instruments
What you sample and who plays it also can dramatically influence the sound and quality of your finished sample set. Some instruments do not require much or really any serious technique but rather a high degree of consistency (keyboards, most mallets, zithers) while others require extreme technical ability (most brass/ww/strings). In this regard, sometimes you can perform the instruments yourself, while in other cases it is worth every penny hiring the best performer you can.
One major factor often overlooked is endurance. Some instruments such as piano, recorder, and drums largely have no physical cap and are very ergonomic and can be played continuously for extremely long periods. In the middle, string instruments often have some physical endurance limit in the area of 4-8 hours due to finger fatigue from holding down strings and plucking/bowing (depends on the instrument and its tension). On the low end, brass and most woodwinds have an endurance cap in the area of 2-4 hours due to embouchure (lip) fatigue.
In the case of the latter, it is a balancing act of player endurance and player quality. Not all players with extreme endurance have a great sound, and not all players with a great sound have extreme endurance. It is usually ideal to find either conservatory or busy working musicians who by their nature play constantly and often for long periods already, but in both cases working out schedules may be difficult.


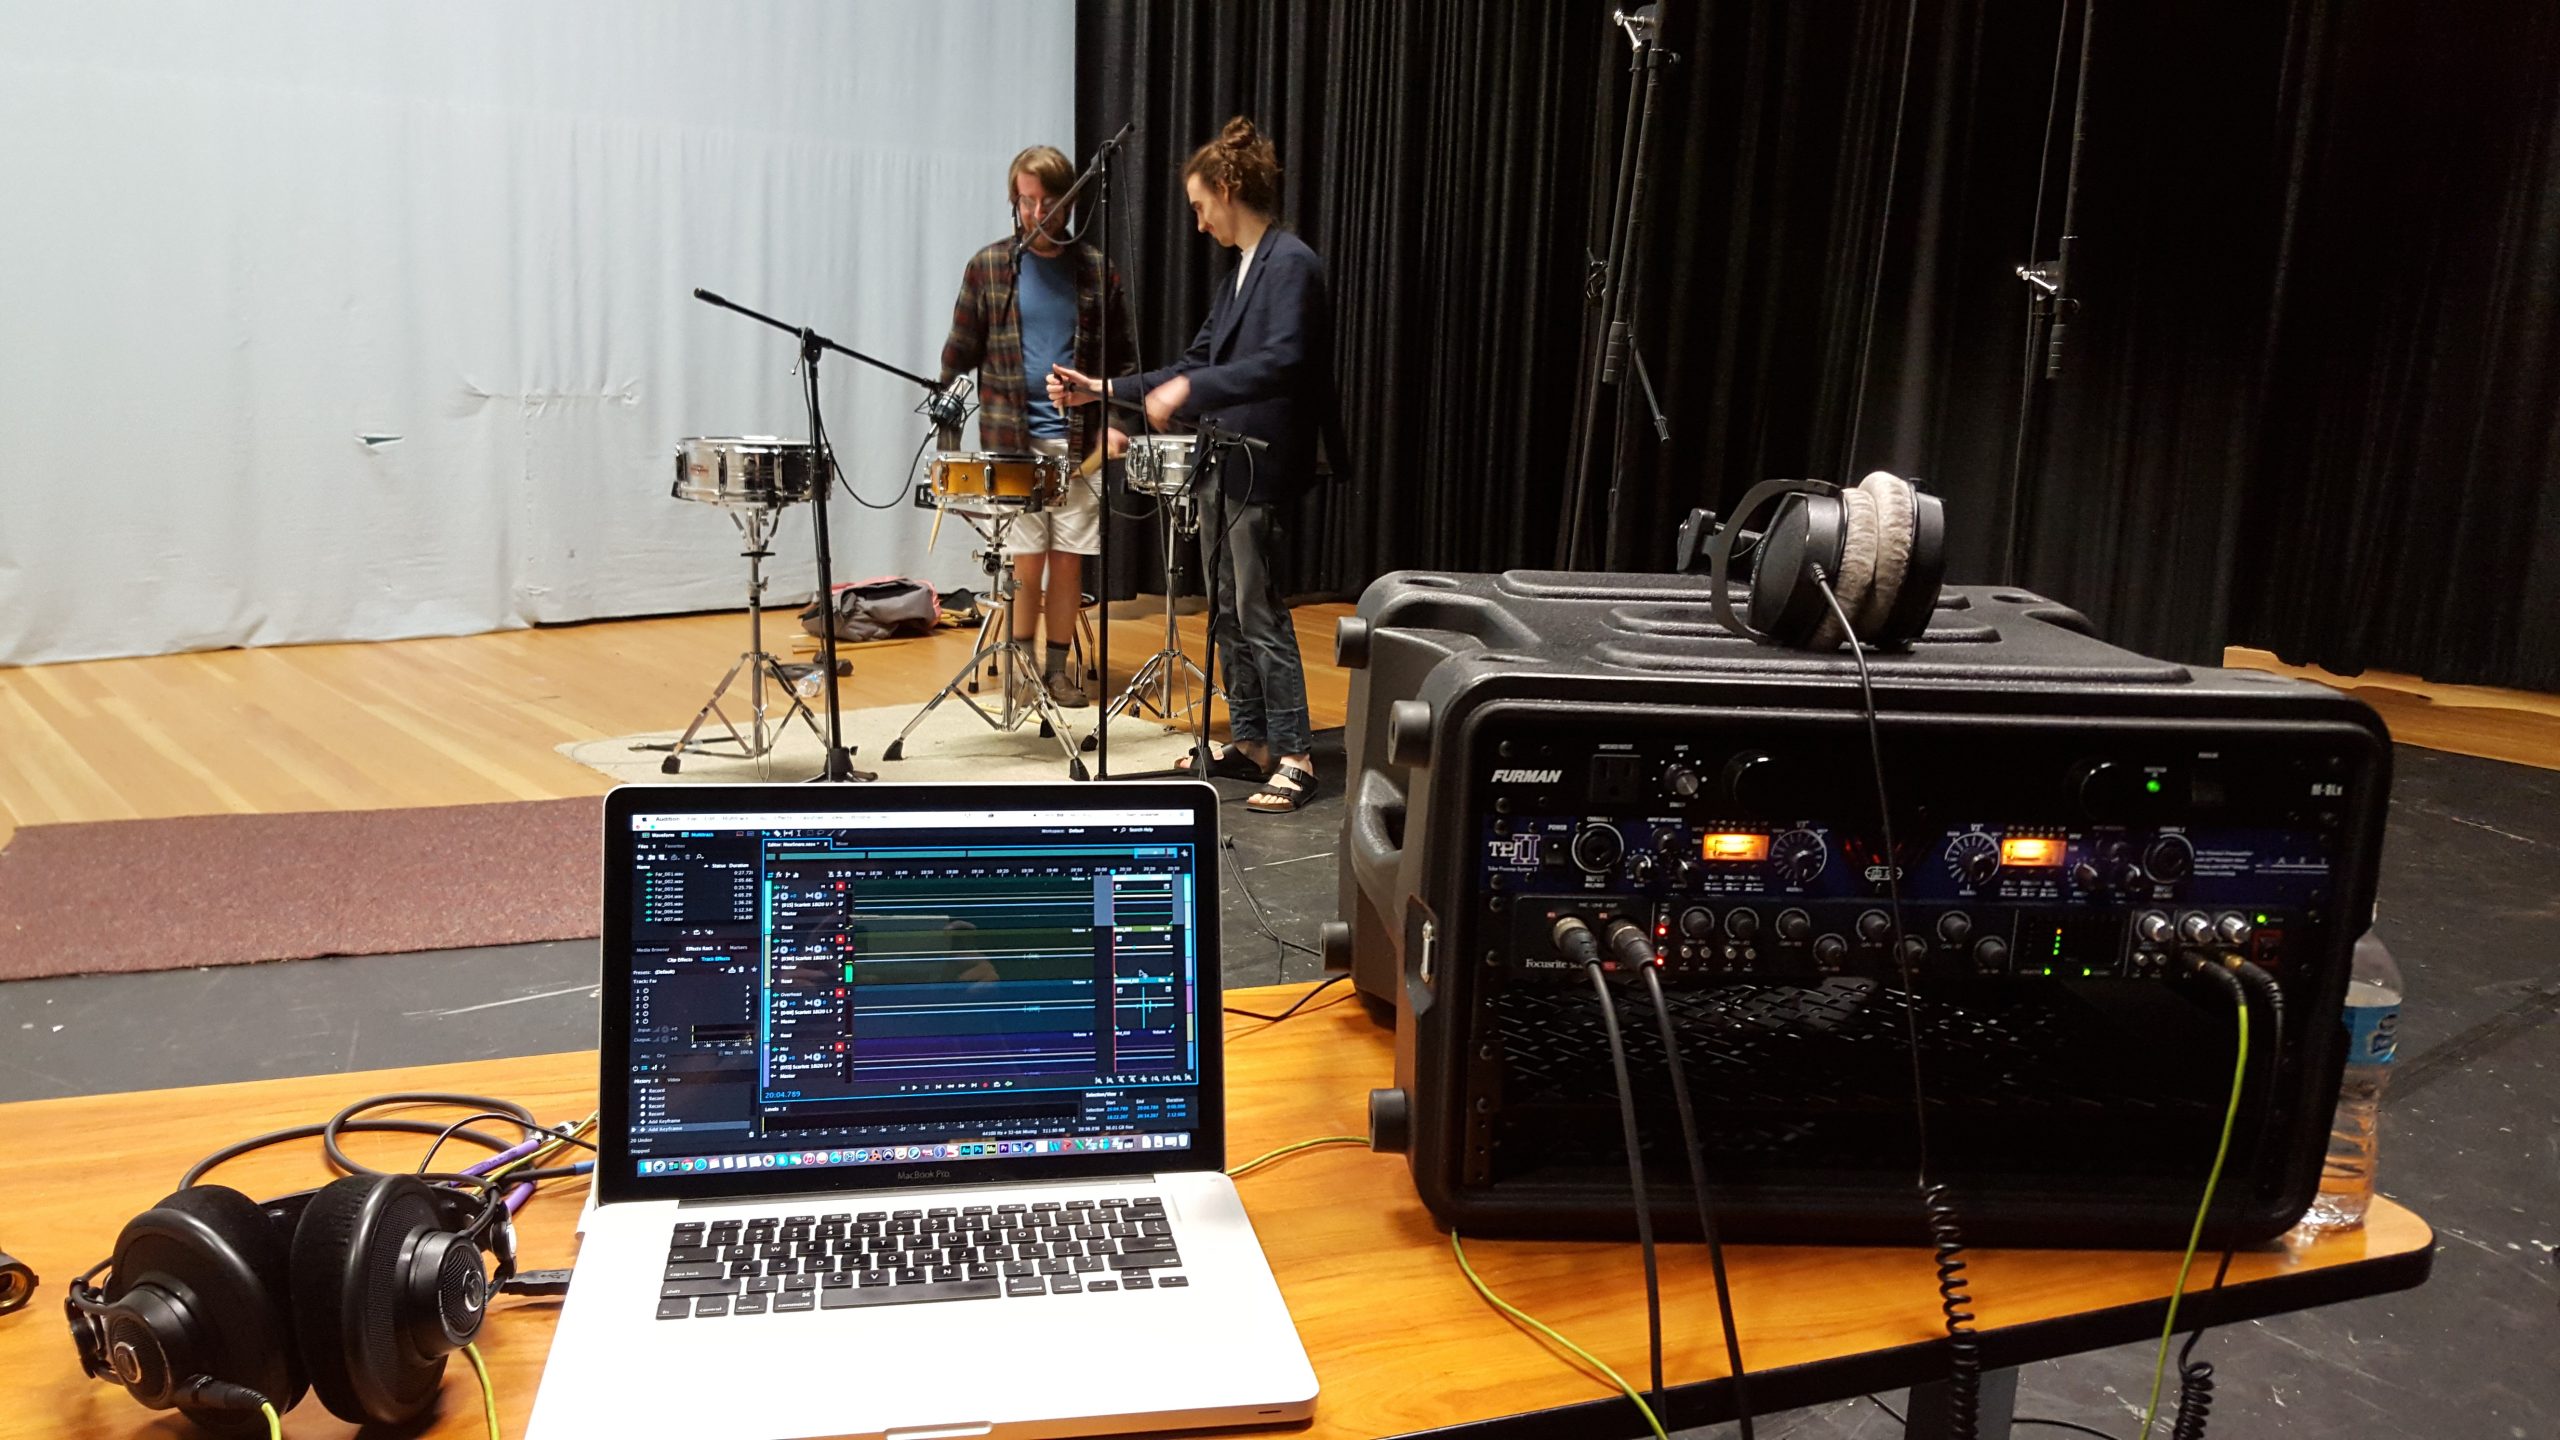
Direction & QA
As the developer, it is your responsibility to ensure every take is done correctly, consistently, and usably. Thus during the process it is often necessary to ask for a retake or to provide additional direction to the performer to ensure sampling remains consistent and usable. This is doubly so if sampling by yourself, where the workload can be extremely high, resulting in slip-ups!
◀ I always prefer to sit in the room with the performer. It takes a bit of practice to not make any additional noise during this process, and I generally use hand signals to avoid any talking unless something larger needs to be conveyed. However, compared to sitting in a control booth, it provides way clearer feedback and easier communication.
◀ It is absolutely essential to develop a good rapport with the performers. Happy, relaxed musicians will always make better samples than stressed, unhappy ones. If you can get your performers onboard and excited with what you’re doing, to understand and perhaps even share your vision, then the entire process goes dramatically smoother than the work-a-day mentality of simple contract work.
This isn’t just mental, there are strong physical benefits to a relaxed, focused mental state, often referred to as ‘flow’. People naturally scrunch up or slouch when stressed or too relaxed, restricting airflow and movement. Work to help the musician enter this state by drawing their attention to the right elements and keeping the atmosphere from being too hostile or inefficient.

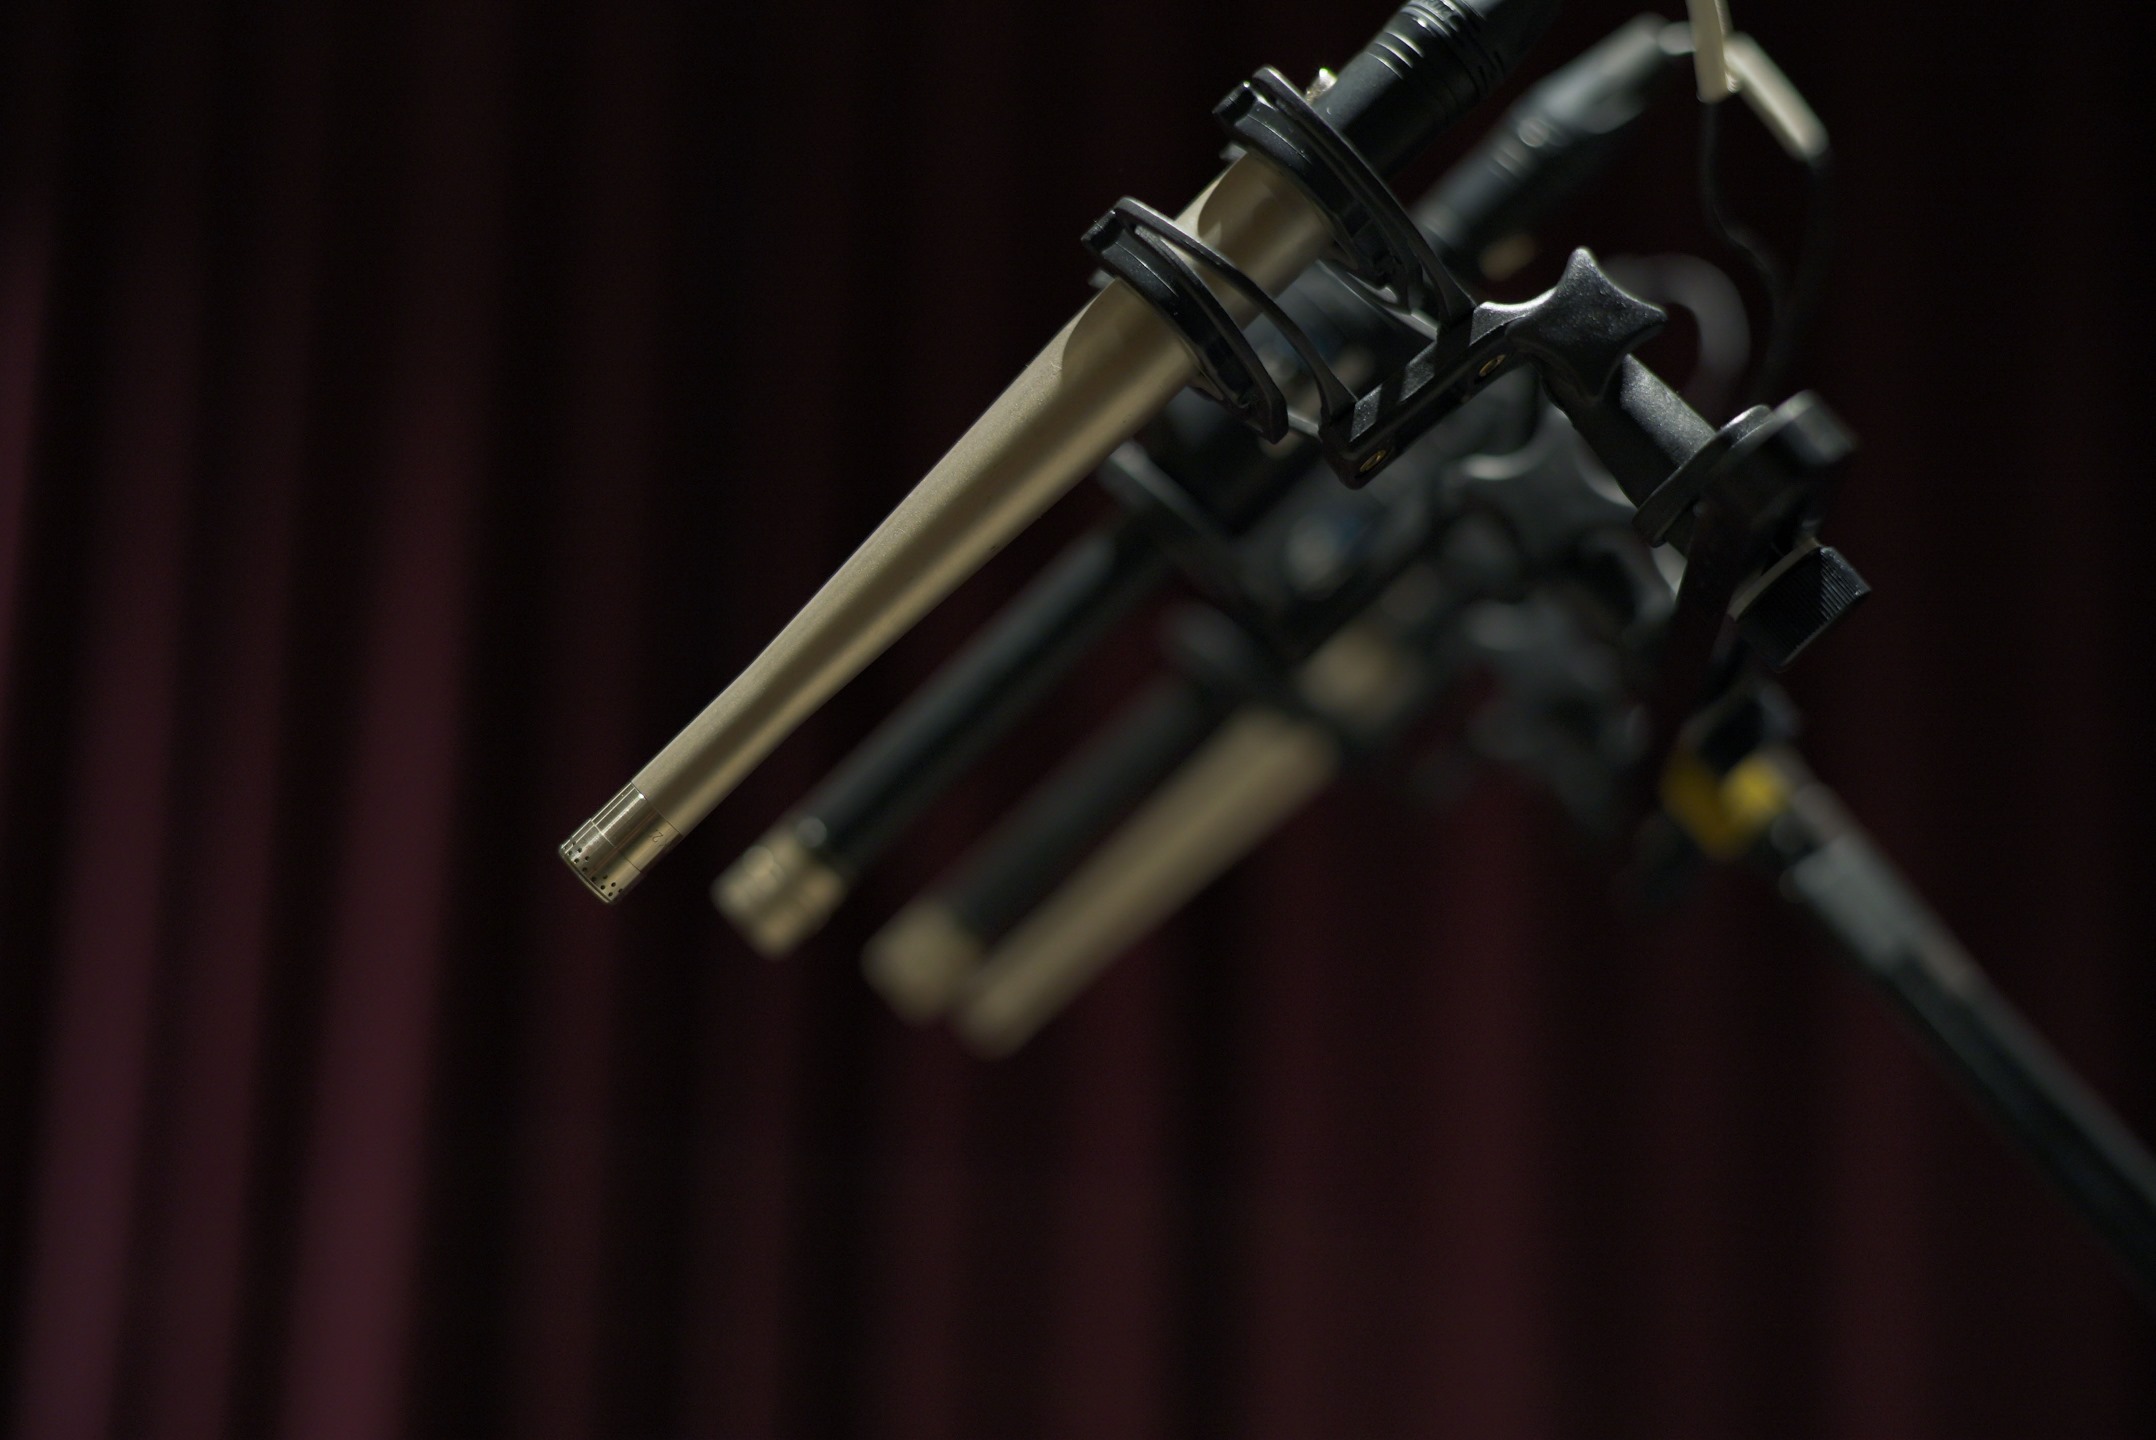
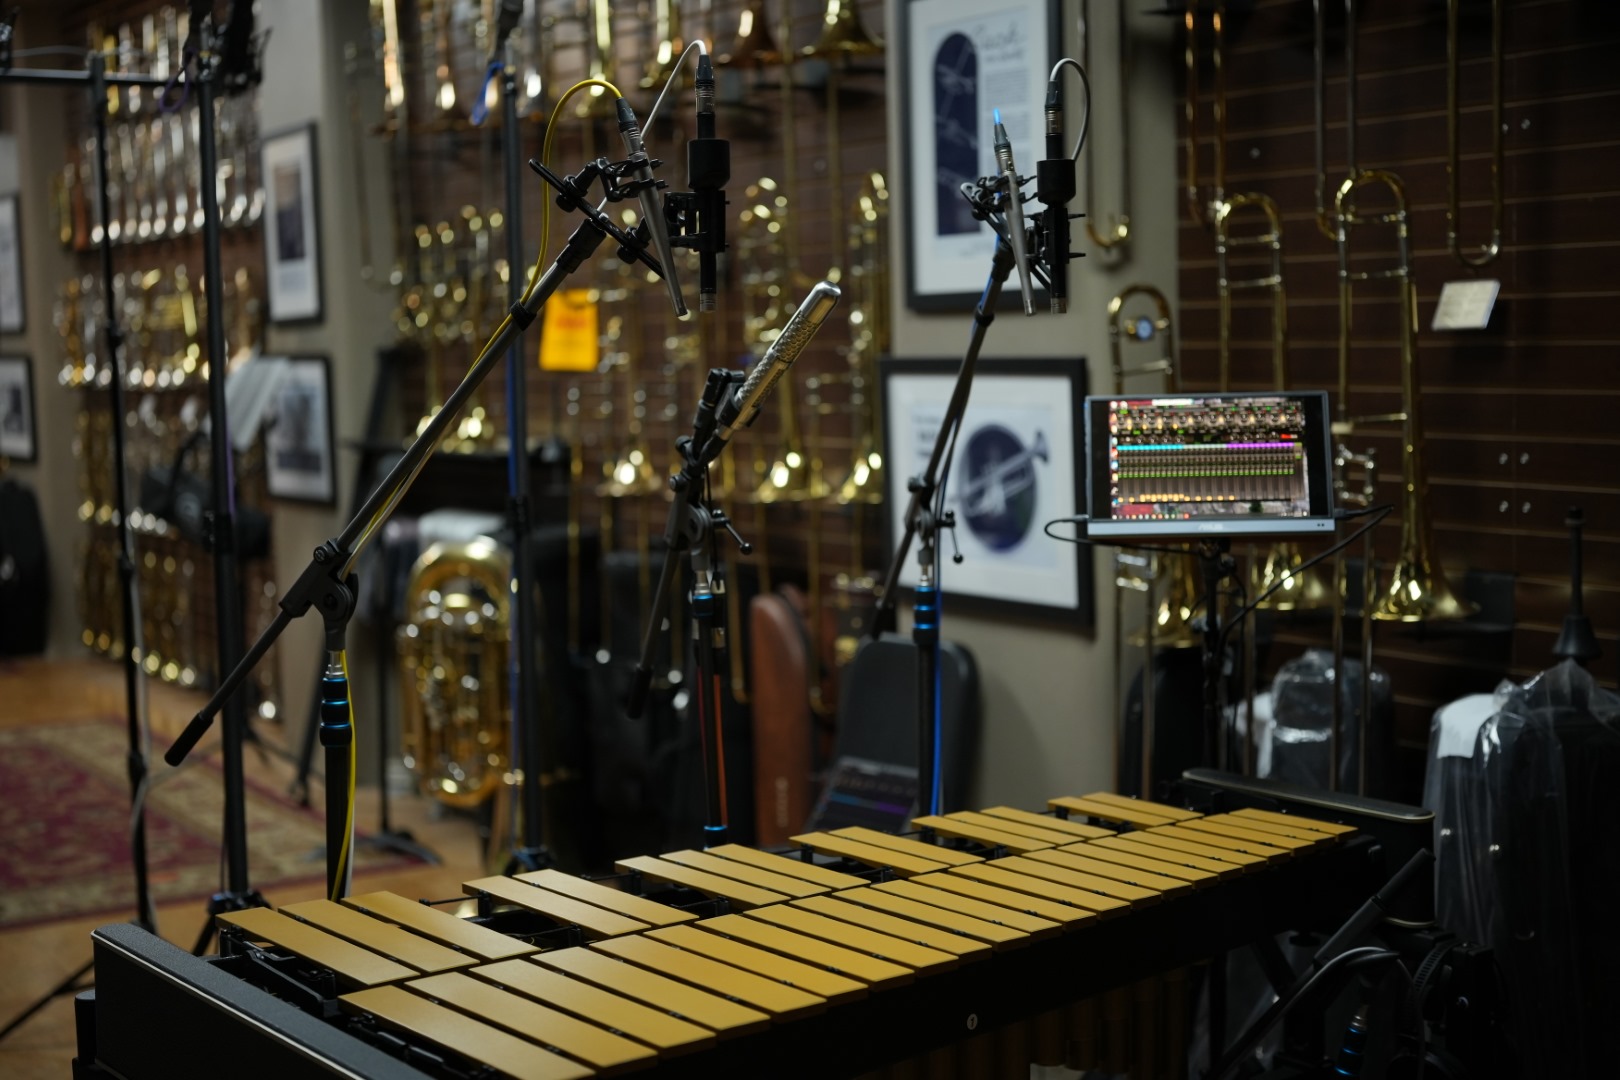
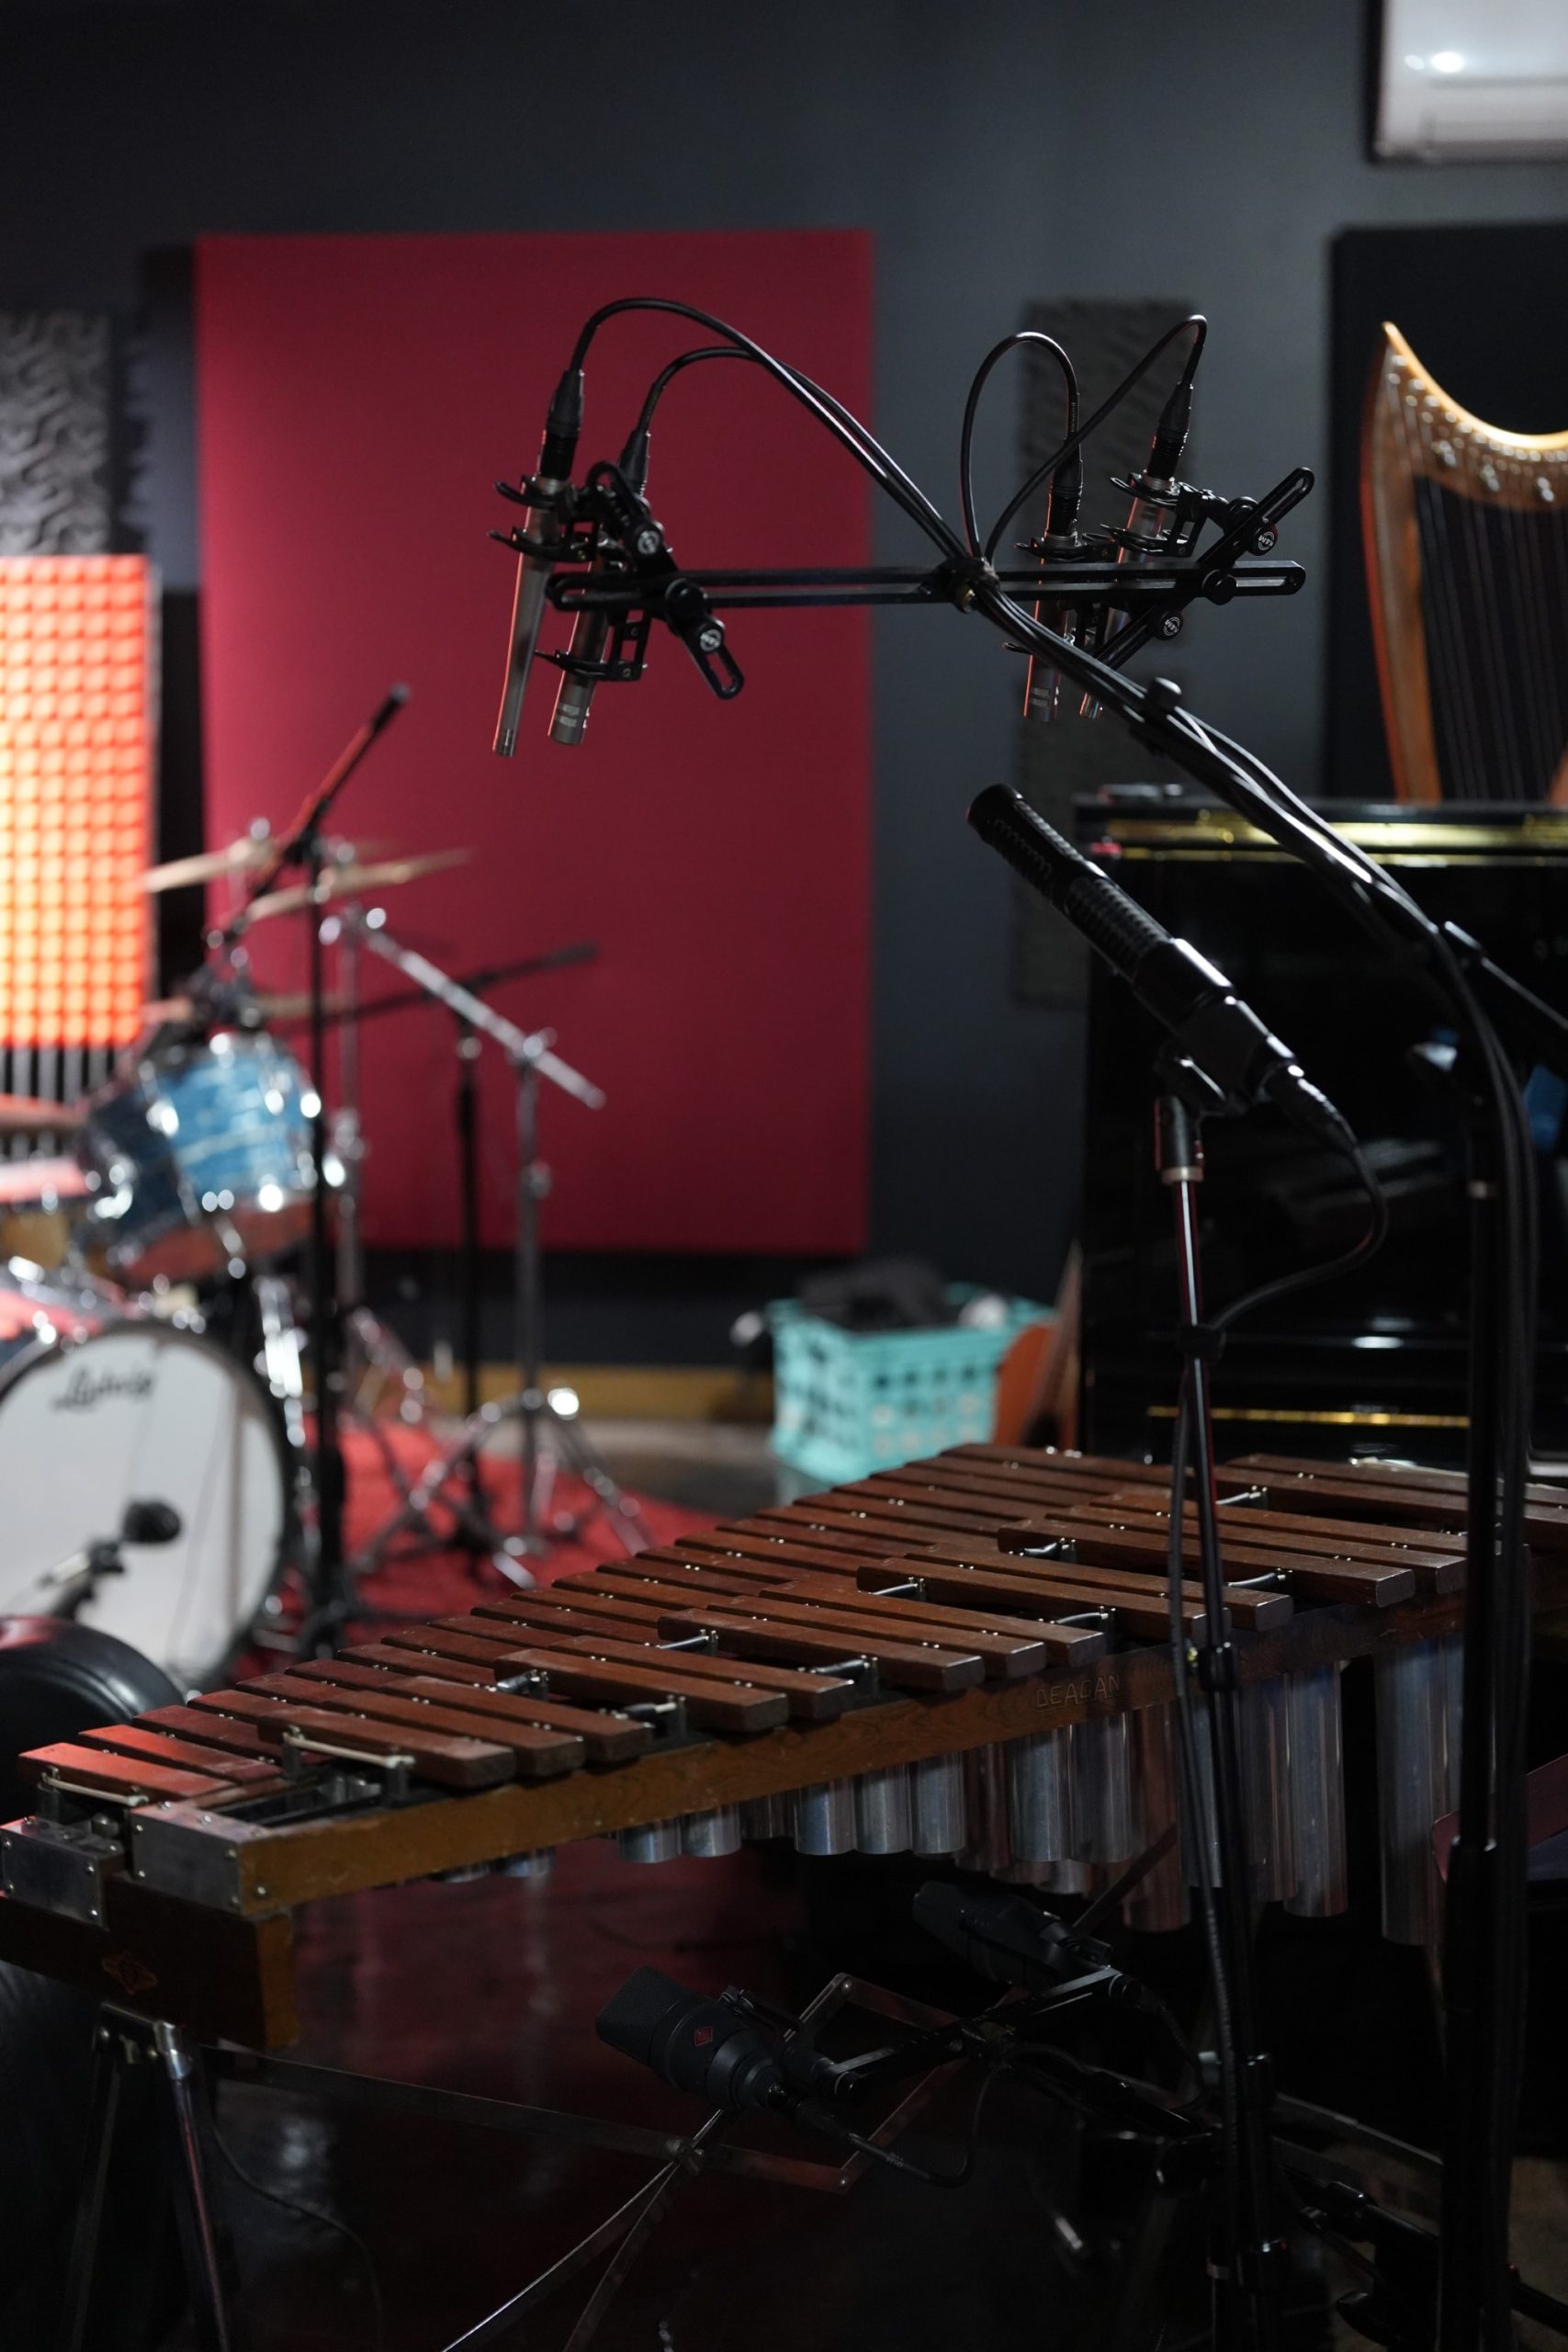
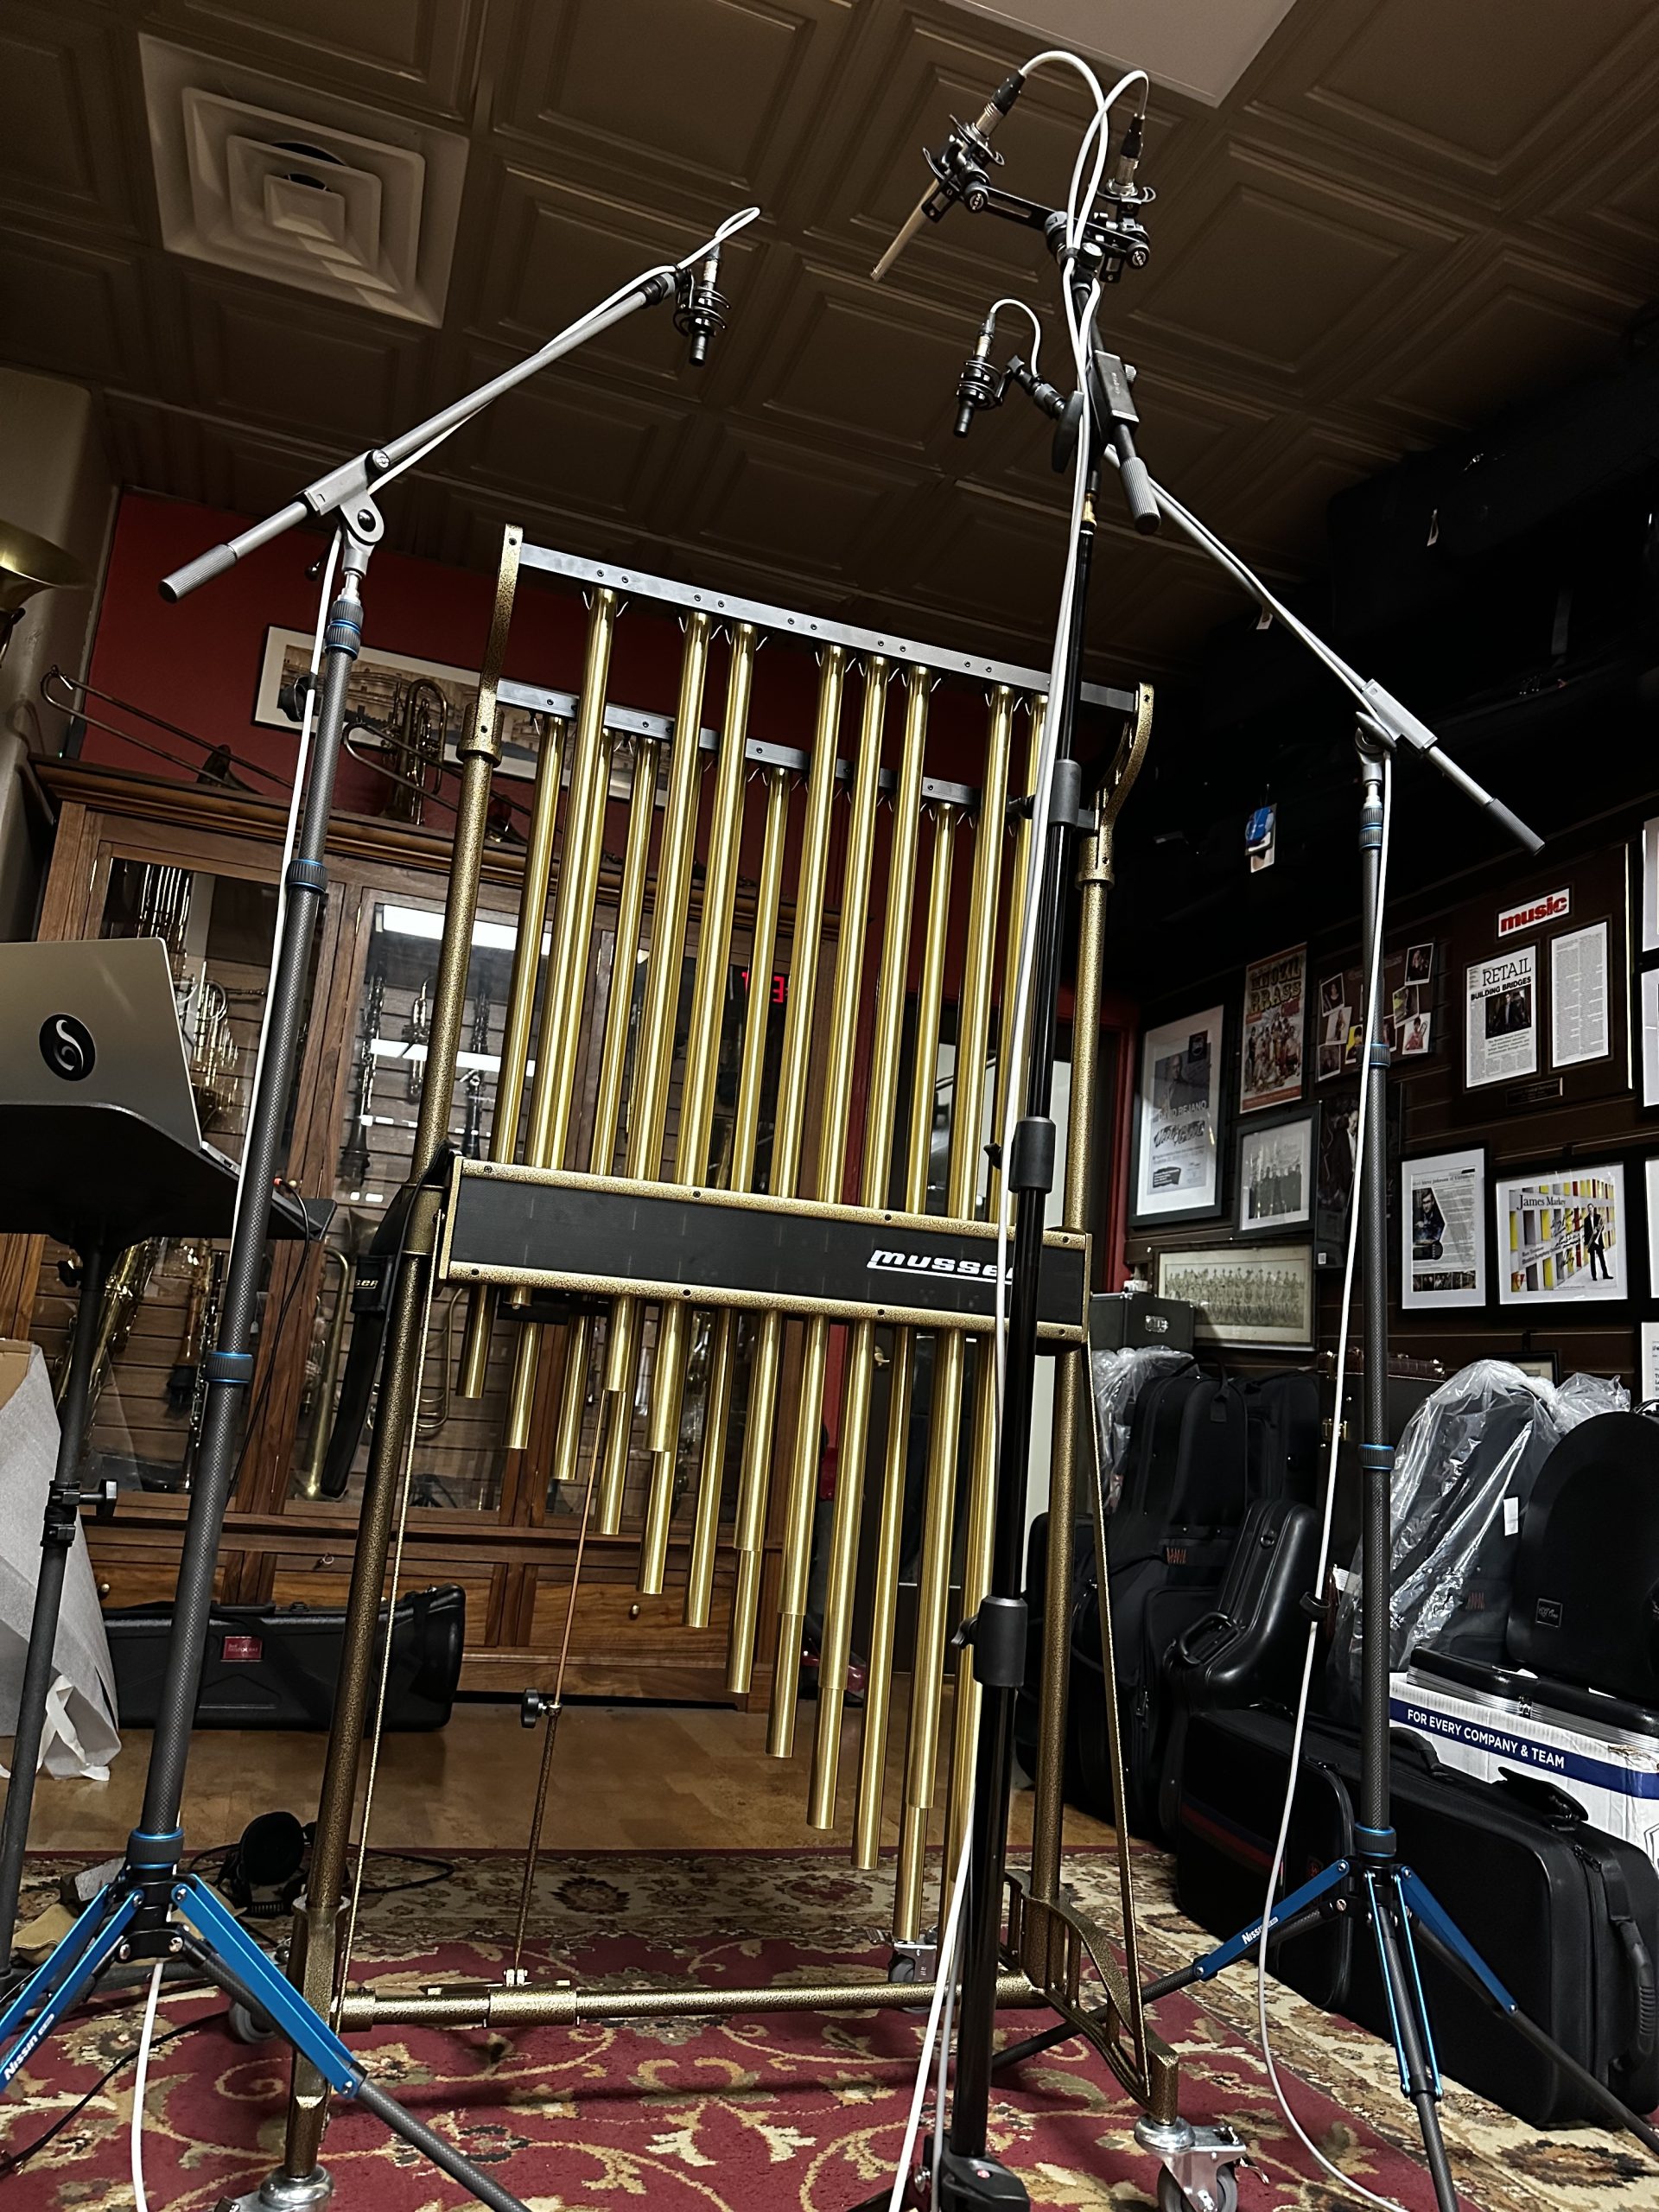
Microphones & Placement
It doesn’t matter if you’re using $200 or $20,000 microphones, it is just as easy to make a bad recording if you aren’t careful in your choices and placements!
The main consideration with sampling is noise. A low self-noise below 15 dB-A/25 dB CCIR-468 is desirable as this will greatly reduce the amount of noise added to your samples.
◀ Usually solid state large diaphragm condensers (LDCs) offer the best noise performance.
A tighter polar pattern like substituting wide cardioids in for omnis, or supercardioids in for cardioids, can help reduce ambient noises in spaces with audible vents or exterior noises.
Another consideration is frequency response. Bright microphones, such as those designed for vocals, can make some instruments like strings sound overly harsh. Excessively dark microphones can make instruments feel inarticulate and lacking clarity. It’s up to you to form a sound concept and choose mics that work to meet that sound concept.
High-SPL handling mics are also useful recording things like percussion, to avoid distortion.

Cables, Preamps, and Conversion
Depending on the space, you may have access to different equipment, or may choose to (or need to) bring your own.
◀ Generally cables are the least important aspect of recording; even the cheapest balanced XLR cable can perform acceptably. However, higher-end cables, in particular ones with low resistance and capacitance, will help ensure the clearest sound. Avoiding excessive cable runs is also generally a good idea as runs over 100m can have audible losses in HF detail. Good quality connectors can also ensure a low-resistance, solid connection is made, avoiding any further noise or damage to mics from intermittent power.
The choice of preamps again is of lesser importance, but in general low-noise (<-129 dBA EIN @ 150 Ohms) preamps are necessary for passive ribbons and dynamics, while condensers can be operated with preamps as low as -125 dBA EIN without issue. Overall, it is wise to avoid vintage consoles or excessive runs through boutique outboard gear if it can be helped. It’s not worth wasting time trying to find out where a hum, hiss, or RF noise is coming from, or try and remove it later.
◀ In most cases, any converter is fine for most sampling sessions. For high SPL sampling such as drums, a more specialized, high-dynamic-range box (>130 dB DR) with a high max input voltage (>+18 dBU) on all relevant channels will make a significant difference, otherwise you may have to reach for pads.

Editing
Once we have all our samples recorded, it’s time to edit the result and turn it into something usable!
This is also our chance to find and fix any noises, mistakes, and other issues which slipped in during recording, or make any creative alterations to the sound, such as EQ or reverb.
")
Sample Splitting
The first step is to split each sample up so that a consistent attack time occurs on every sample. This can be done automatically using a beat detection tool (often used in drum editing) or manually by cutting at a consistent transient then nudging the start point back.
◀ The most important rule is that every sample start should be consistent, usually around or under 10 ms +/- 5 ms. Inconsistent or excessively long sample starts is the leading cause of a sample library ‘feeling’ bad or uneaven, even if you consistently recorded every take at the perfect level.
Likewise the ends of notes should be carefully cut to avoid capturing any noises which occur between samples, such as performers moving or stopping strings (aside from intentionally as releases).

Pre-Roll
Some developers will push the start of the samples back quite a bit, this is called ‘pre-roll’ and is useful in some cases like reeds which may have a brief ‘air’ phase to the start of their sound, or pianos which have some mechanical noise before the hammer strikes the strings. Usually this should be no more than 25 ms.
Note that usually this needs to be cut consistently to start of the “actual” sound or else the instruments may feel uneven. The pre-roll also allows the developer to trim the start of the samples in post within the sampler itself, or even expose that control to users.
◀ Clarinet sample with an airy phase before the start of the sample.
!")

Take Selection
It is necessary to either discard, replace, or repair any take in which unwanted noises occur (clicks, rustles, cars), or the sound of the take is so poor that it cannot be used (e.g. a bad attack or buzz). This is why it is absolutely critical during recording to ensure retakes are done if a take is not good enough.
In cases where there are no available extra takes and there are more than 3 round robins, it is possible to substitute one take for another to fill the gap. This is best done in the session prior to export so that there are no gaps in the sampling session, which makes mapping dramatically easier later, at the cost of a very small percentage of duplicate sample content.
◀ Harpsichord sample with birds in the background, which were manually removed. Below, a sample full of clicks due to an clock sync issue.
▼ Example of a retake. The first take failed the +/- tolerance. Note spoken cue to assist editing.


Tails and Fades
We’ll also need to trim any releases at this time.
◀ For instruments like guitars and pianos, this creates a noticeable bump (to right of cursor) which should be precisely trimmed to and then a small pre-roll introduced.
▼ For sustaining instruments, this means cutting off the tail of the sustain samples. This can be done directly in the sampler, or a set of standalone release samples.


Processing
Generally I try to use as little processing as absolutely necessary. This is because a lot of processing can negatively affect the sound quality of the samples. The worst offenders are generally denoisers, which typically leave artifacts behind. Many of these are audible in VSCO 2 when heavily boosting samples.
The first line of defense against noise, is to reduce it when recording in the first place. Recording in a quiet space with low noise microphones can make an enormous difference in how much processing is necessary, and even if you do use denoising, can make the denoiser much more transparent.
◤ Here is an active ribbon microphone (red) with rated 20 dBA self noise, and a large diaphragm condenser (yellow) with a rated 15 dBA self noise. The ribbon mic has considerably more HF noise (hiss) and LF noise (rumble), which will need to be removed.
◀ Most impulse-type instruments have an extremely short peak of wide-spectrum transient followed by virtually zero useful HF information. Therefore a denoiser, multiband expander, or dynamic EQ can very successfully reduce a lot of noise on this sort of instrument. A gradual fade will also help reduce noise.

Normalizing
Normalization is a process in which the max dBFS of each note is fixed together. Even with an extremely qualified performer and a high-end instrument, there is a variation in loudness between each take and each note. Normally on pianos, plucked strings, mallets,etc. it is desirable to flatten this out.
◀ Layer played as consistently as possible, with a variation of +/- 3 dB.
By smoothing out each layer in this way, each velocity layer will smoothly transition into the next as well.

Design & Development
Now it’s time for everything to come together, both mechanically and visually.
The most magical moment in development, “the first playtest”, is just around the corner. Once we have our samples mapped, we can start playing and adjusting the feel and balance of the instrument to taste.
There’s still plenty to do graphically as well, creating beautiful matching interfaces and documentation.

Mapping
◀ Most GUI-based samplers like Kontakt and Maize present samples in a grid, with velocity on the vertical axis and pitch on the horizontal axis. For SFZ, we use our Folder-to-SFZ to map samples.
If samples are recorded non-chromatically, gaps need to be filled between notes to fill out the range by stretching samples. If not normalized, differences between layers need to be optimized with gain.

GUI & Controls
Controls are set up so instruments will respond appropriately to inputs such as modwheel, and features like mic positions and release sample volume can be adjusted by users. The GUI design/skin is created according to the theme of the library, such as the historical architecture in The Recorder.
◀ Our in-house engine VISAGE 3, which runs within Kontakt, takes care of controls for us, standardized across all our newest products.

Photography
▼ Whenever possible, high-resolution photos are taken of each instrument for use in the UI, documentation, and webpage. Behind the scenes photos and references are also taken.


Documentation
◀ The user manual, video playthrough/demos, and product page are created for each product to help customers decide if the product is right for them, and operate it as efficiently as possible. Again the use of VISAGE 3 unifies control behavior across all new libraries.
▼ Translating technical, internal language about features into intuitive controls can take some work!

Release!
After months or even sometimes years of work, products are released onto the market. Our work doesn’t stop there, as we provide technical support and updates to customers.
Thanks to the ongoing support and encouragement of our customers, we are continually developing and recording libraries every day of the year!